Category: Installation Manuals – English

Installation manual for BMW X5 F15 Carbon Fiber M Performance

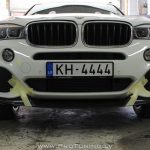
BMW X5 F15 ( non LCI )

Equipped with M Sport package ( can be found here )

Following installation manual describes how to install : M Performance Carbon fiber bodykit for F15/MSport

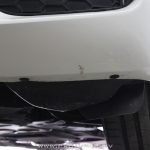
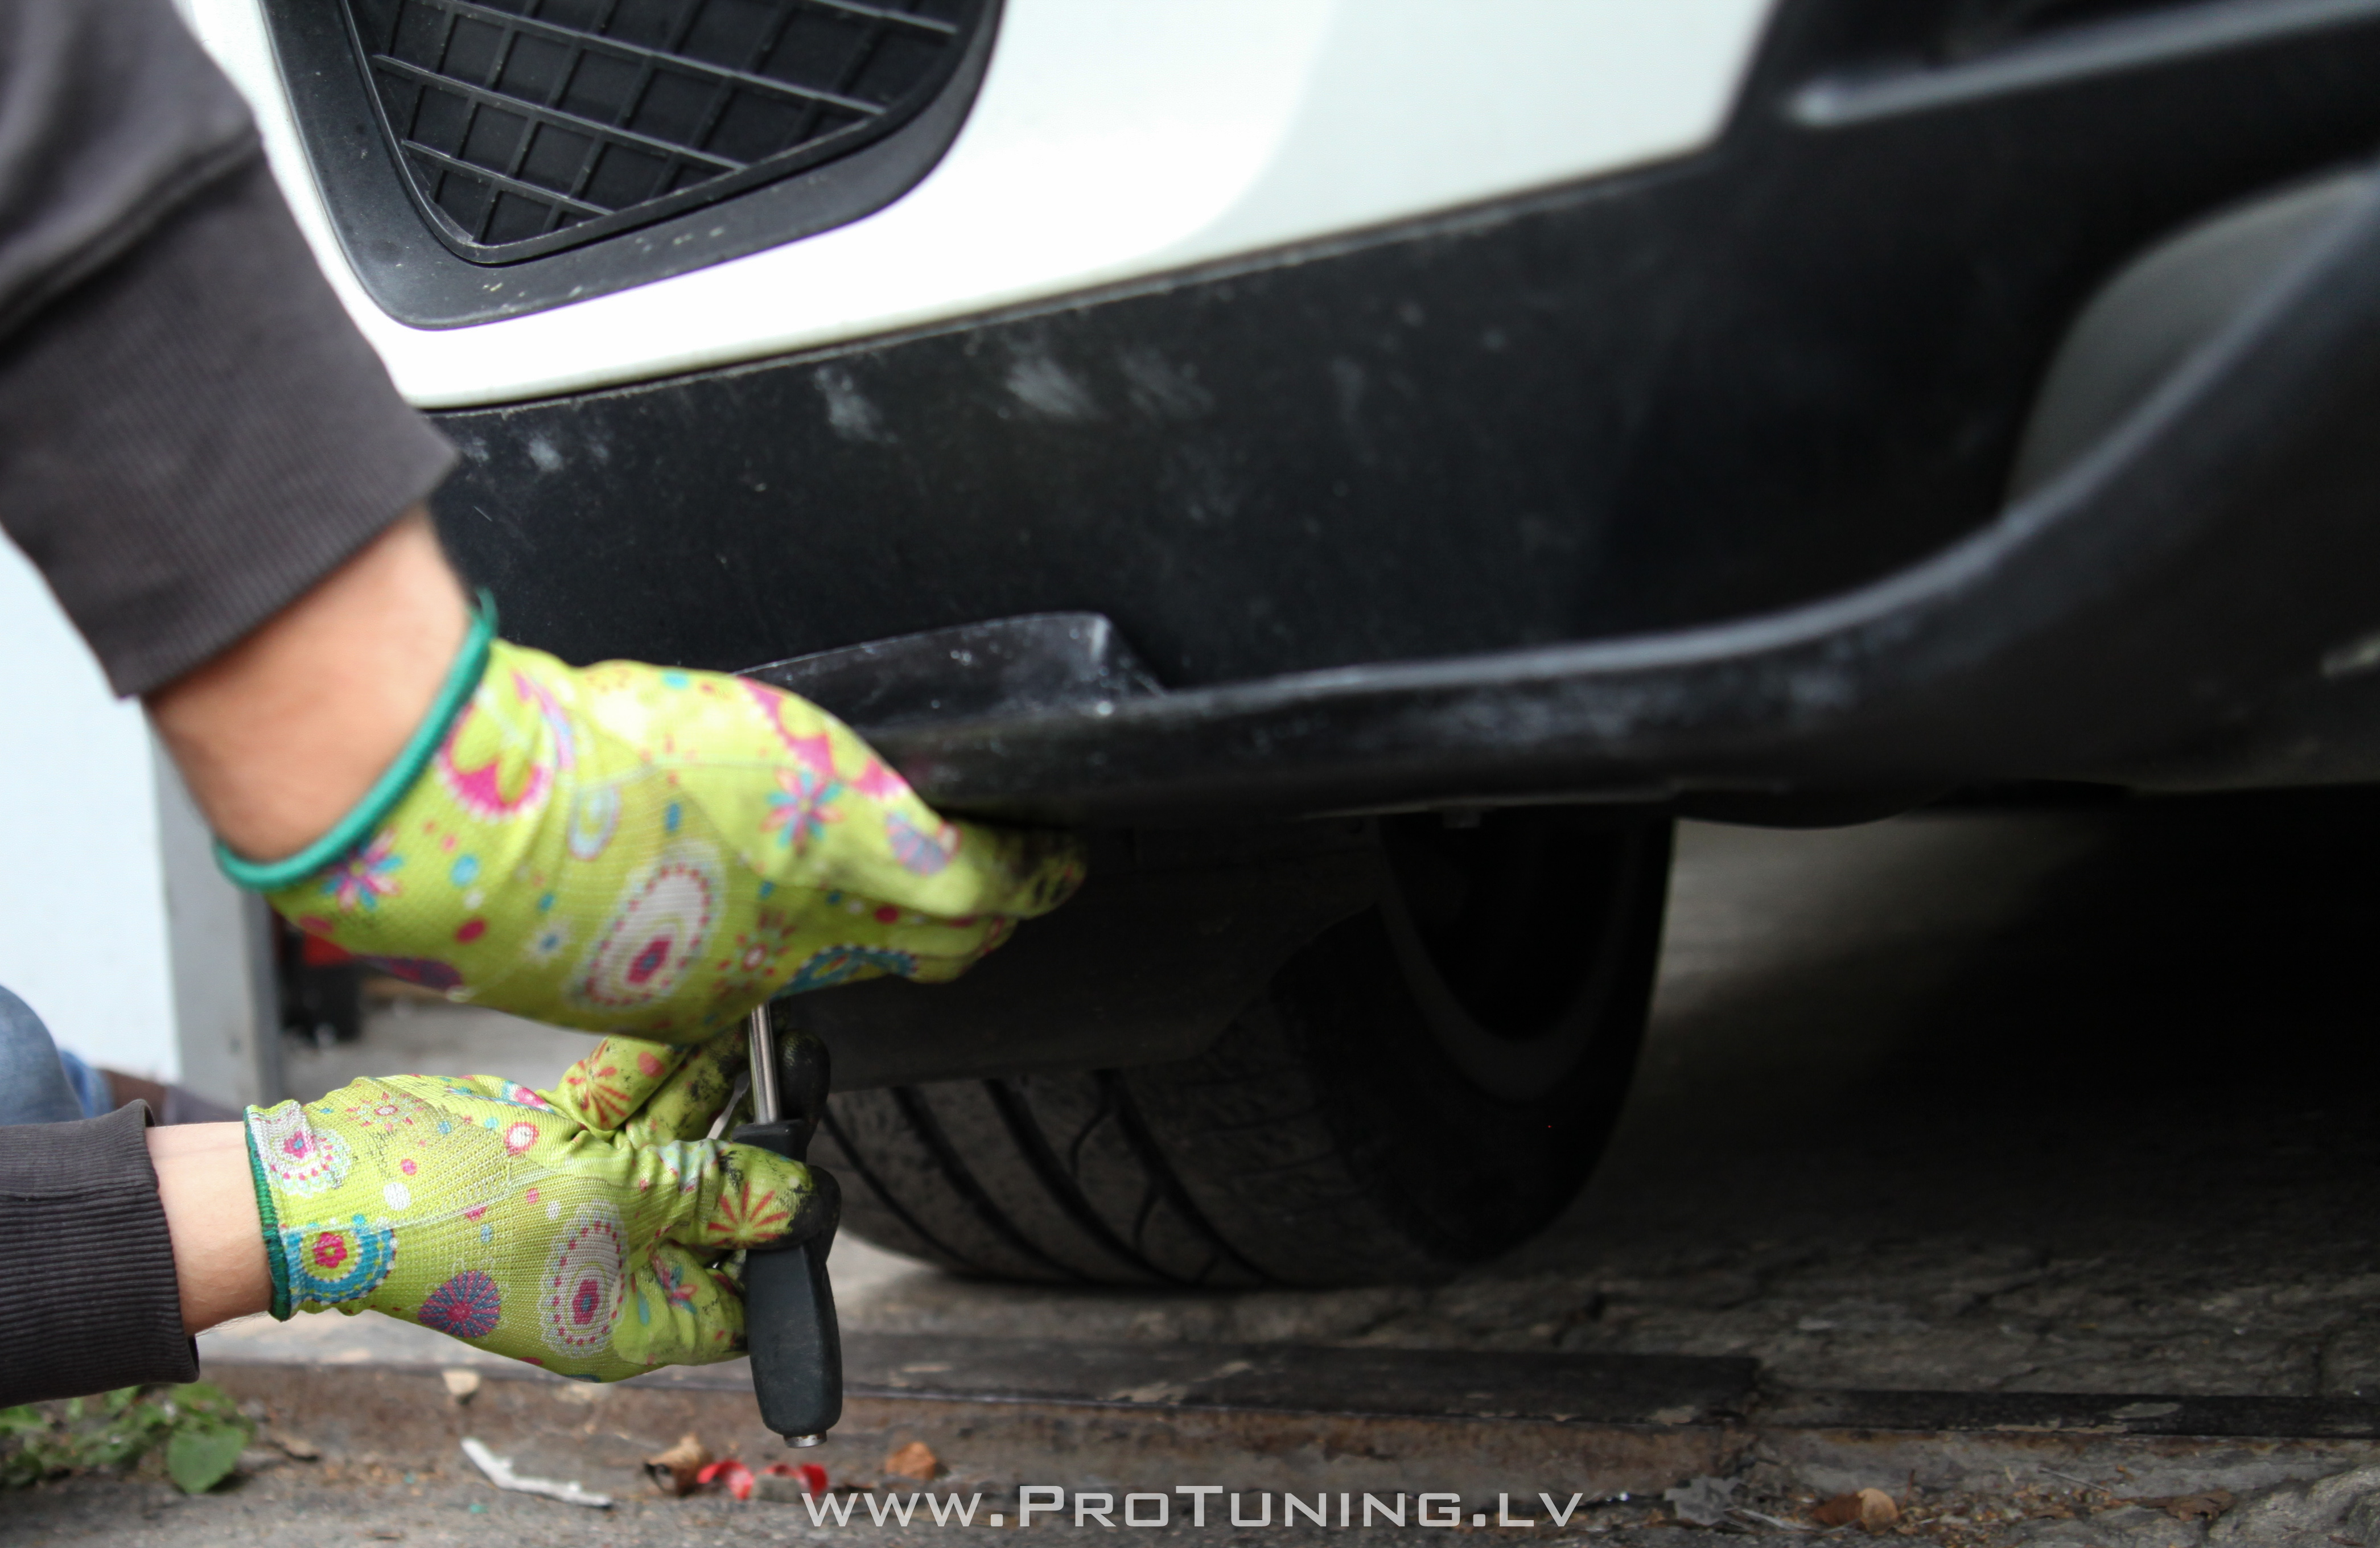
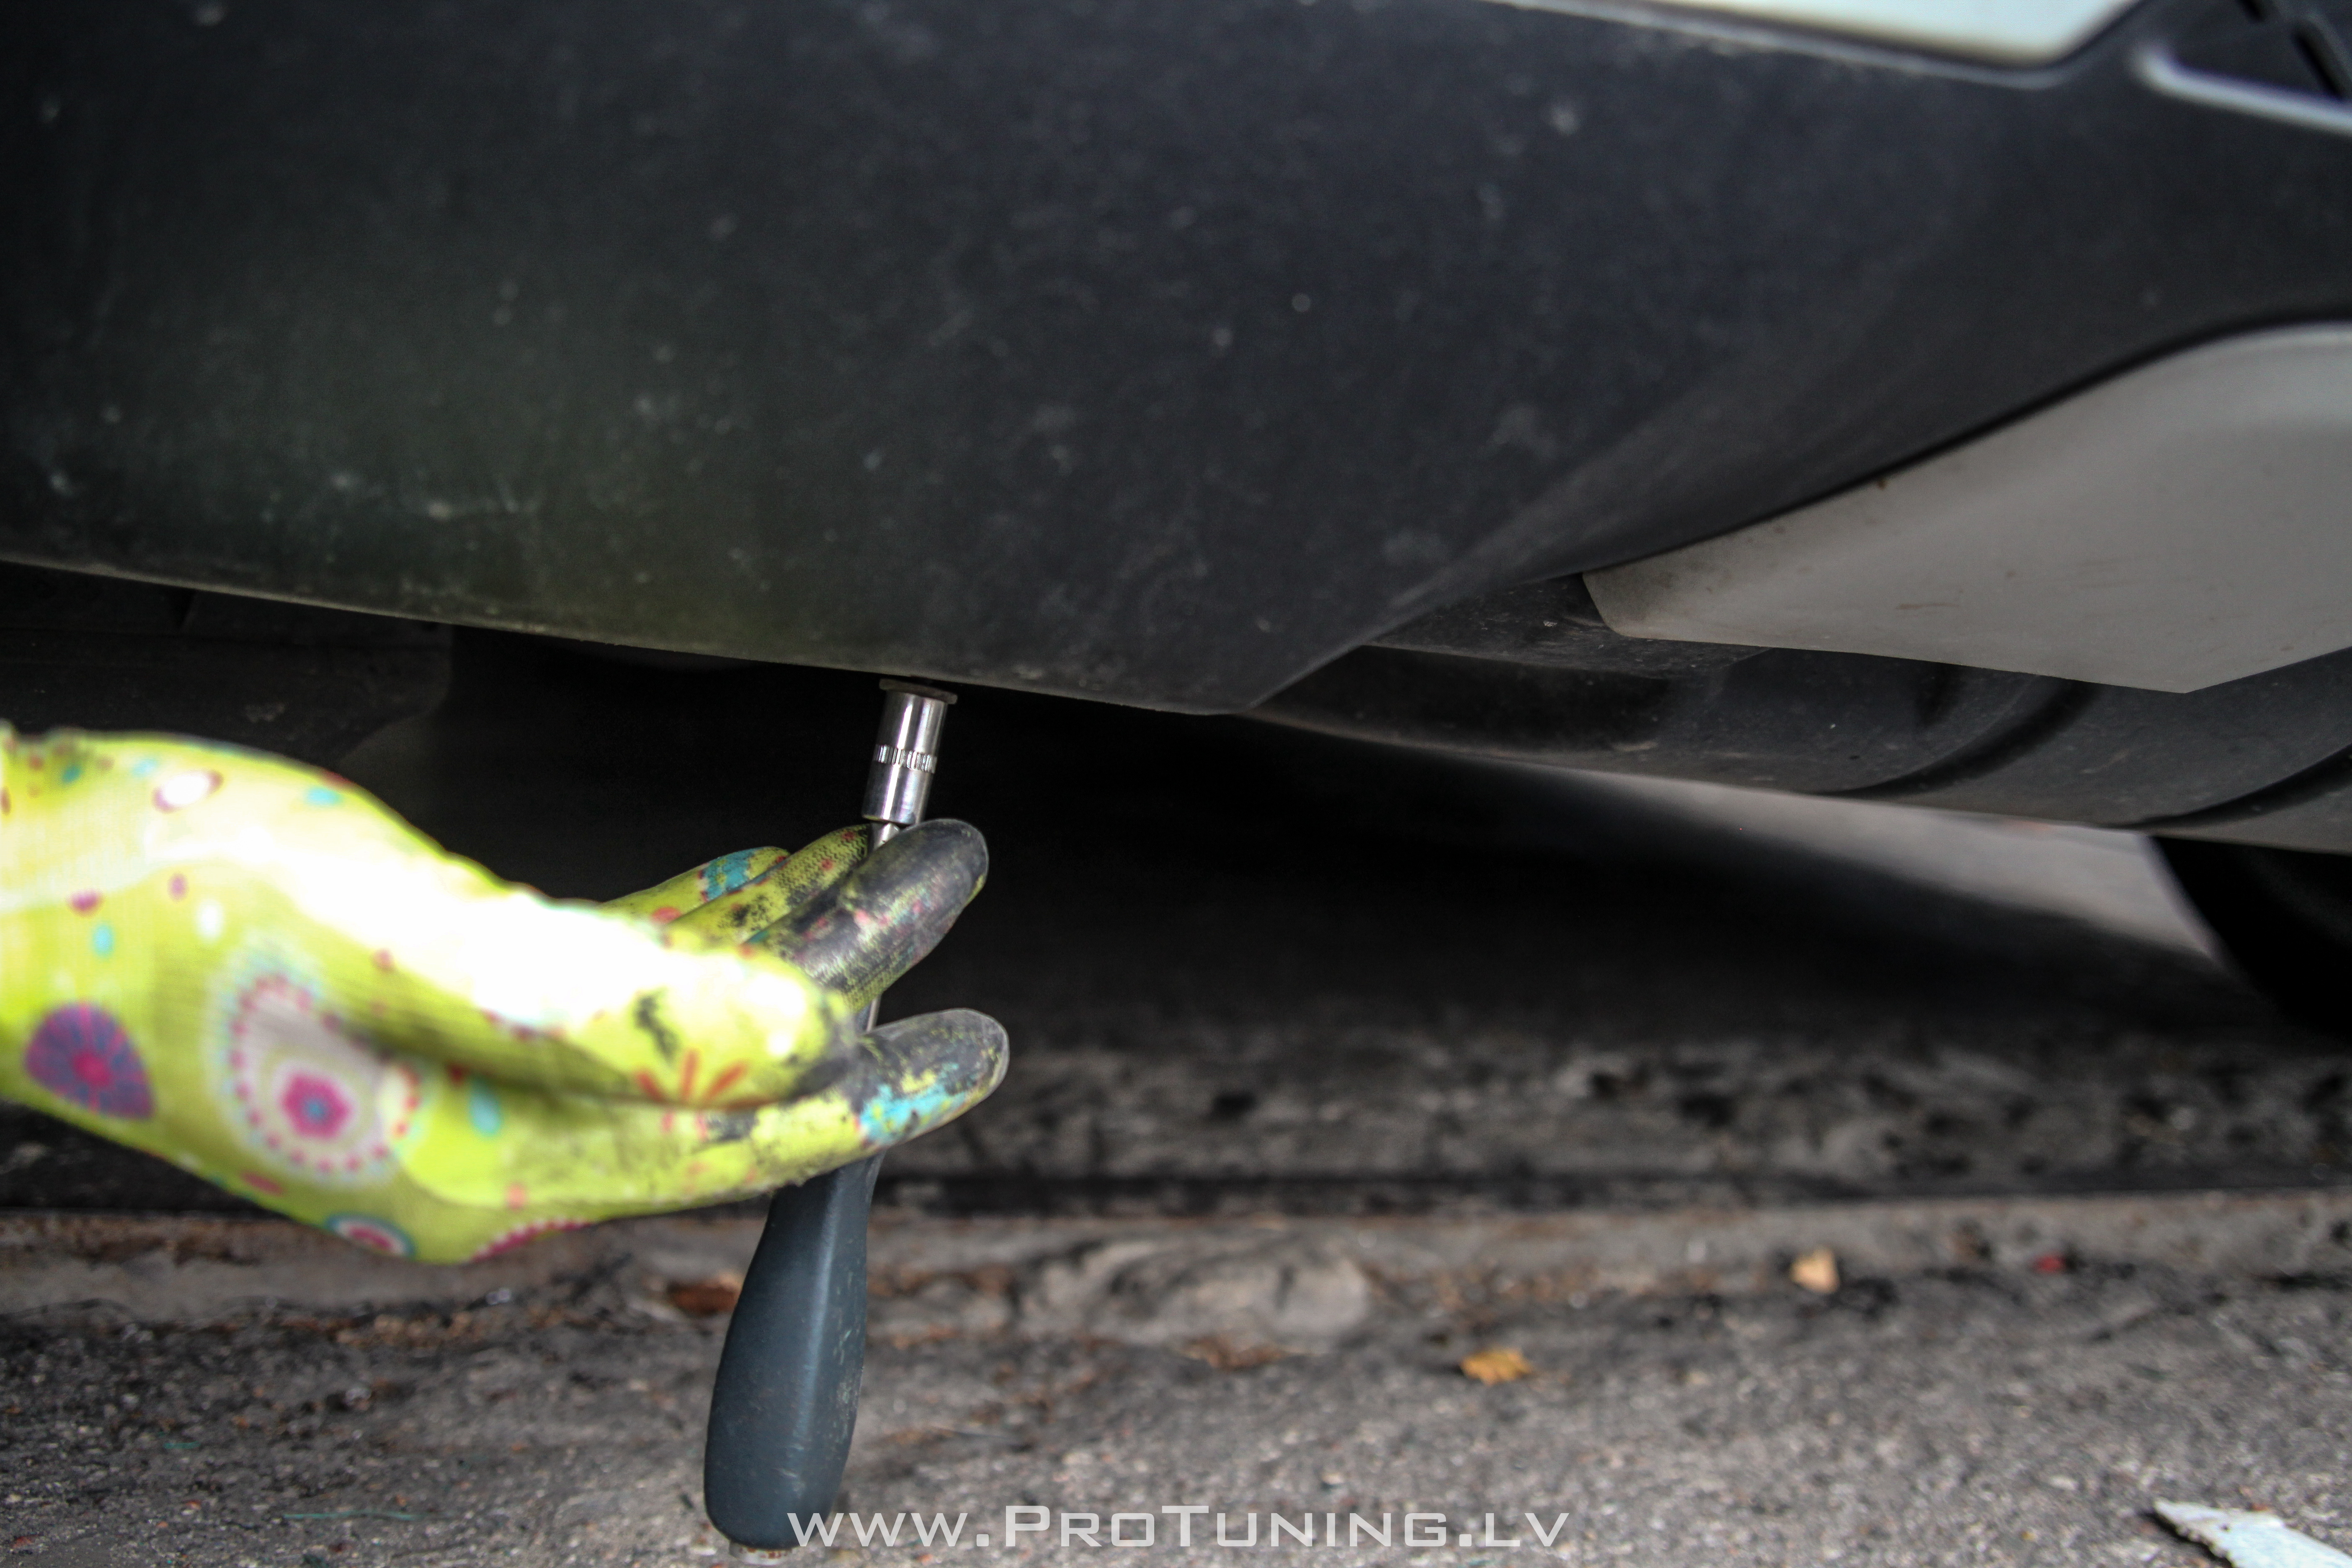
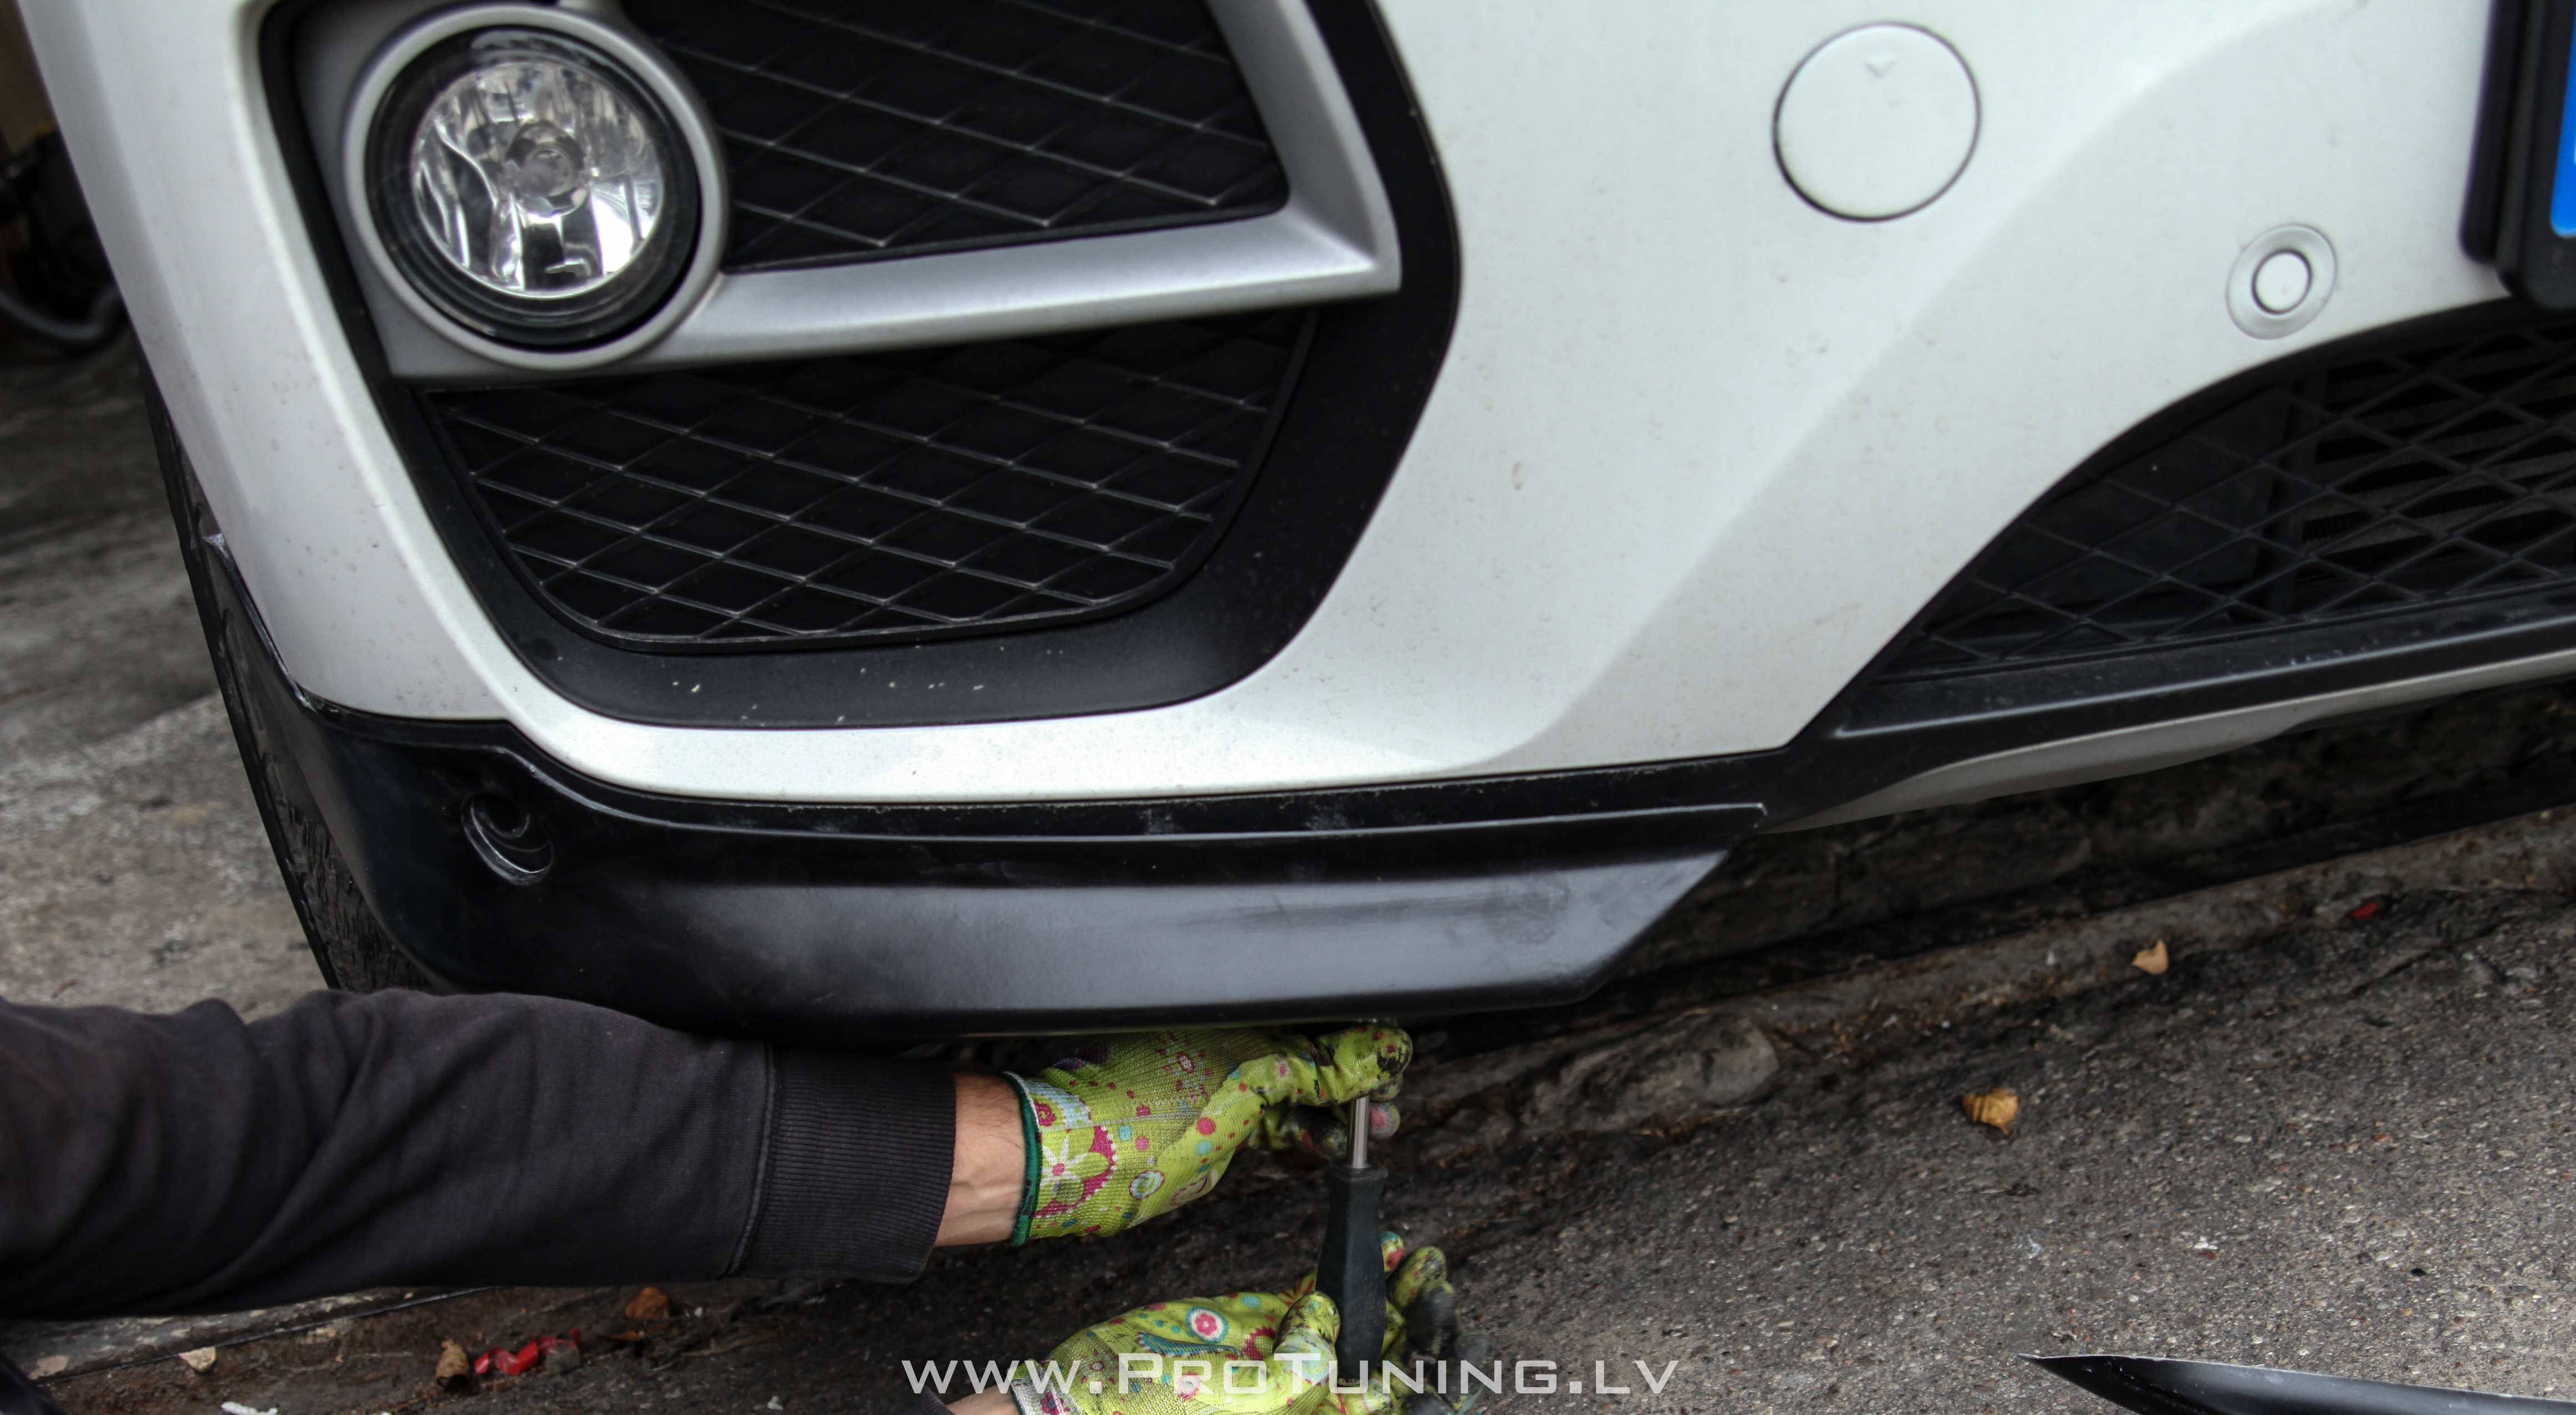
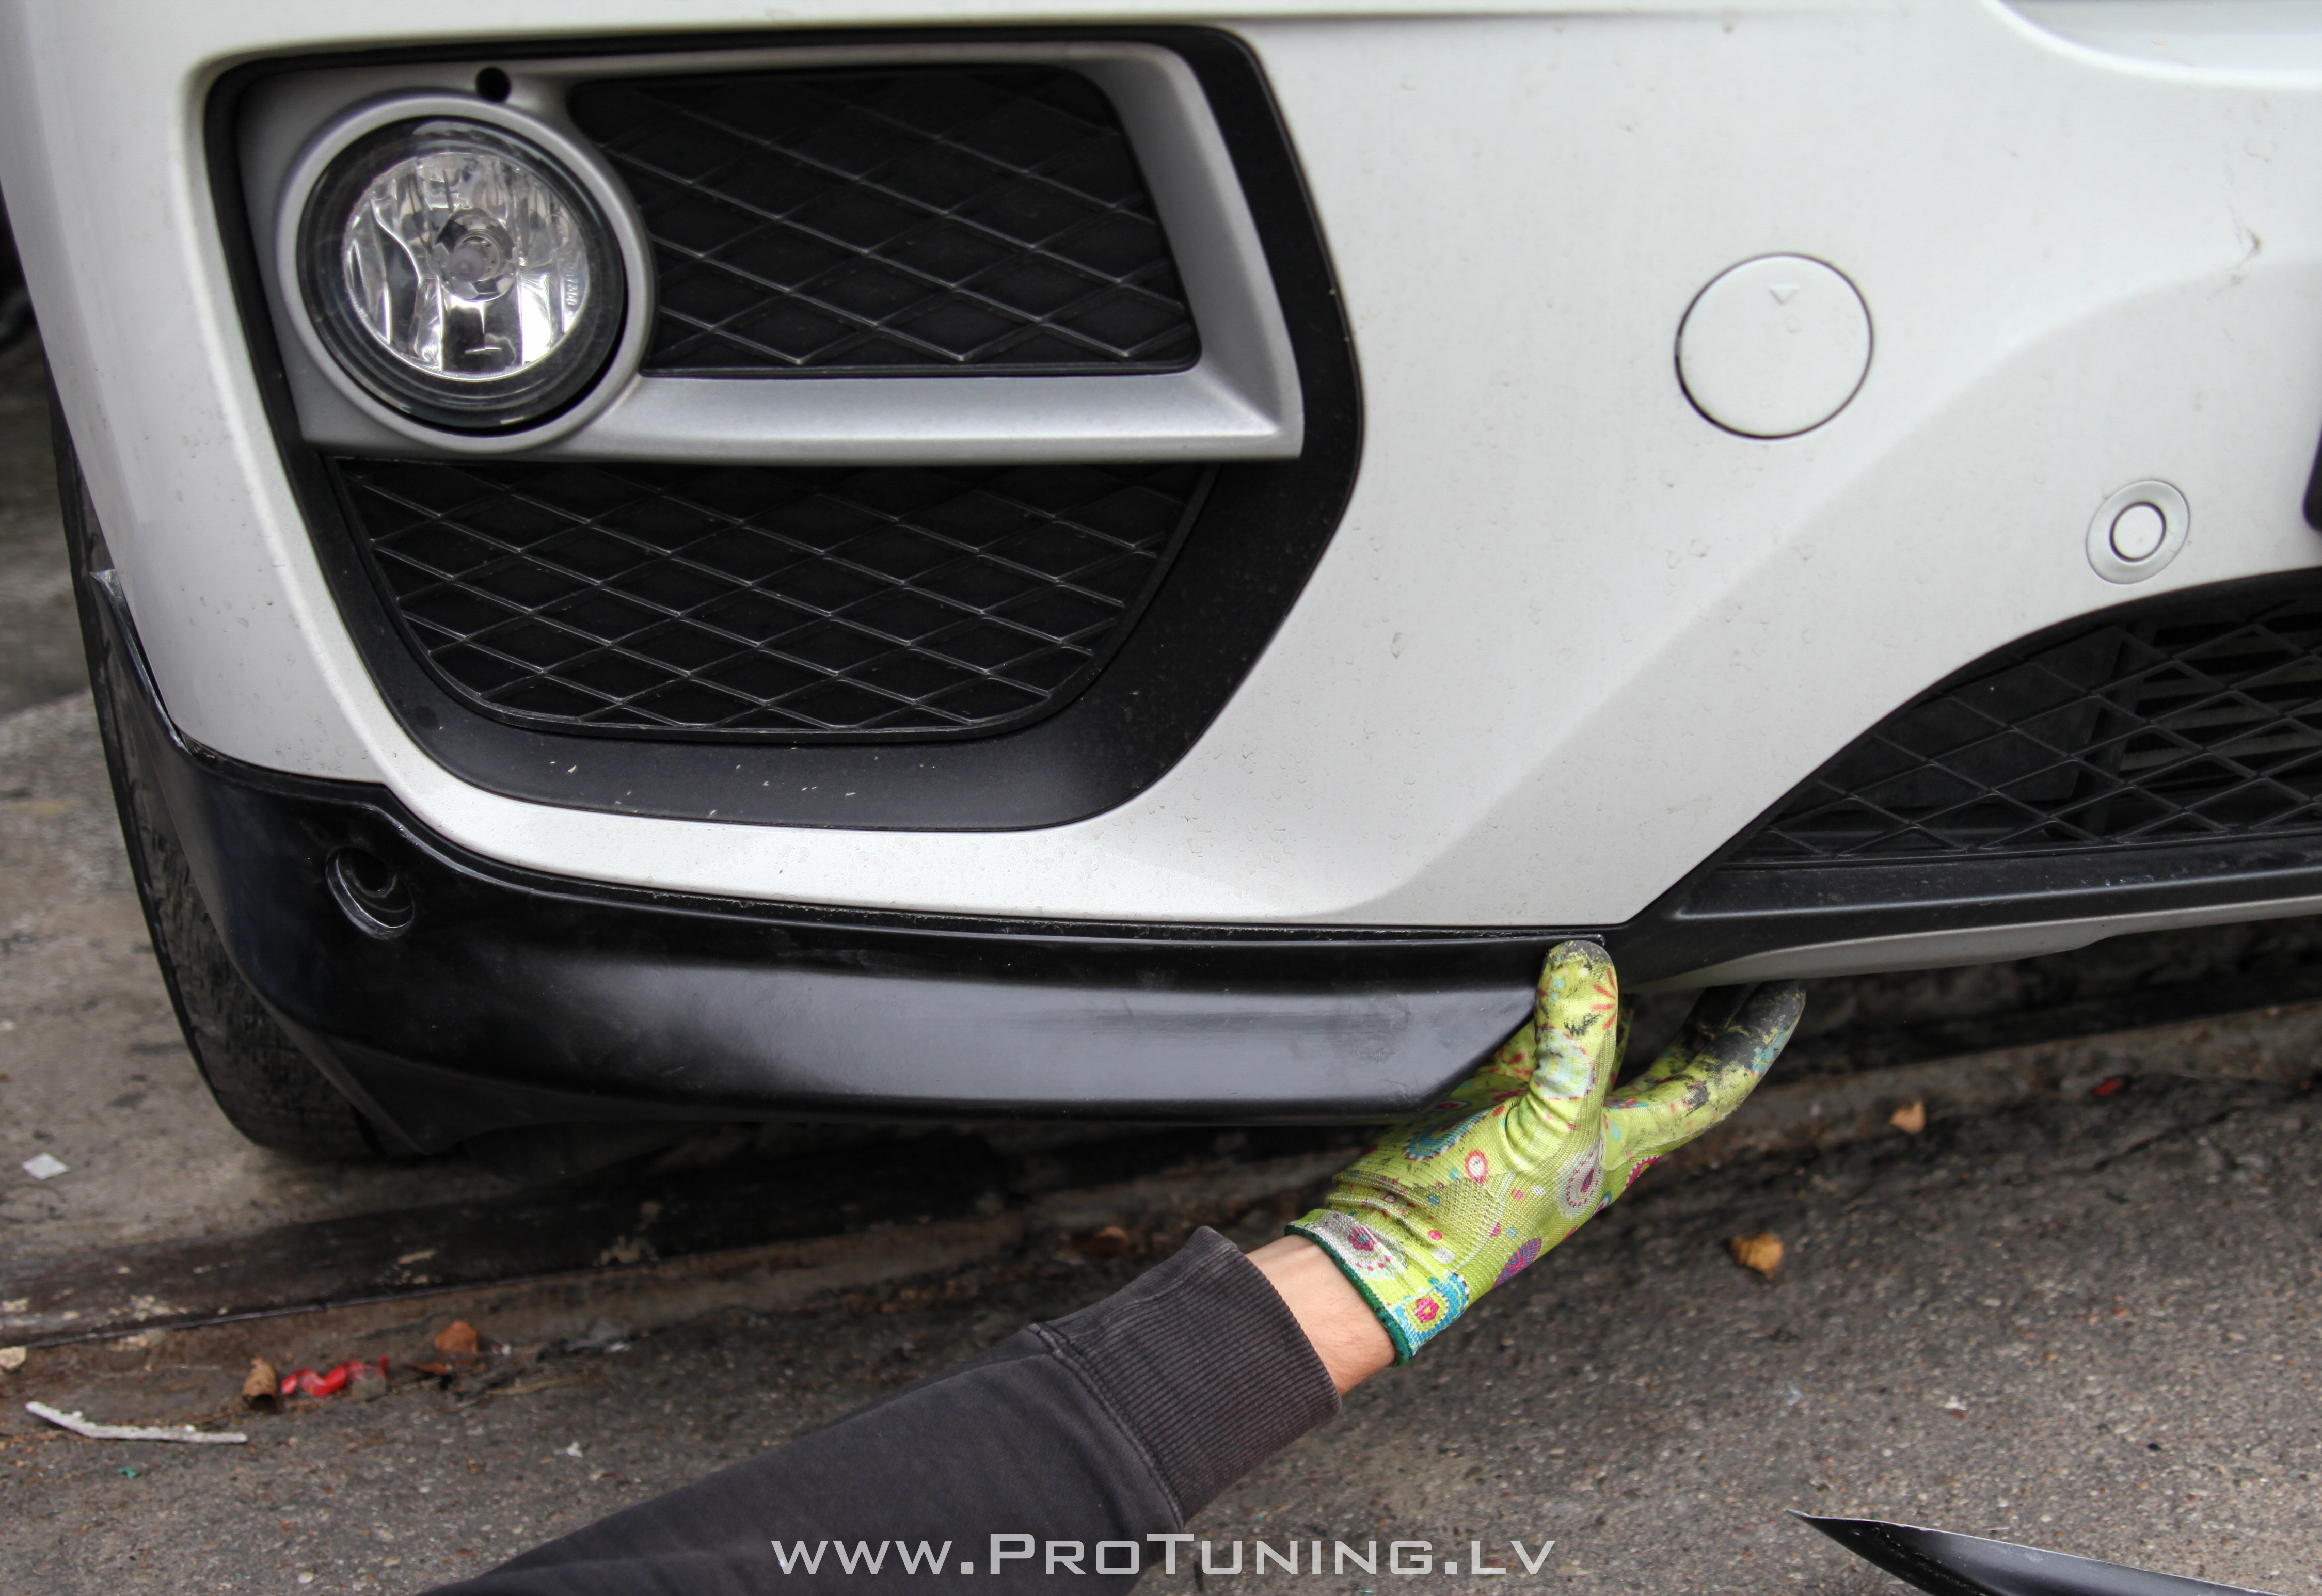
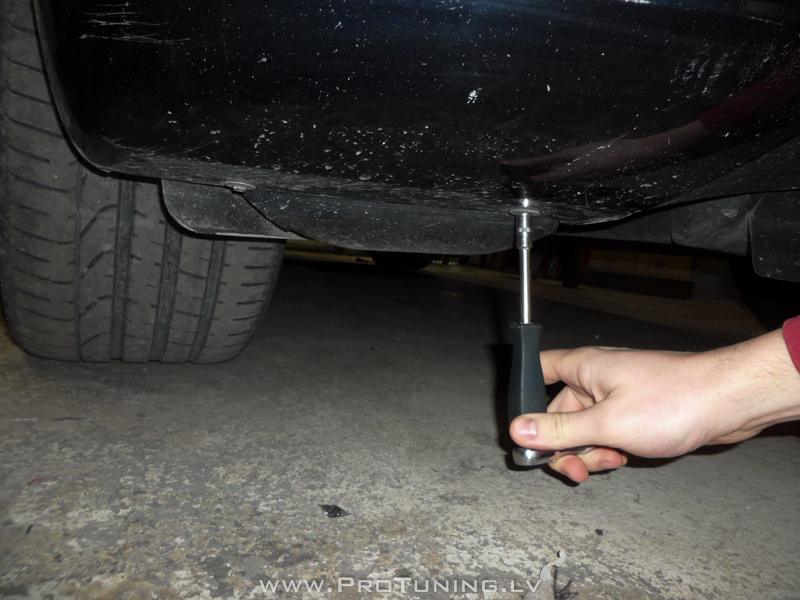
First of all – all test fits and etc must be done with a bolt UNSCREWED from the lower part of bumpers – otherwise you will see that items are “bent and my super skilled professional says that it’s important to install it”

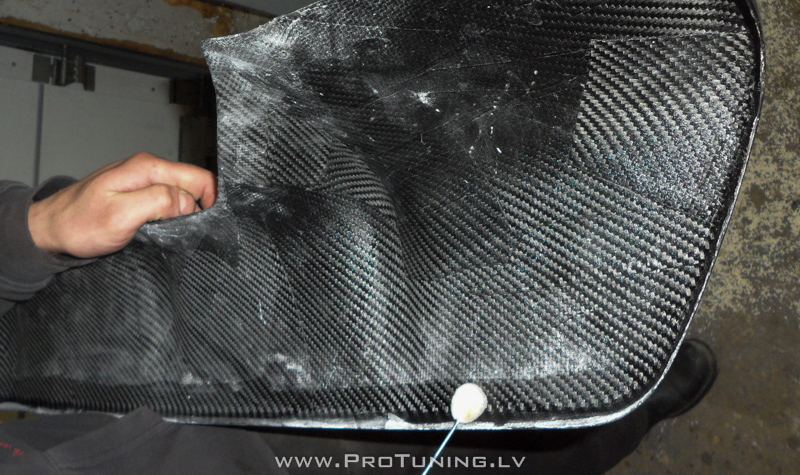
All surfaces must be cleaned with cleanser/degreaser

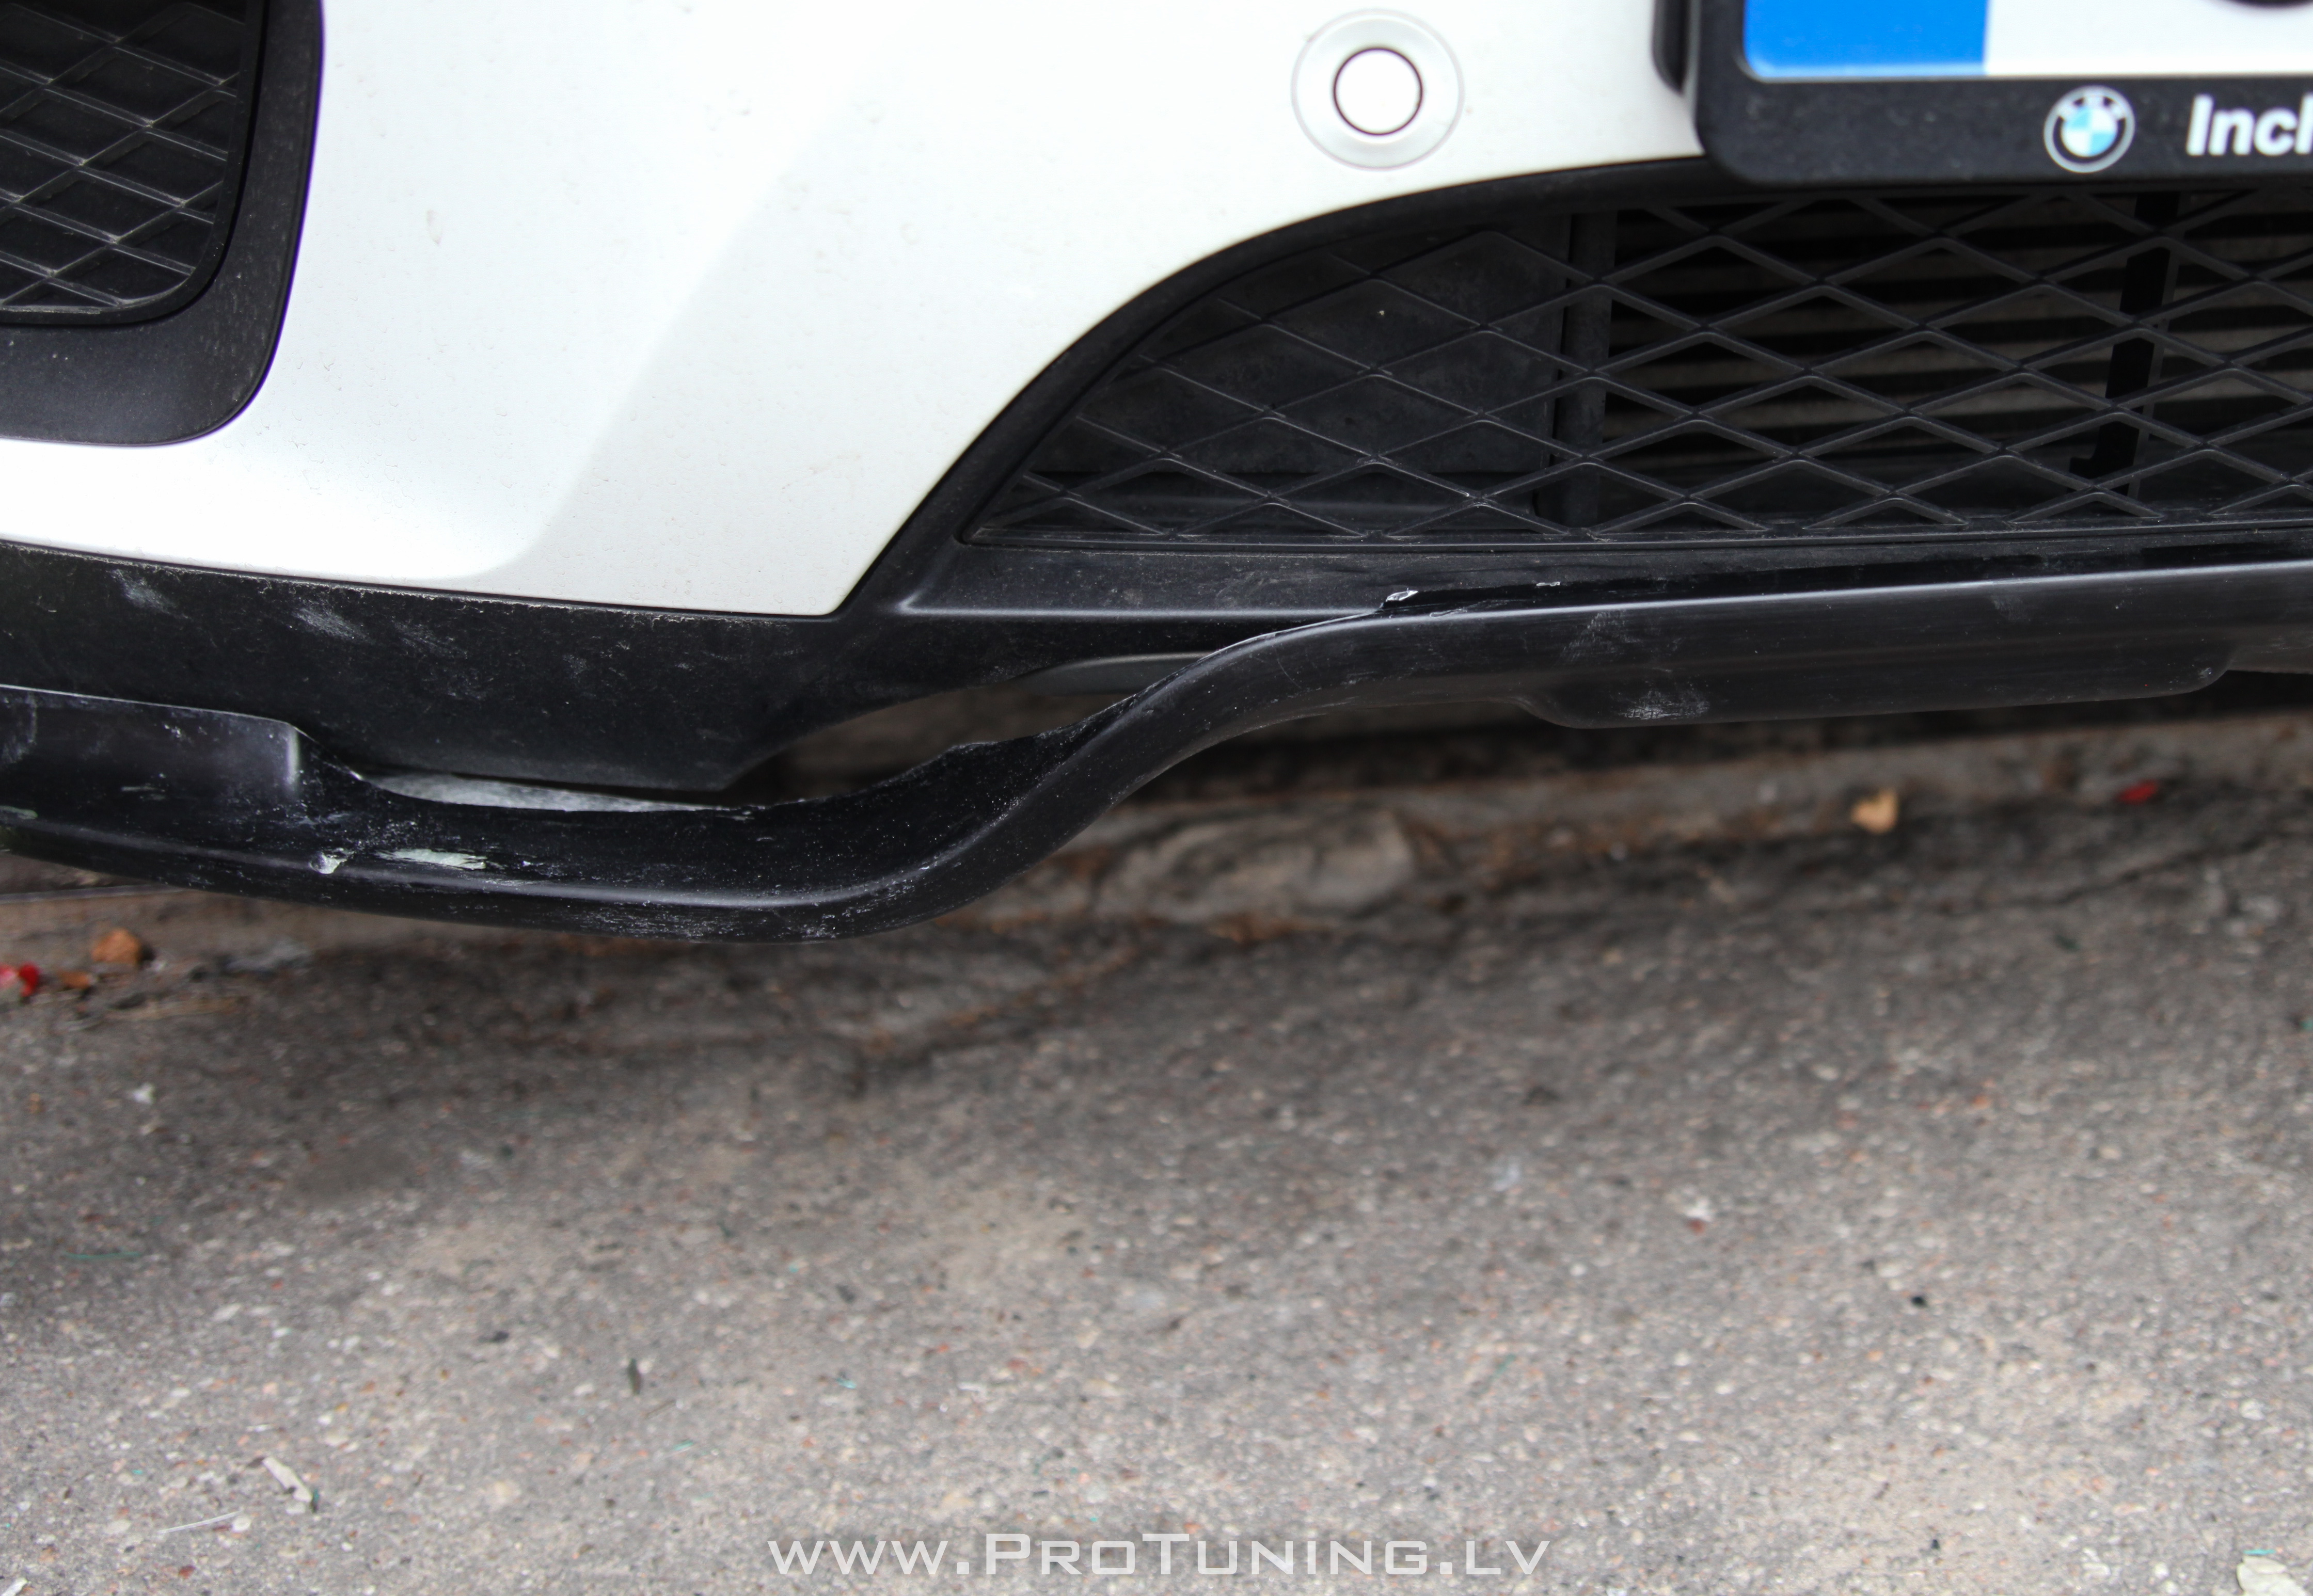
Front lip installation :

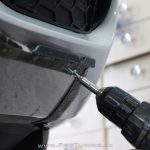
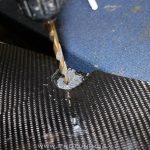
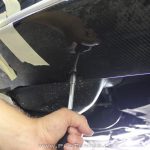
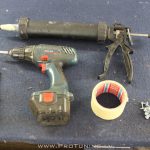
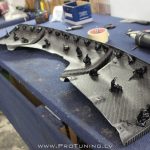
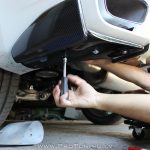
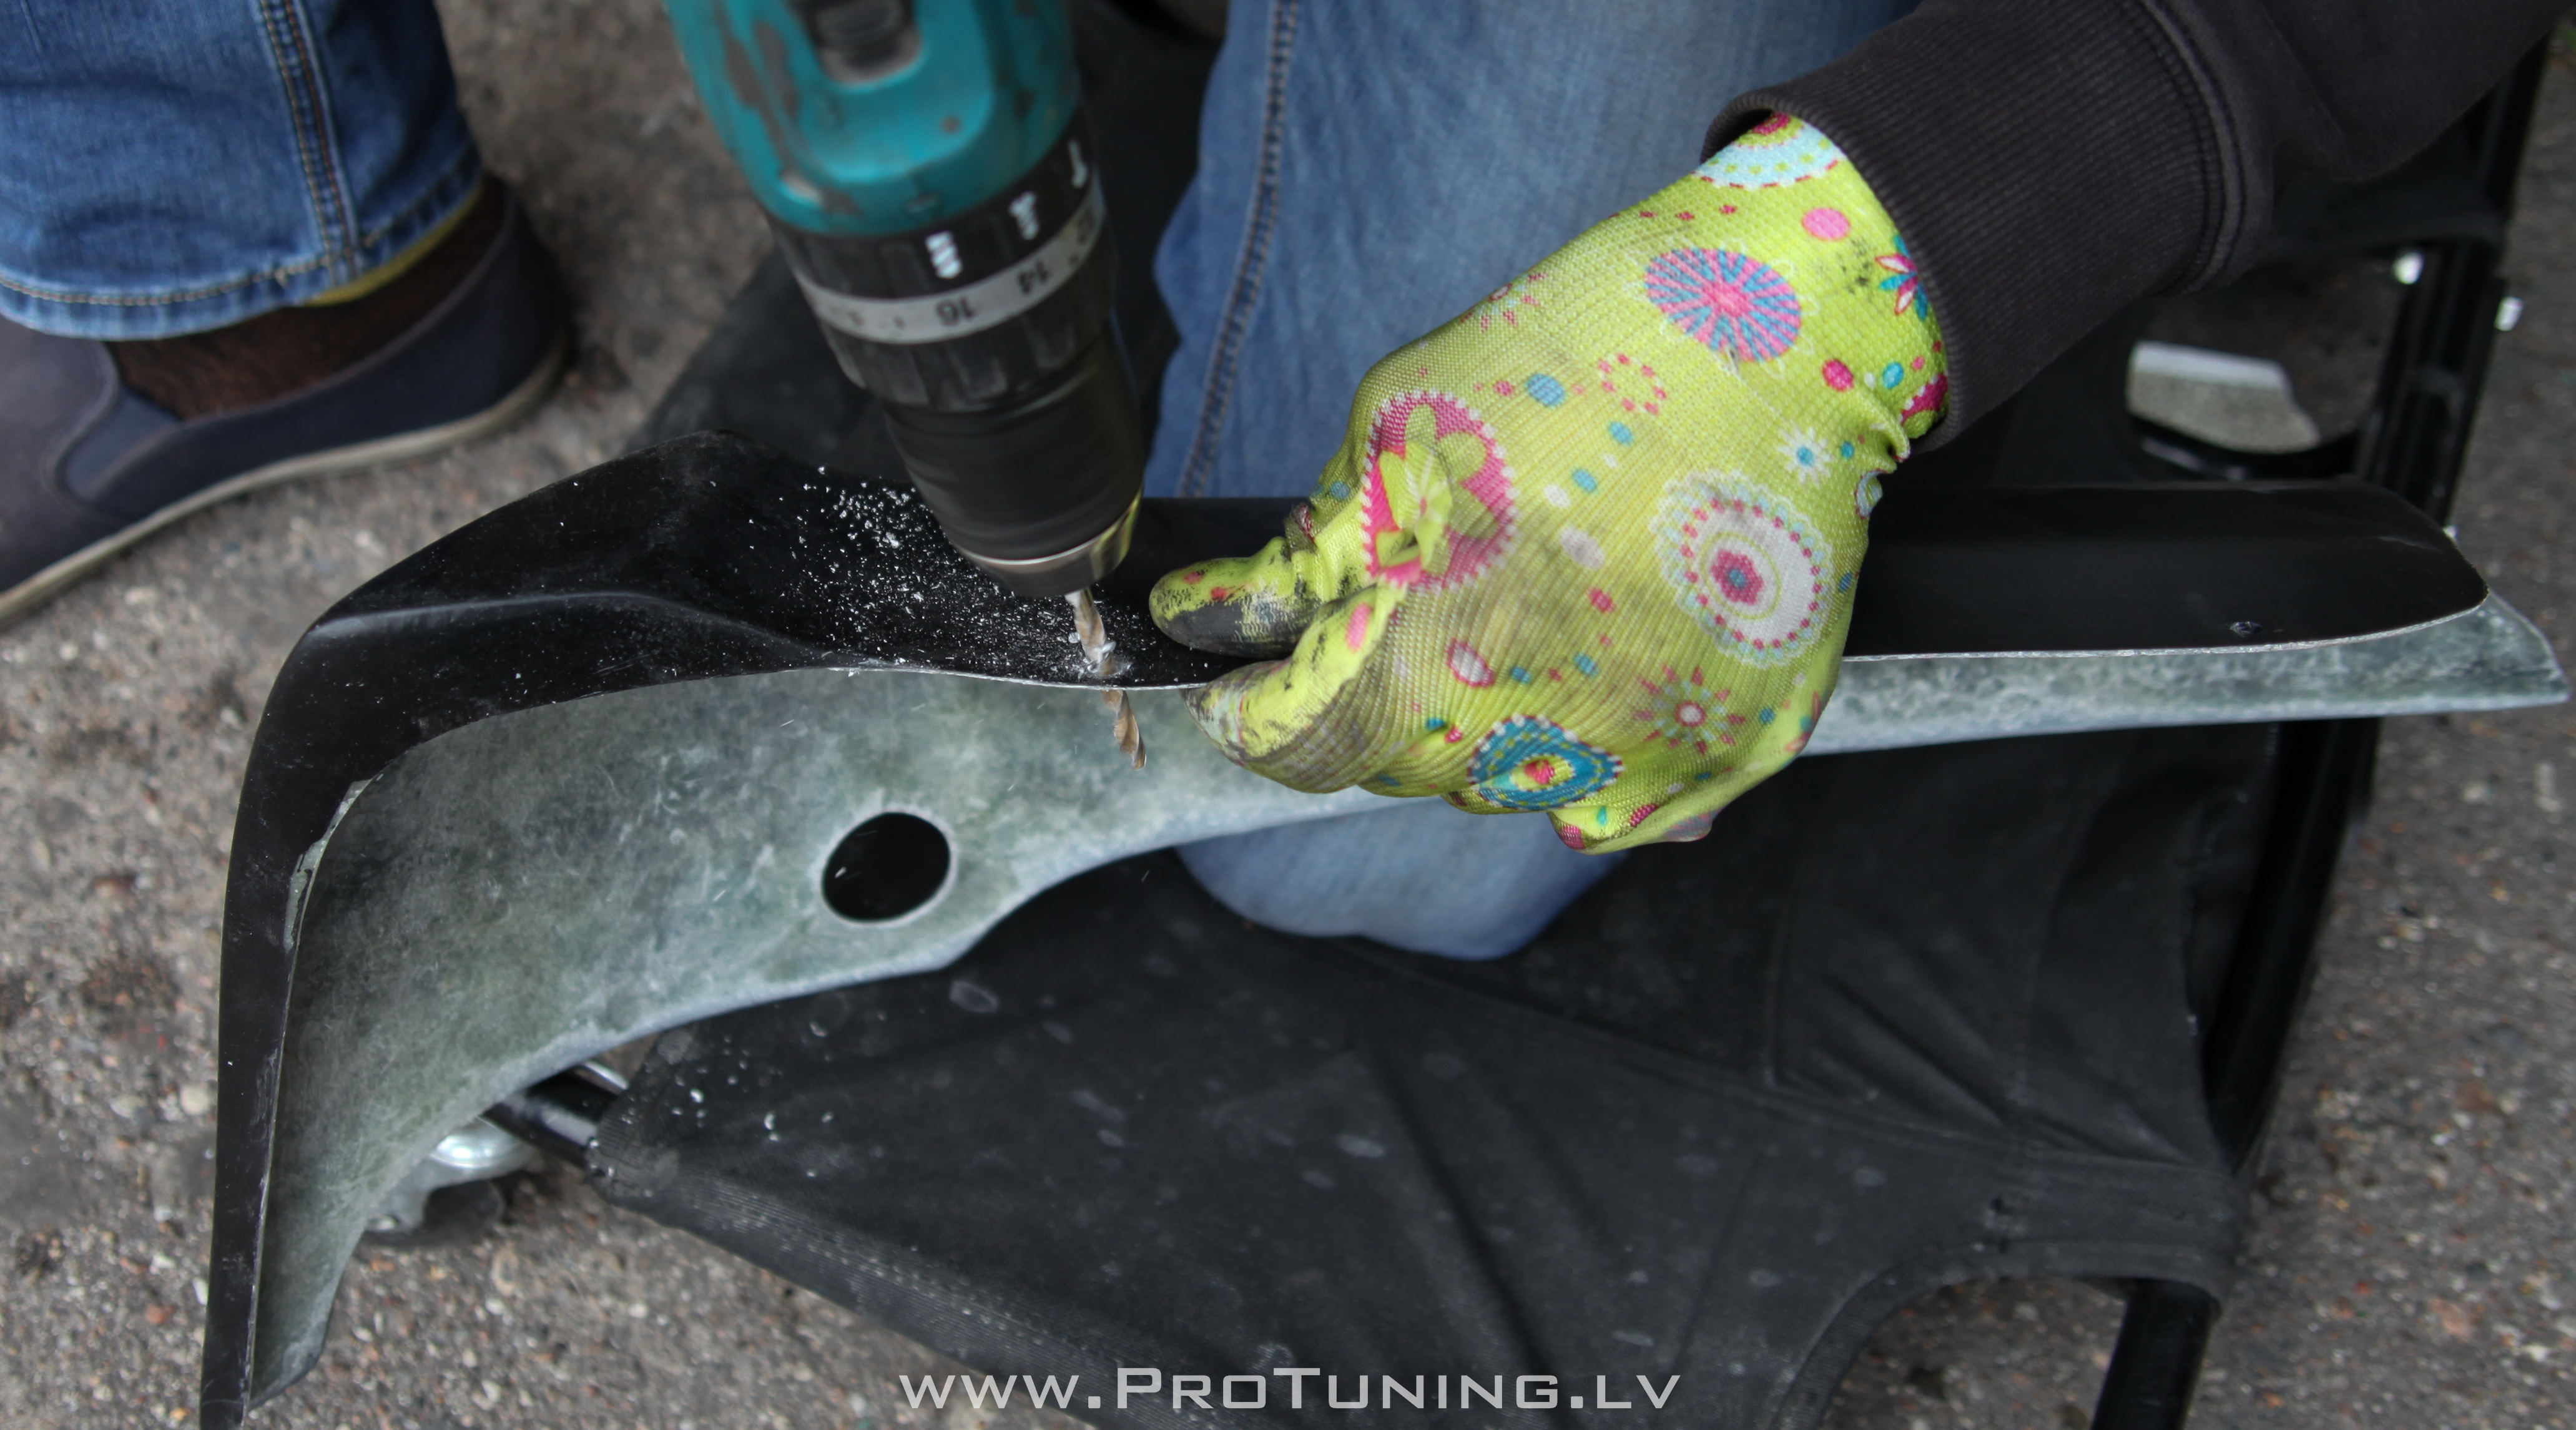
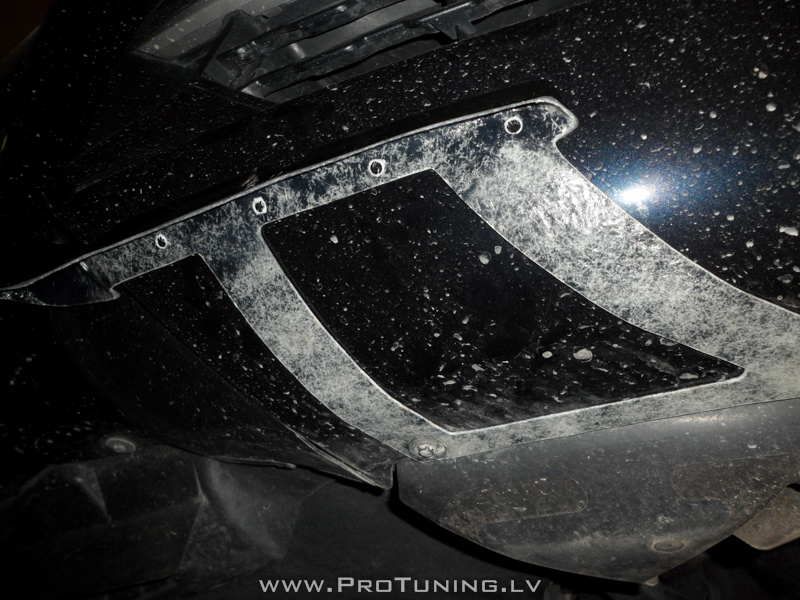
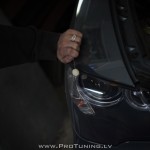
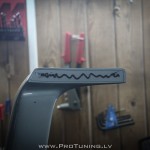
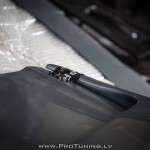
Install brackets / supporting frame ( drill two holes in brackets – holes are not predrilled because every front bumper have a little different size and shape ) by unscrewing two bolts from each lower side of front bumper – fasten brackets using two existing bolts and screw it to bumper ( upper part  ) – see pictures 1-2

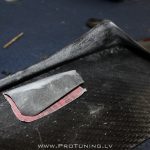
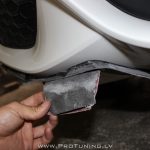
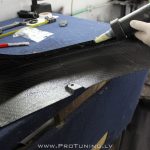
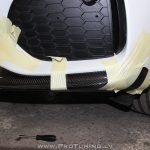
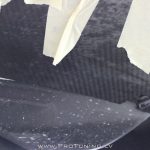
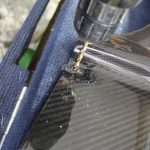
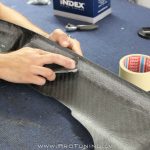
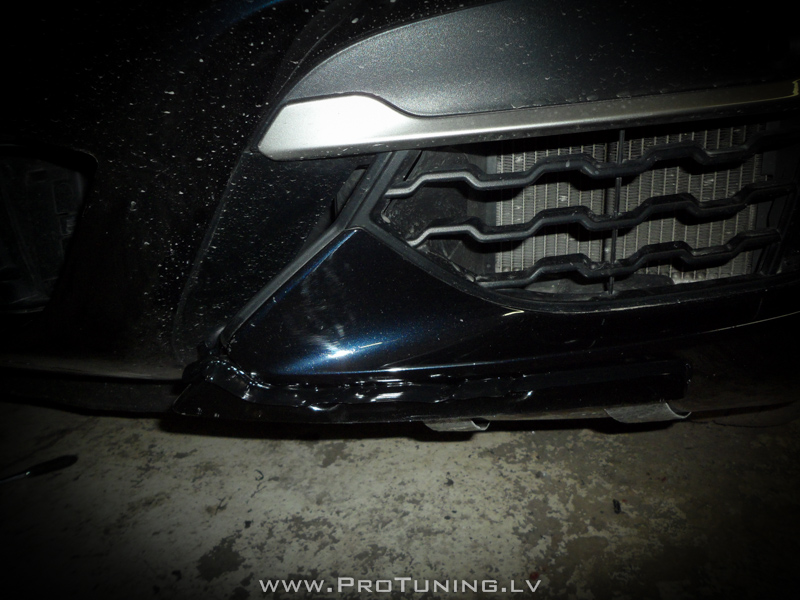
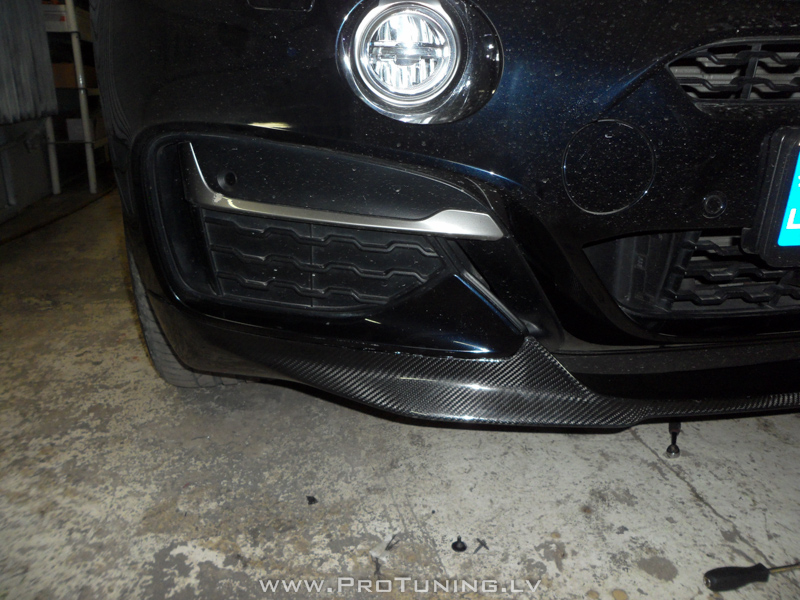
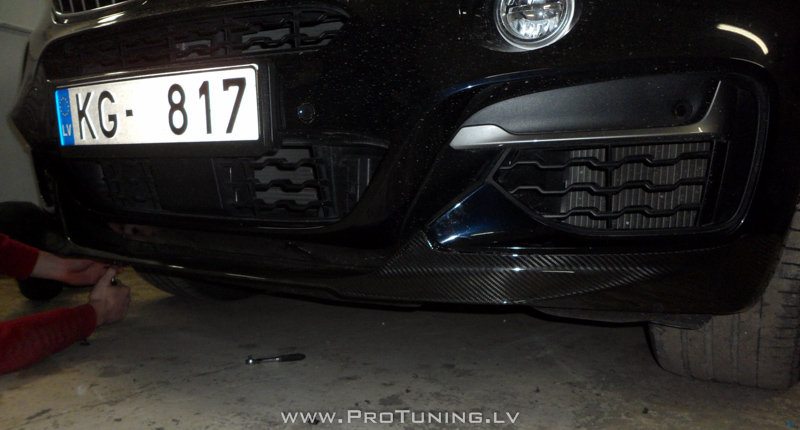
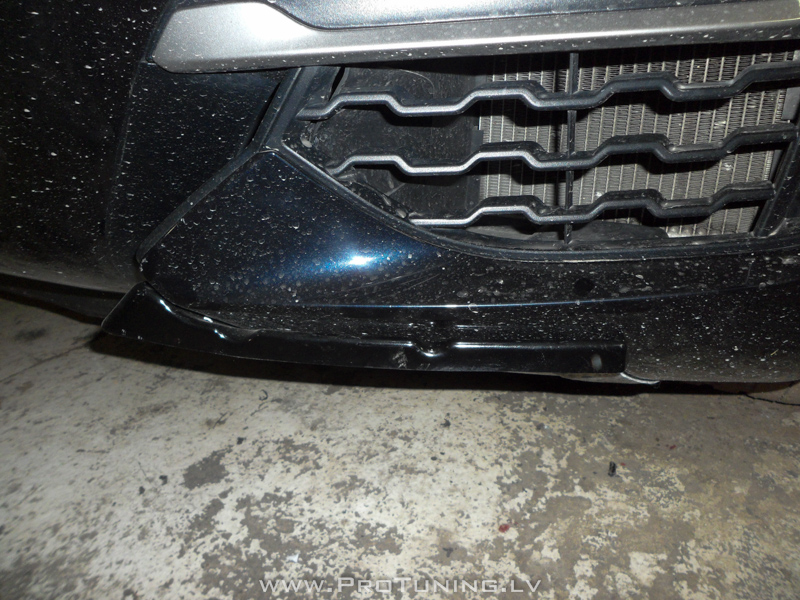
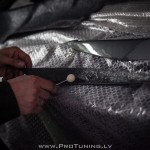
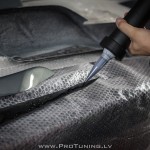
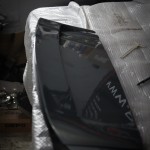
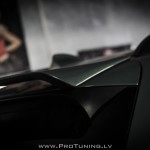
Install front lip – sand the lip and brackets, drill holes in front lip – that holes must line up to car’s holes. Apply adhesive on a perimeter of the front lip then install it on to prepared front bumper, fasten lower bolts and fasten&tighten the lip using scotch tape – see pictures 2-8

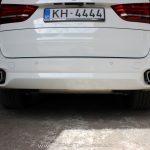
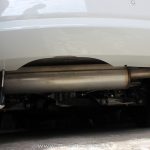
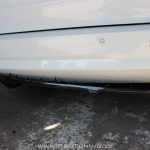
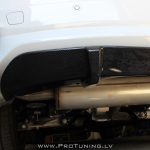
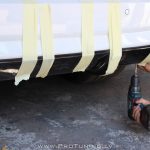
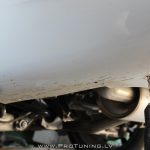
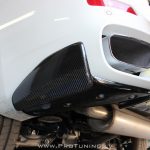
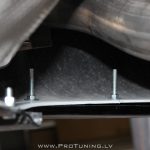
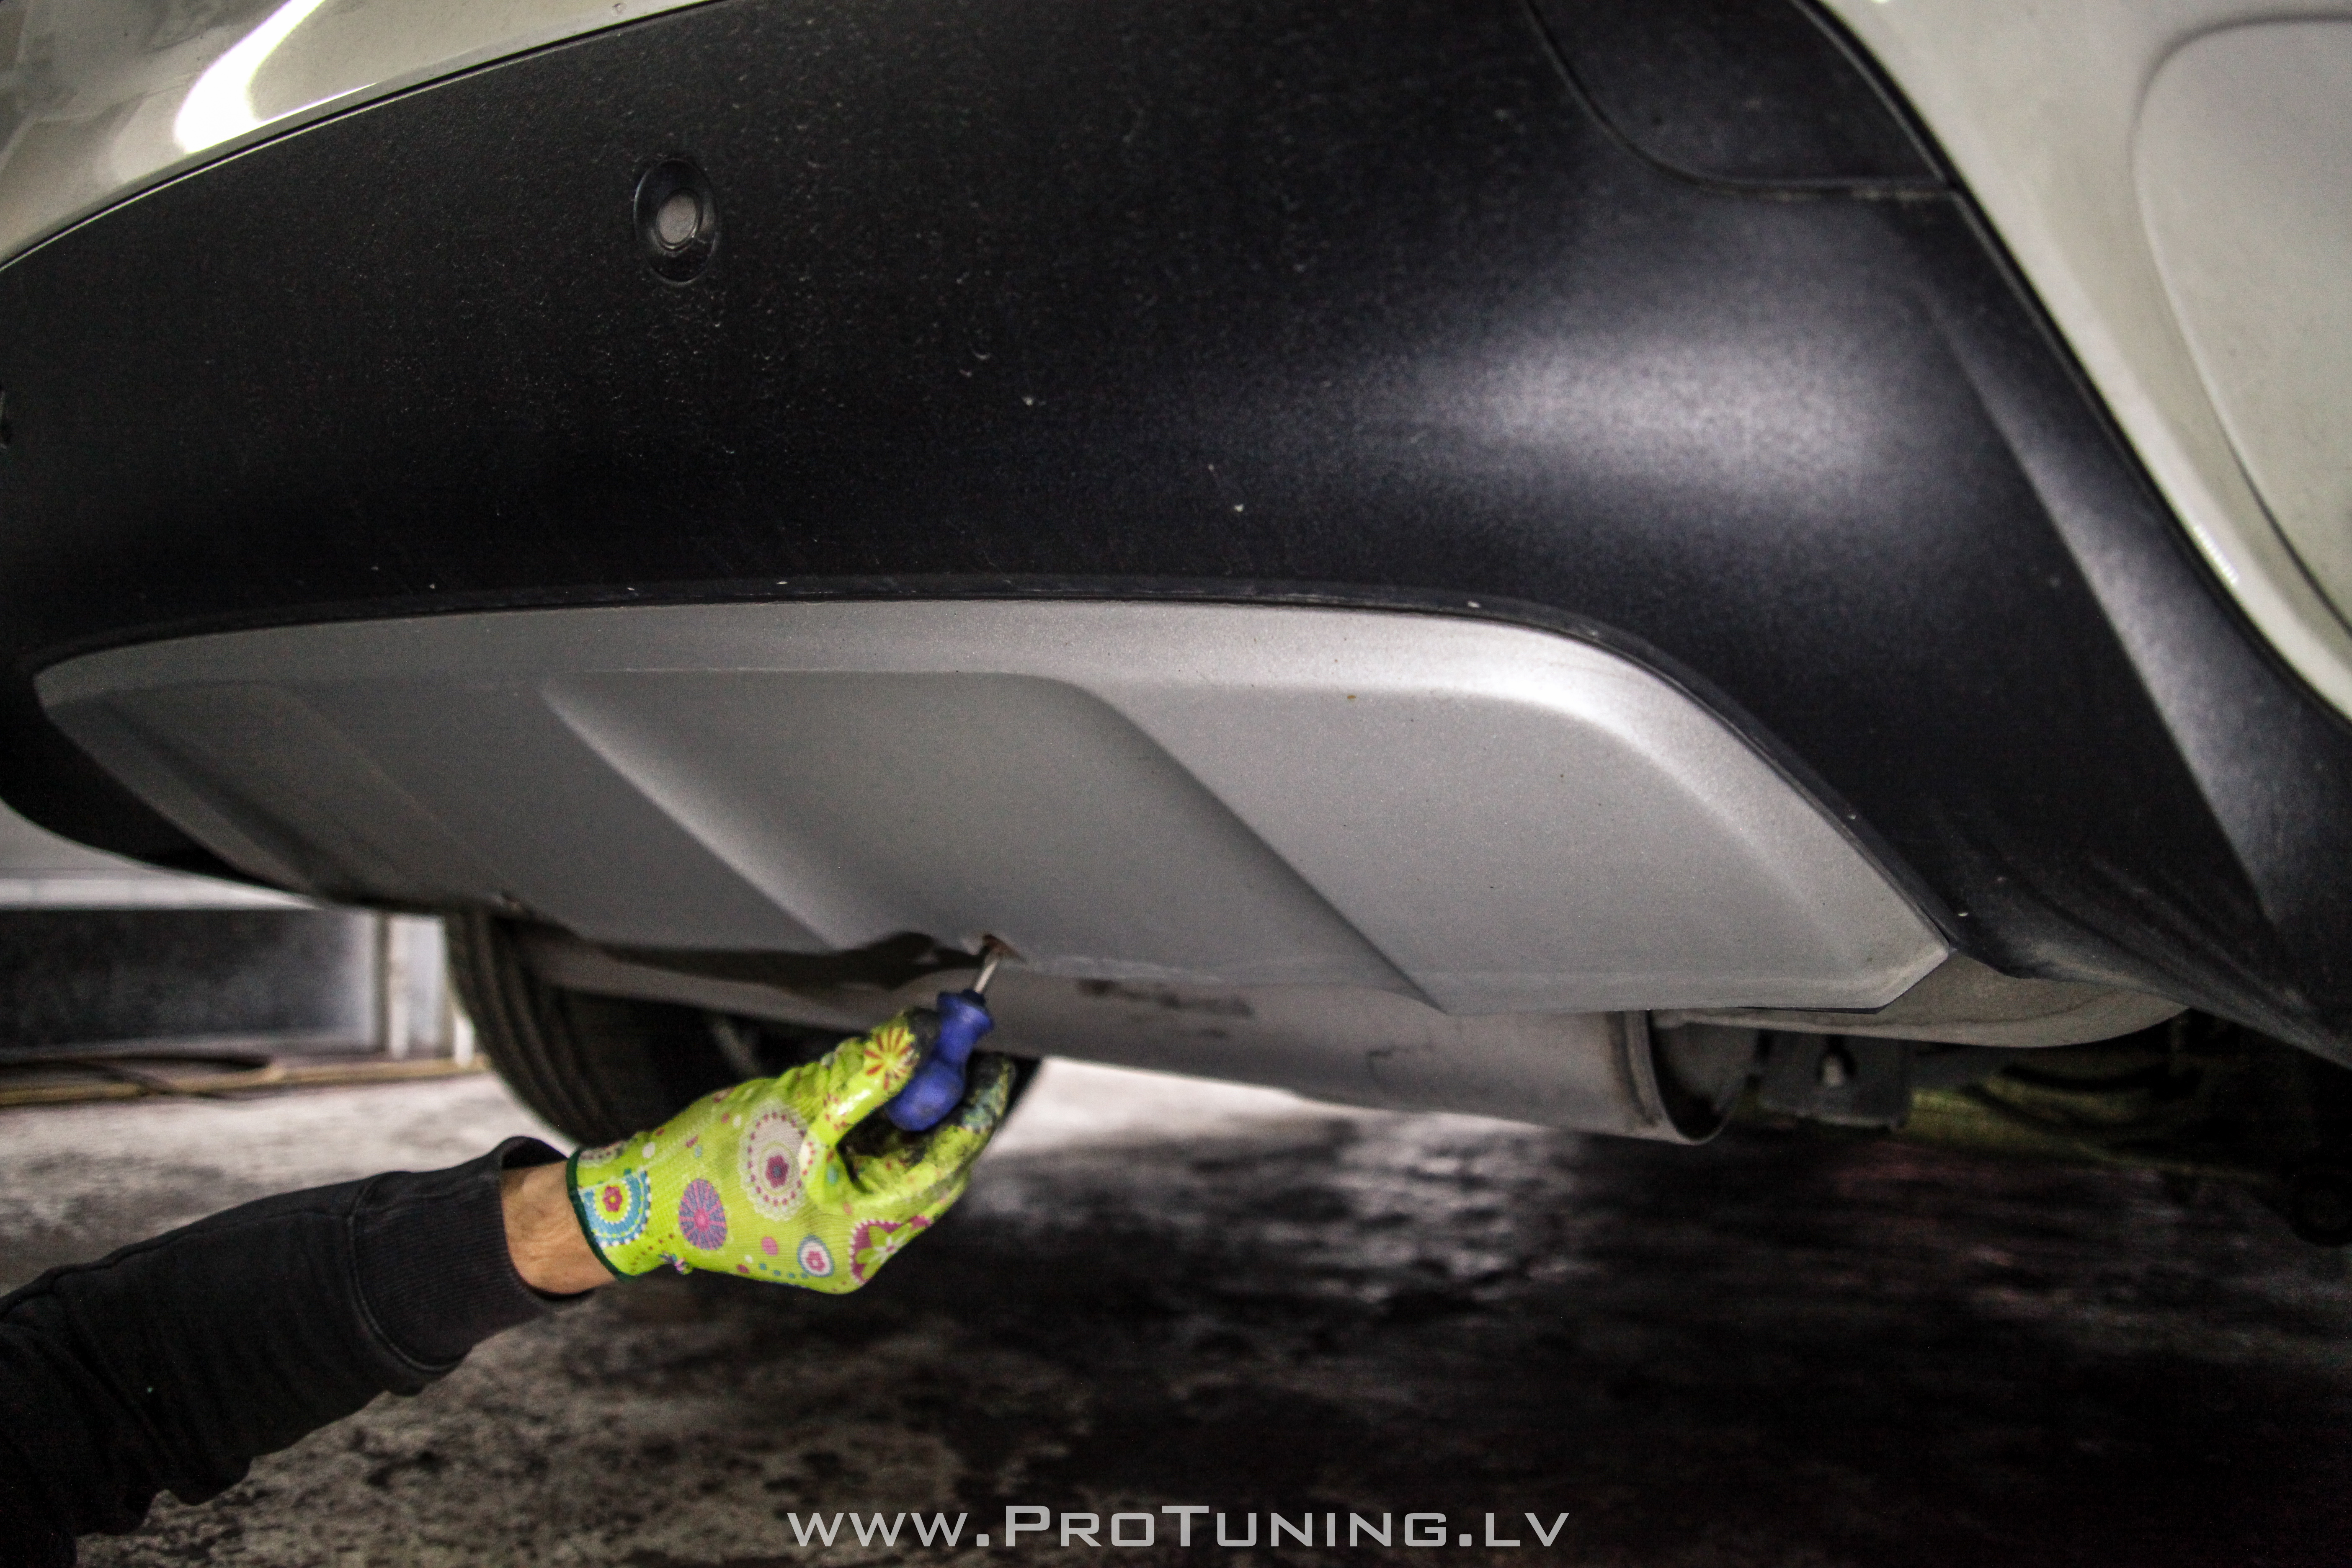
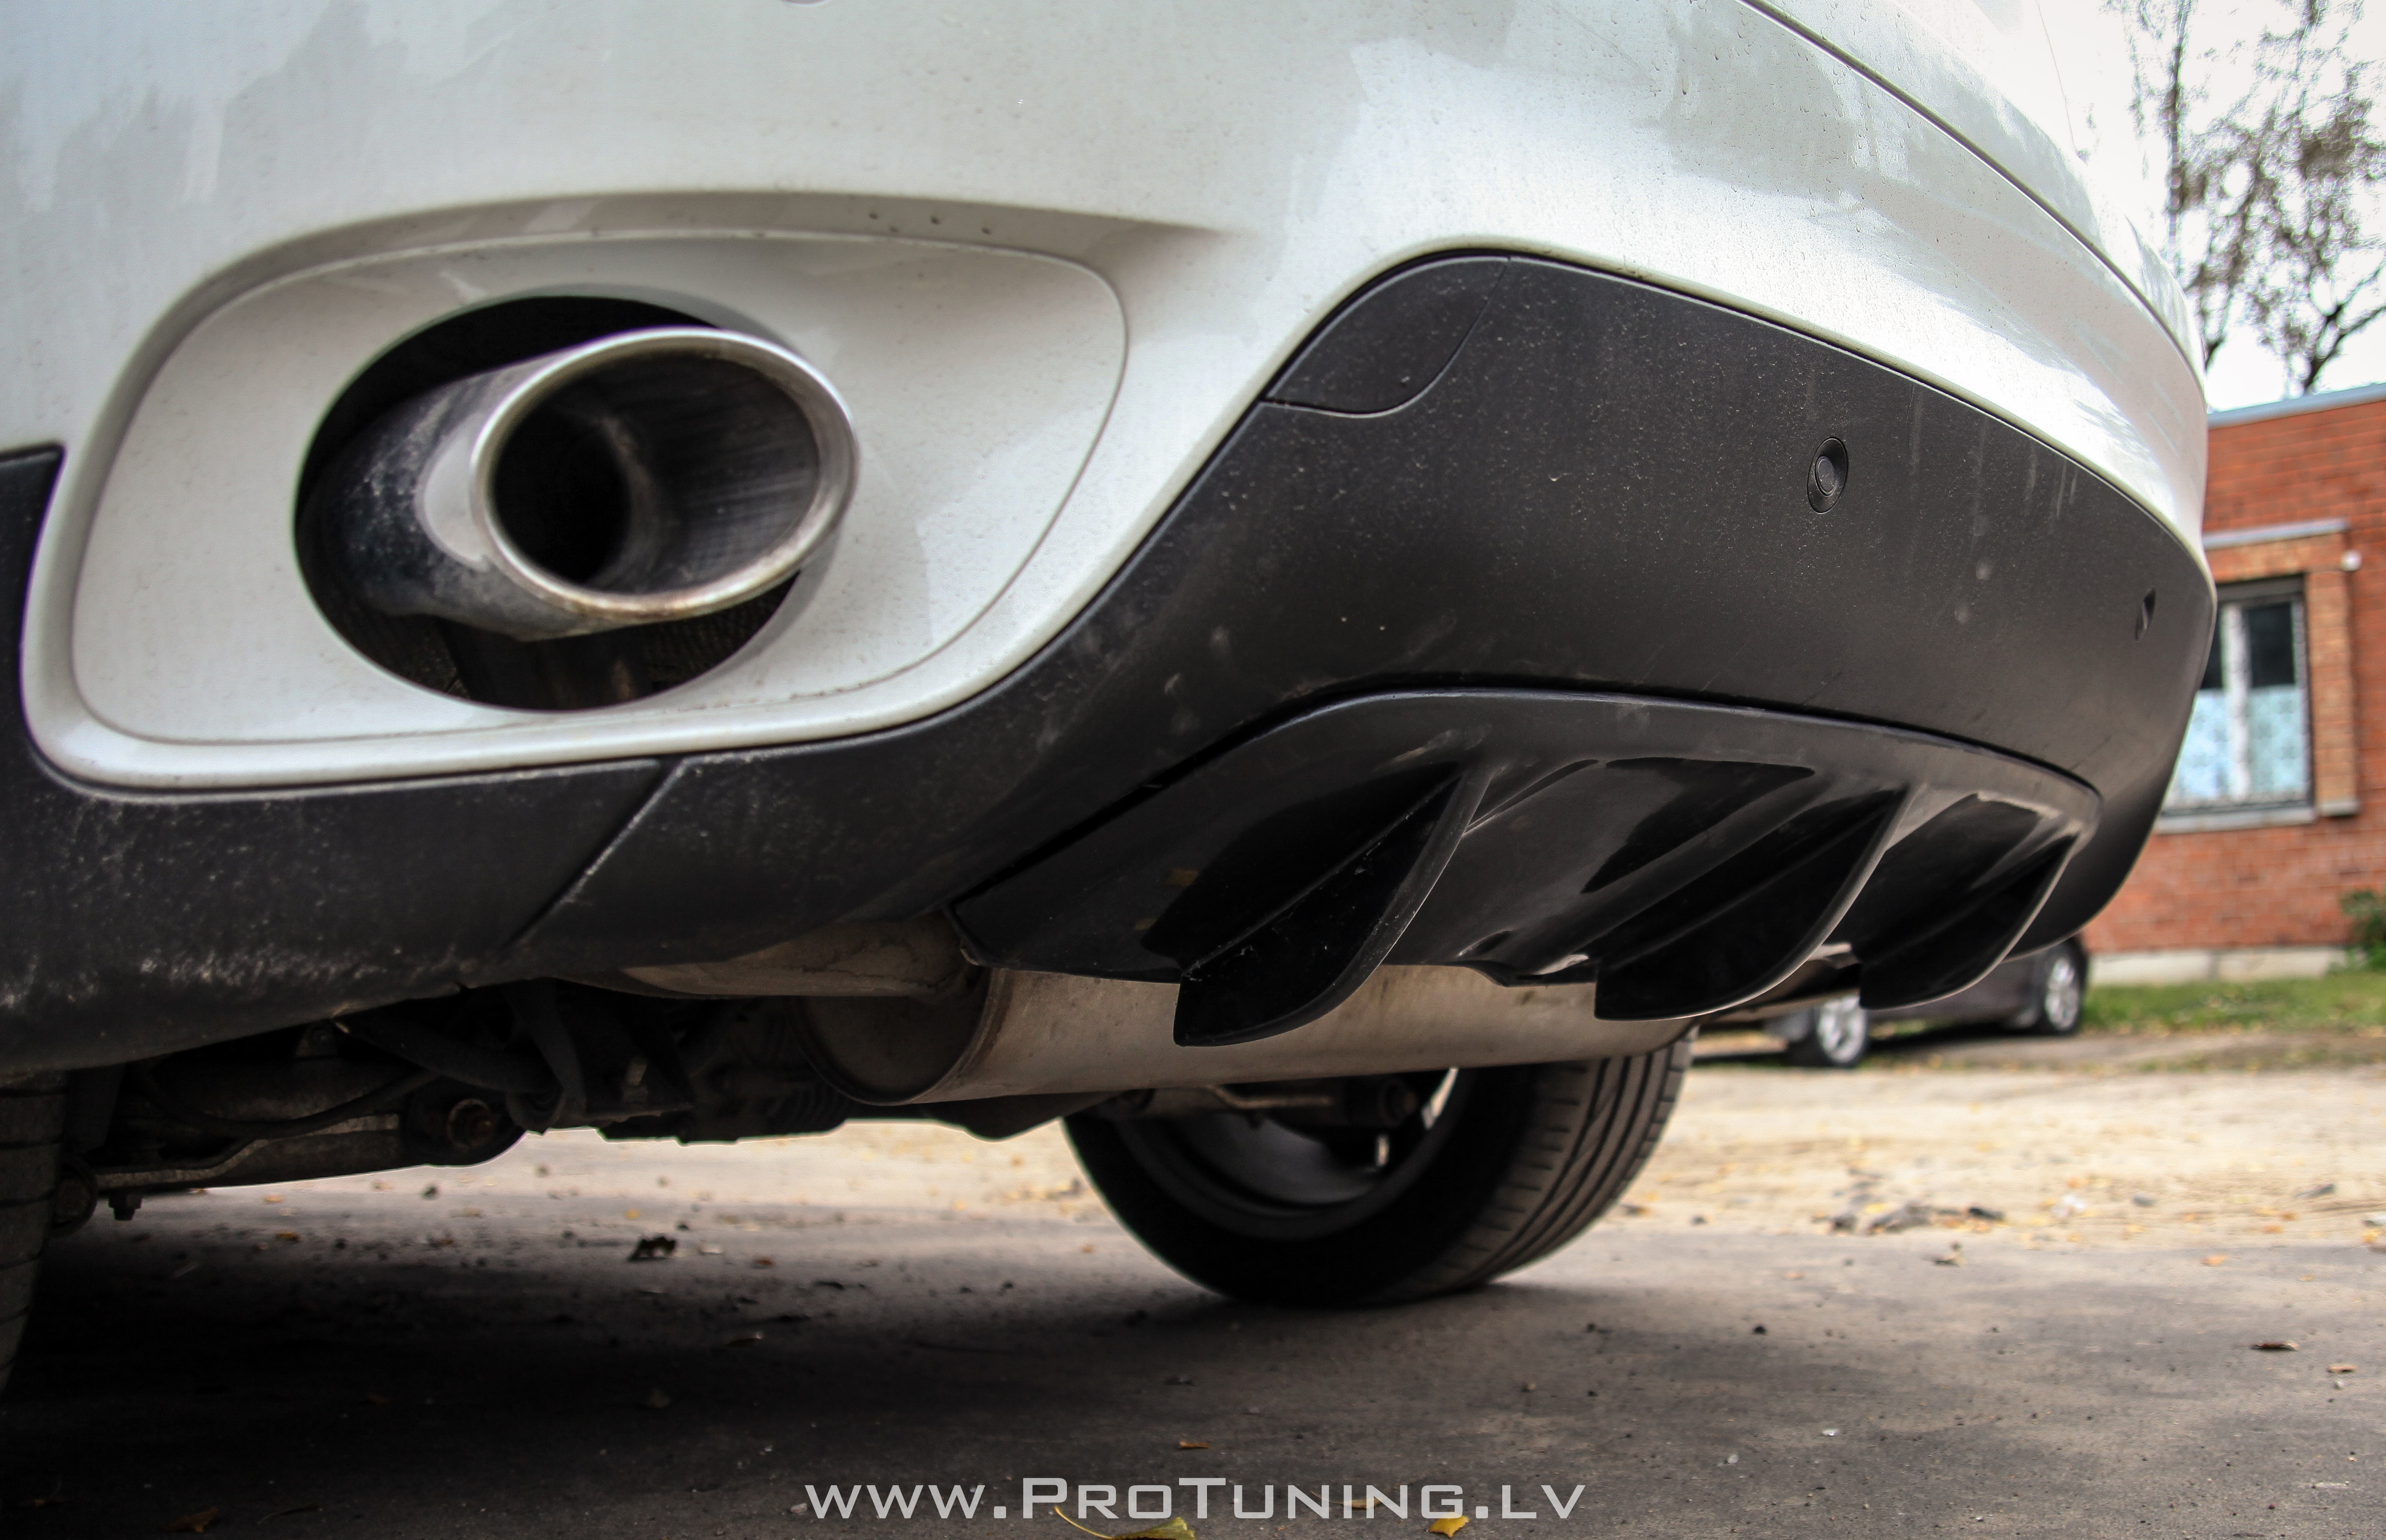
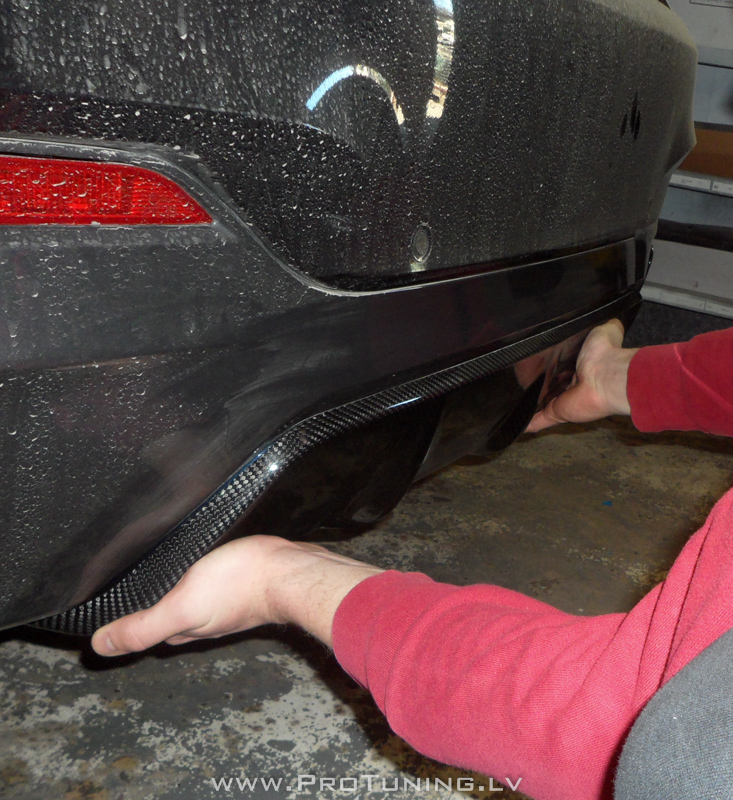
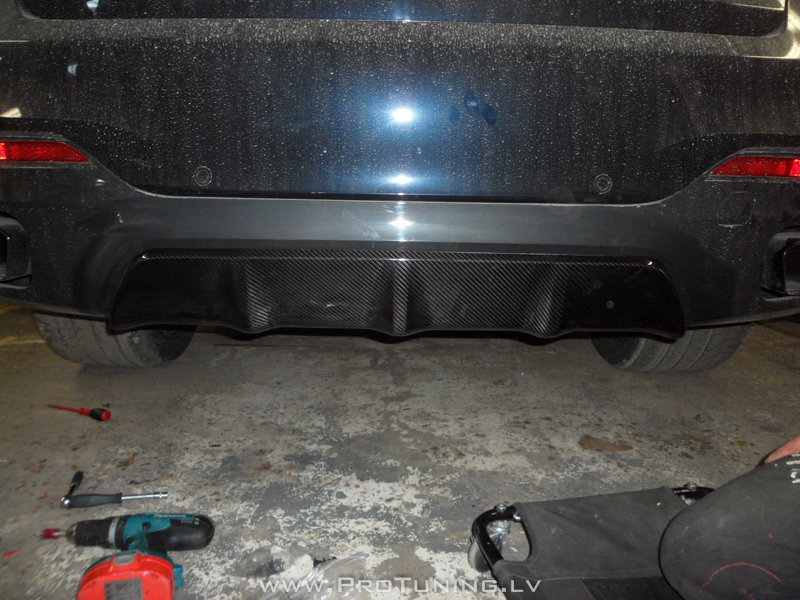
Diffuser installation :

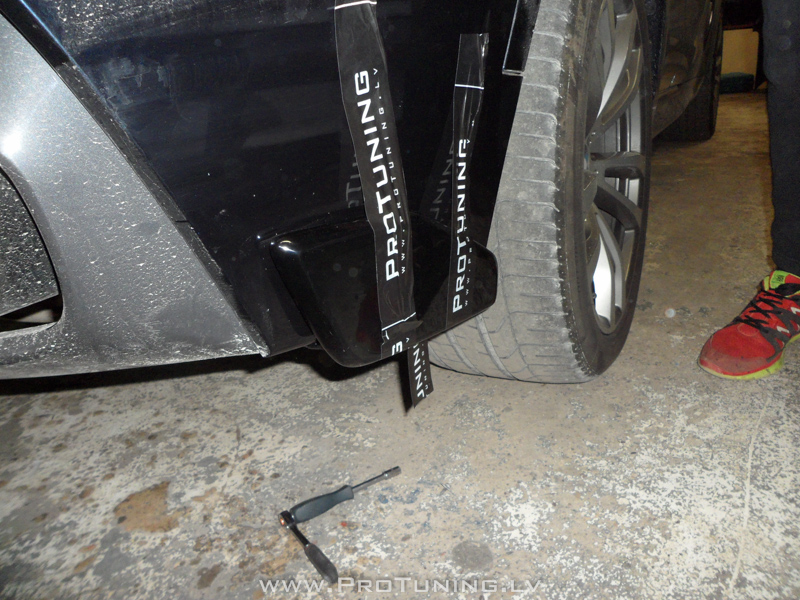
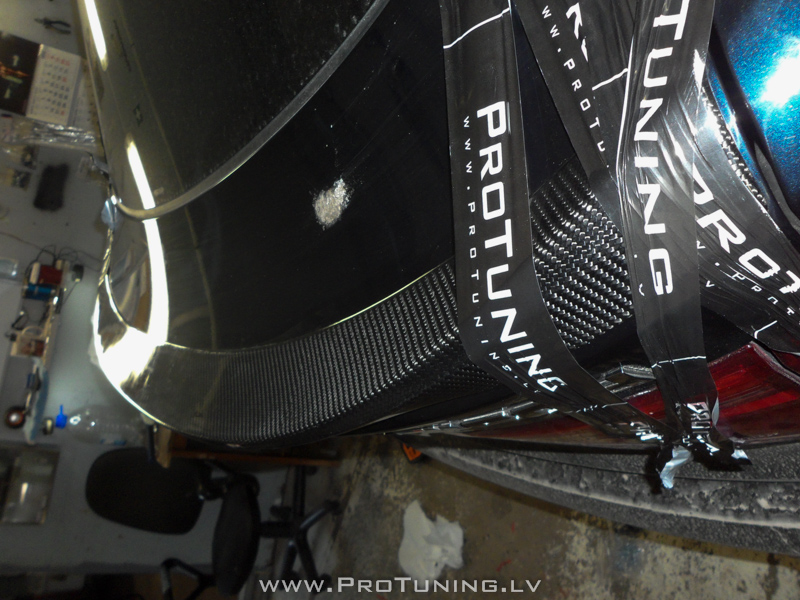
Apply adhesive on a perimeter of the whole diffuser like it’s shown on pictures then install it on to prepared rear bumper, fasten lower bolts and fasten&tighten the diffuser using scotch tape – see pictures

Rear flaps installation :

Align flaps like you wish – mark the places to drill the holes – drill holes, install using bolts

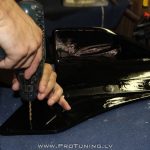
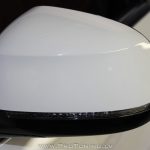
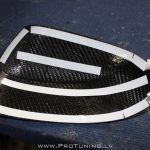
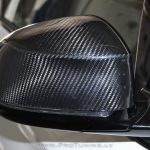
Mirror caps installation :

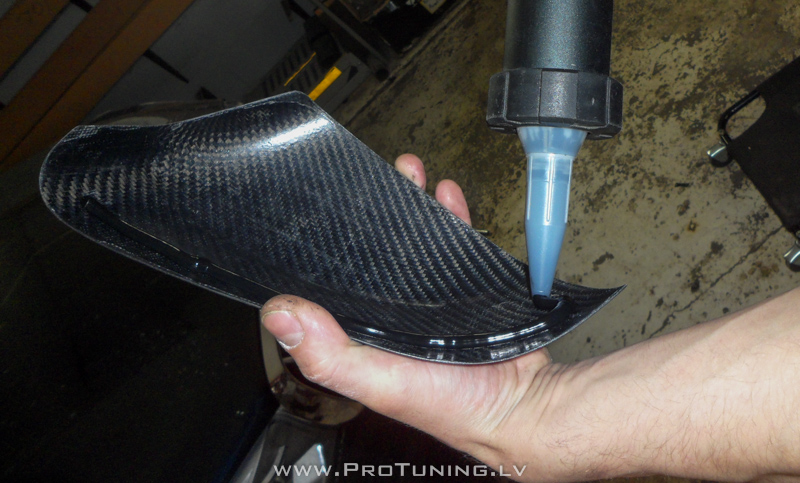
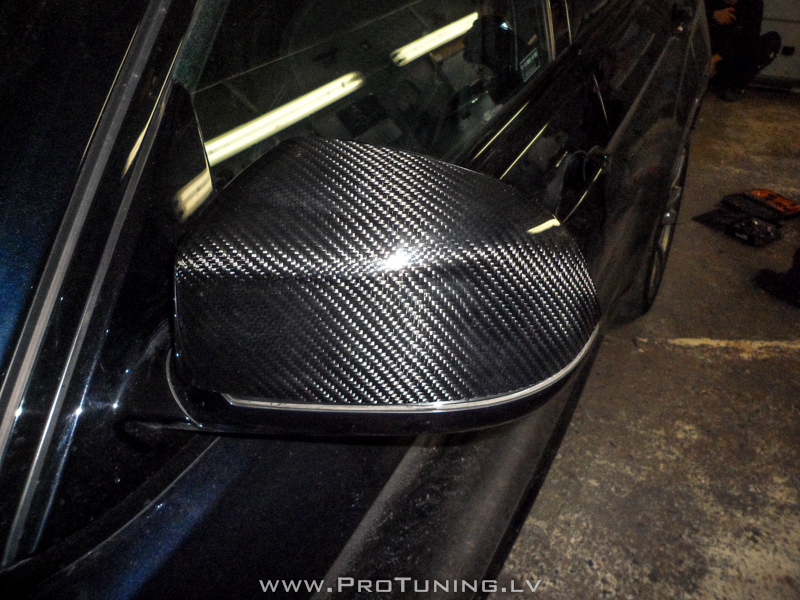
Remove the protection tape and stick the cover to your mirror caps

BMW X6 E71 rear diffuser installation manual

BMW X6 E71 Diffuser installation

Level : Easy

Tools : Screwdriver to remove old diffuser and to install new on. Drill to drill holes in new diffuser

Please unscrew 3 bolts which are holding diffuser from bottom then gently pull it


Click in the new diffuser / drill holes and screw it to the bottom of the bumper

BMW X6 E71 P-Performance front bumper lip installation

BMW X6 E71 P-Performance front bumper lip installation

Installation is very easy – you need

a) hands

b) screwdriver

c) two screws

  1. Please center-line the lip so the left and right sides of the lip line up to the bumperimg_6154
  2. Ask for assistance ( or fasten lip using adhesive ) with drilling/screwdriver and fasten lip using one screw on the left and one on the righimg_6155


BMW X6 E71 Front bumper flaps installation

Installation manual for BMW X6 E71 Front bumper flaps

  1. Please unscrew two screws under the bumper ( two left and two right )

img_6148

2) Do a test fit of the flap and drill holes – we do not predrill holes because all front bumpers are deformed !! Once holes are drilled – do a test fit and you will see that inner side of the flap won’t line up to the bumper without pressur

img_6152 img_6149

3) Apply adhesive on a inner side of the flap and fasten it so adhesive can curdle ( DO NOT USE SEALANTS OR 3M TAPE )

img_6151

Installation manual BMW X6 F16 Carbon Fiber M-Performance bodykit

Installation manual for Bodykit – BMW F16 Carbon Fiber M-Performance bodykit

Bodykit can be found here

For installation you will need:

1) Hands

2) Adhesive/glue and a gun

3) Metallic rivets and a gun for it ( or screws )

4) Paper scotch tape

5) Electronic drill to drill correct holes for rivets

Front lip installation process

Required : 2) 3) 4) 5)

Do a test fit to find out how the lip must be installed to a front bumper. Please use brackets ( supplied with carbon fiber bodykit ONLY ) – you need to drill holes and fasten brackets to the lower part of the front bumper. Brackets are required to hold the front lip. Lower lip must be attached/fastened to a lower part of the bumper using existing bolts

 SAM_2588          Apply adhesive to a bracket – it will hold/adhesive front lip to the bumper/brackets ! SAM_2594  SAM_2568

If the holes is not predrilled in the front lip – please drill it and right after install the front lip : upper part must match the brackets and lower part must be screwed/fastened to a bumper

SAM_2597 SAM_2569

Rear diffuser/lip and side flaps installation

  Required2) 3) 4) 5)

Do a test fit on both sides there are places for rivets/screws – drill it and install rivets ( install rivets only AFTER the lip is prepared for installation using adhesive)

Prepare the diffuser in accordance to method provided by adhesive manufacturer

SAM_2534

For a better fixation apply adhesive all around the inner perimeter

SAM_2537

Istall the diffuser and fasten in underneath the car using screws/bolts

SAM_2539

SAM_2542

“Ears” or side flaps –  must be installed using adhesive and existing bolts

SAM_2562

SAM_2532

Rear spoiler and mirror covers installation

  Required  2) 3) 4) 5)

Apply adhesive all around the inner perimeter, install the spoiler/mirror covers and fasten it with scotch tape for a 24h

Spoiler :

SAM_2561

Mirro covers :

SAM_2574

SAM_2577

ENJOY

SAM_2621

SAM_2623

Fiberglass diffuser installation manual

Diffuser installation manual for AUDI A6 4F :

This Fiberglass diffuser installation manual can also give you inspiration on how to install fiberglass parts which are “a little bit short and i’m a little bit lazy to do something”

Diffuser ( and more other cool stuff for your A6 4f ) can be found here :  http://protuning.lv/index.php?op=market&module=modules/market&id=89&mid=58&model=381&linklang=lv

  1. Remove your existing diffuser and note how it is installed on to car ( 4 bolts underneath your car – it’s very important ). For other fiberglass products you need to understand the principles of the installation process – it is all the same.
  2. Do a test fit of a new diffuser, it will look a little shorter when not installed – it’s OK – you must understand that fiberglass is elastic material and that not installed product always will look like it’s not suitable.

IMG_6516

3. Starting from one side ( we started from a left side ) fix new diffuser using old screw to the car ( sometimes you need to drill additional hole in the diffuser / fiberglass part )

IMG_6515

4. Gently push from left side to right side apllying a little force and ask for assistance. One person is holding/pushing diffuser and second one fastens it under the car using existing screws. So you move from left side to opposite side accordingly applying a little pressure to diffuser when screwing it on to car

IMG_6518

5. This is it, fasten other side and enjoy

IMG_6520

BMW E70 Aerodynamic arches flares installation user manual

Sport Arches installation manual on Е70 Х5

Arches can be found here

Arches/flares for BMW X5 E70 2006-2014

For installation you will need:

1) Hands ( two hands and a clean mind )

2) Rivets and a gun for it

3)  Electronic drill to drill correct holes for rivets

1) Remove existing arches, you will destroy 99% of existing rivets, remove the parts of the rivets from the splash guards

2) Do a test fit to find out where to drill the holes for rivets on the new arches


3) Clip in arches, don’t be afraid to apply pressure and force ( stretch the arches – material is elastic enough ). Push the arch inside desired places and fasten it with rivets

 REAR ARCH INSTALLATION VIDEO

Porsche Cayenne Eyebrows installation manual

This manual describes installation process of Porsche Cayenne 955 Eyebrows ( and applies to all Cayenne eyebrows )

You will need :

Eyebrows : Cayenee EYEBROWS

Adhesive – we recommend to use SIKA

Scotch tape

A Helping Hand 🙂

  1. Please do a test fit – you will see that there is a huge gap when you press on one side – don’t worry the material is elastic
  2. Paint the eyebrows
  3. Prepare surfaces for installation ( method differs based from adhesive )
  4. Apply adhesive – DO NOT USE SEALANT
  5. Install eyebrows and fasten it with scotch tape

Fiberglass Eyebrows and small fiberglass products installation

This manual describes installation process of fiberglass eyebrows for BMW E70

The process is similar to and applies to all eyebrows and small fiberglass items such as spoilers, flaps, add-ons and etc

We recommend to use ADHESIVE / HYBRID ADHESIVE such as SIKA FLEX

ATTENTION – do not use sealant – IT’S NOT AND ADHESIVE

To succesfully install your product you will need

  • adhesive
  • cleaning liquid ( alchohol for example )
  • scotch tape

First of all – please examine the received product ! Some minor cratches are allowed due to production ( this is easy covered by a skilled&professional paint job using proper filler )

Please do a test fit ! And notice where to apply pressure ( if it is requiered )

Paint the product, we recommend to use elastificated paint materials to avoid further cracks ( see video belowe for painted spoiler – we can twist the product and there are no scratches/marks – https://www.youtube.com/watch?v=7_9FQ7XpRqQ )

Prepare the surface where the product must be installed to ( in our case it’s a headlight ). Clean it with cleaner and apply primer ( in case of SIKA is used ). Apply primer to product.

Apply the adhesive to the product, install it to the car and fasten for 24h with scotch tape, after 24h remove the tape and enjoy

Rear spoiler installation – bolt-on system

Our spoilers are supplied WITHOUT any kind of installation hardware – sorry it sometimes can increase shipping price so we decided NOT TO ENCLOSE installation hardware such as adhesive, bolts and etc

Installation of bolt-on spoiler

Firs of all you need to find out which bolt must be used ( mostly it’s so-called 6mm thread )

Take a closer look on the spoiler to find out how much bolts you need ( 2-8 pcs )

Please do a test fit to trunk to see where to drill holes for bolts ( sometimes on cars like VOLVO V-series there are marks for drilling )

Please apply adhesive/sealant on place where spoiler connects to your car’s surface – this must be done to prevent water leaking !

Paint the spoiler !

Install the spoiler and fasten it using bolts/Screws

If you have any questions – feel free to contact us !


Translate »