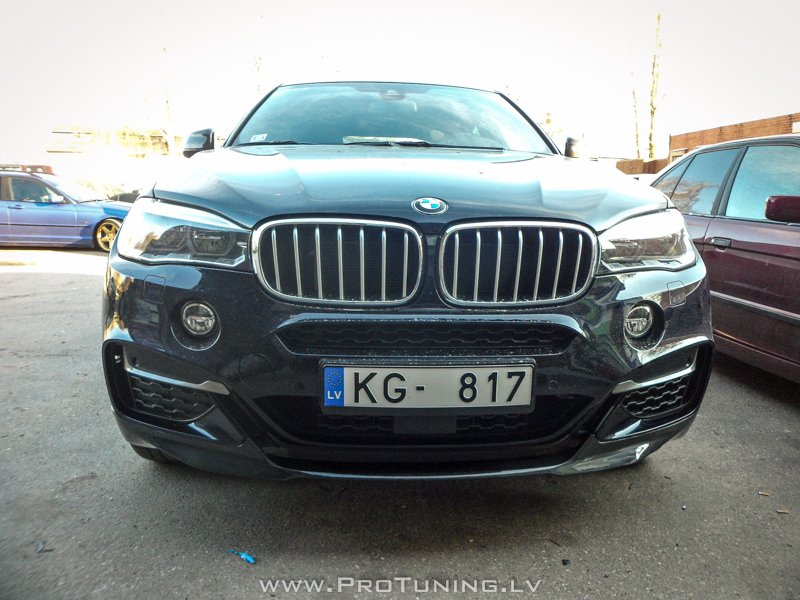
Installation manual for Bodykit – BMW F16 Carbon Fiber M-Performance bodykit
Bodykit can be found here
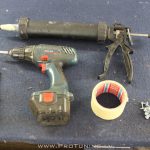
For installation you will need:

1) Hands
2) Adhesive/glue and a gun
3) Metallic rivets and a gun for it ( or screws )
4) Paper scotch tape
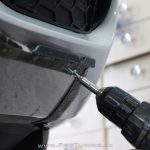
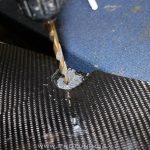
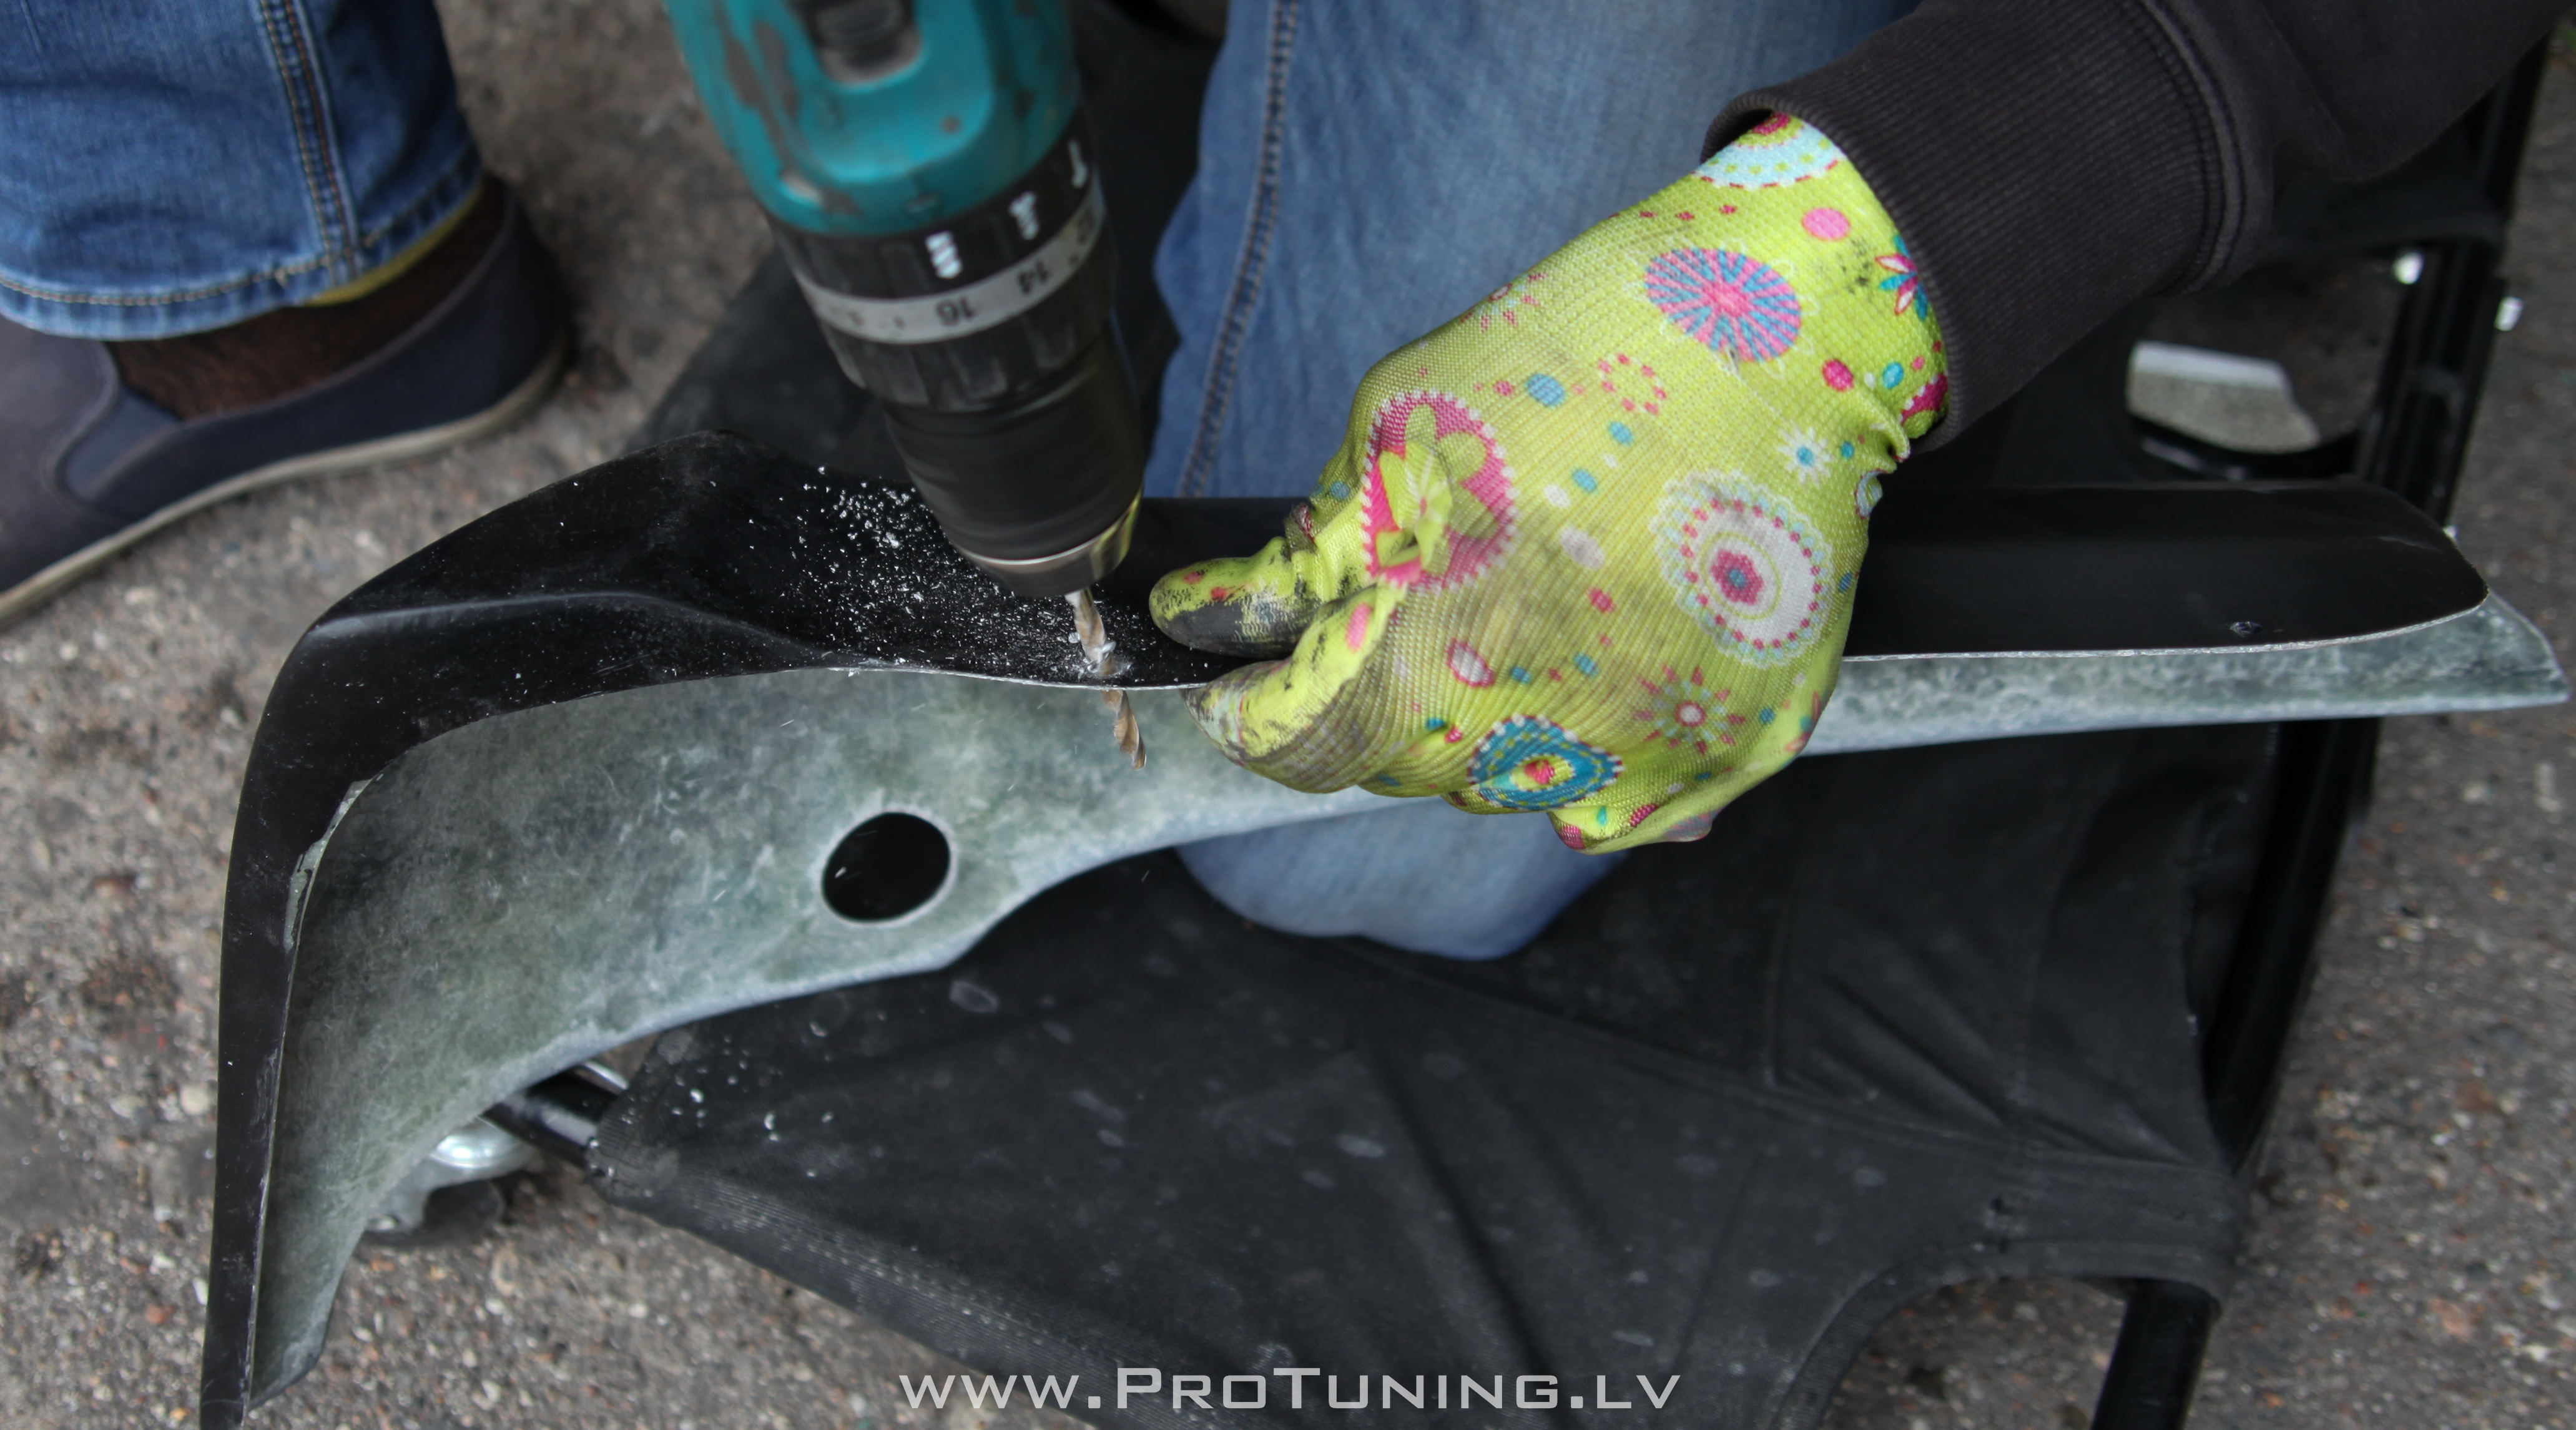
5) Electronic drill to drill correct holes for rivets
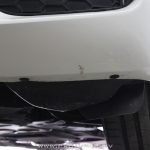
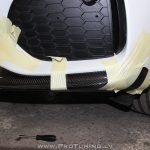
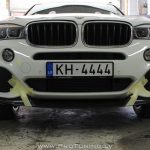
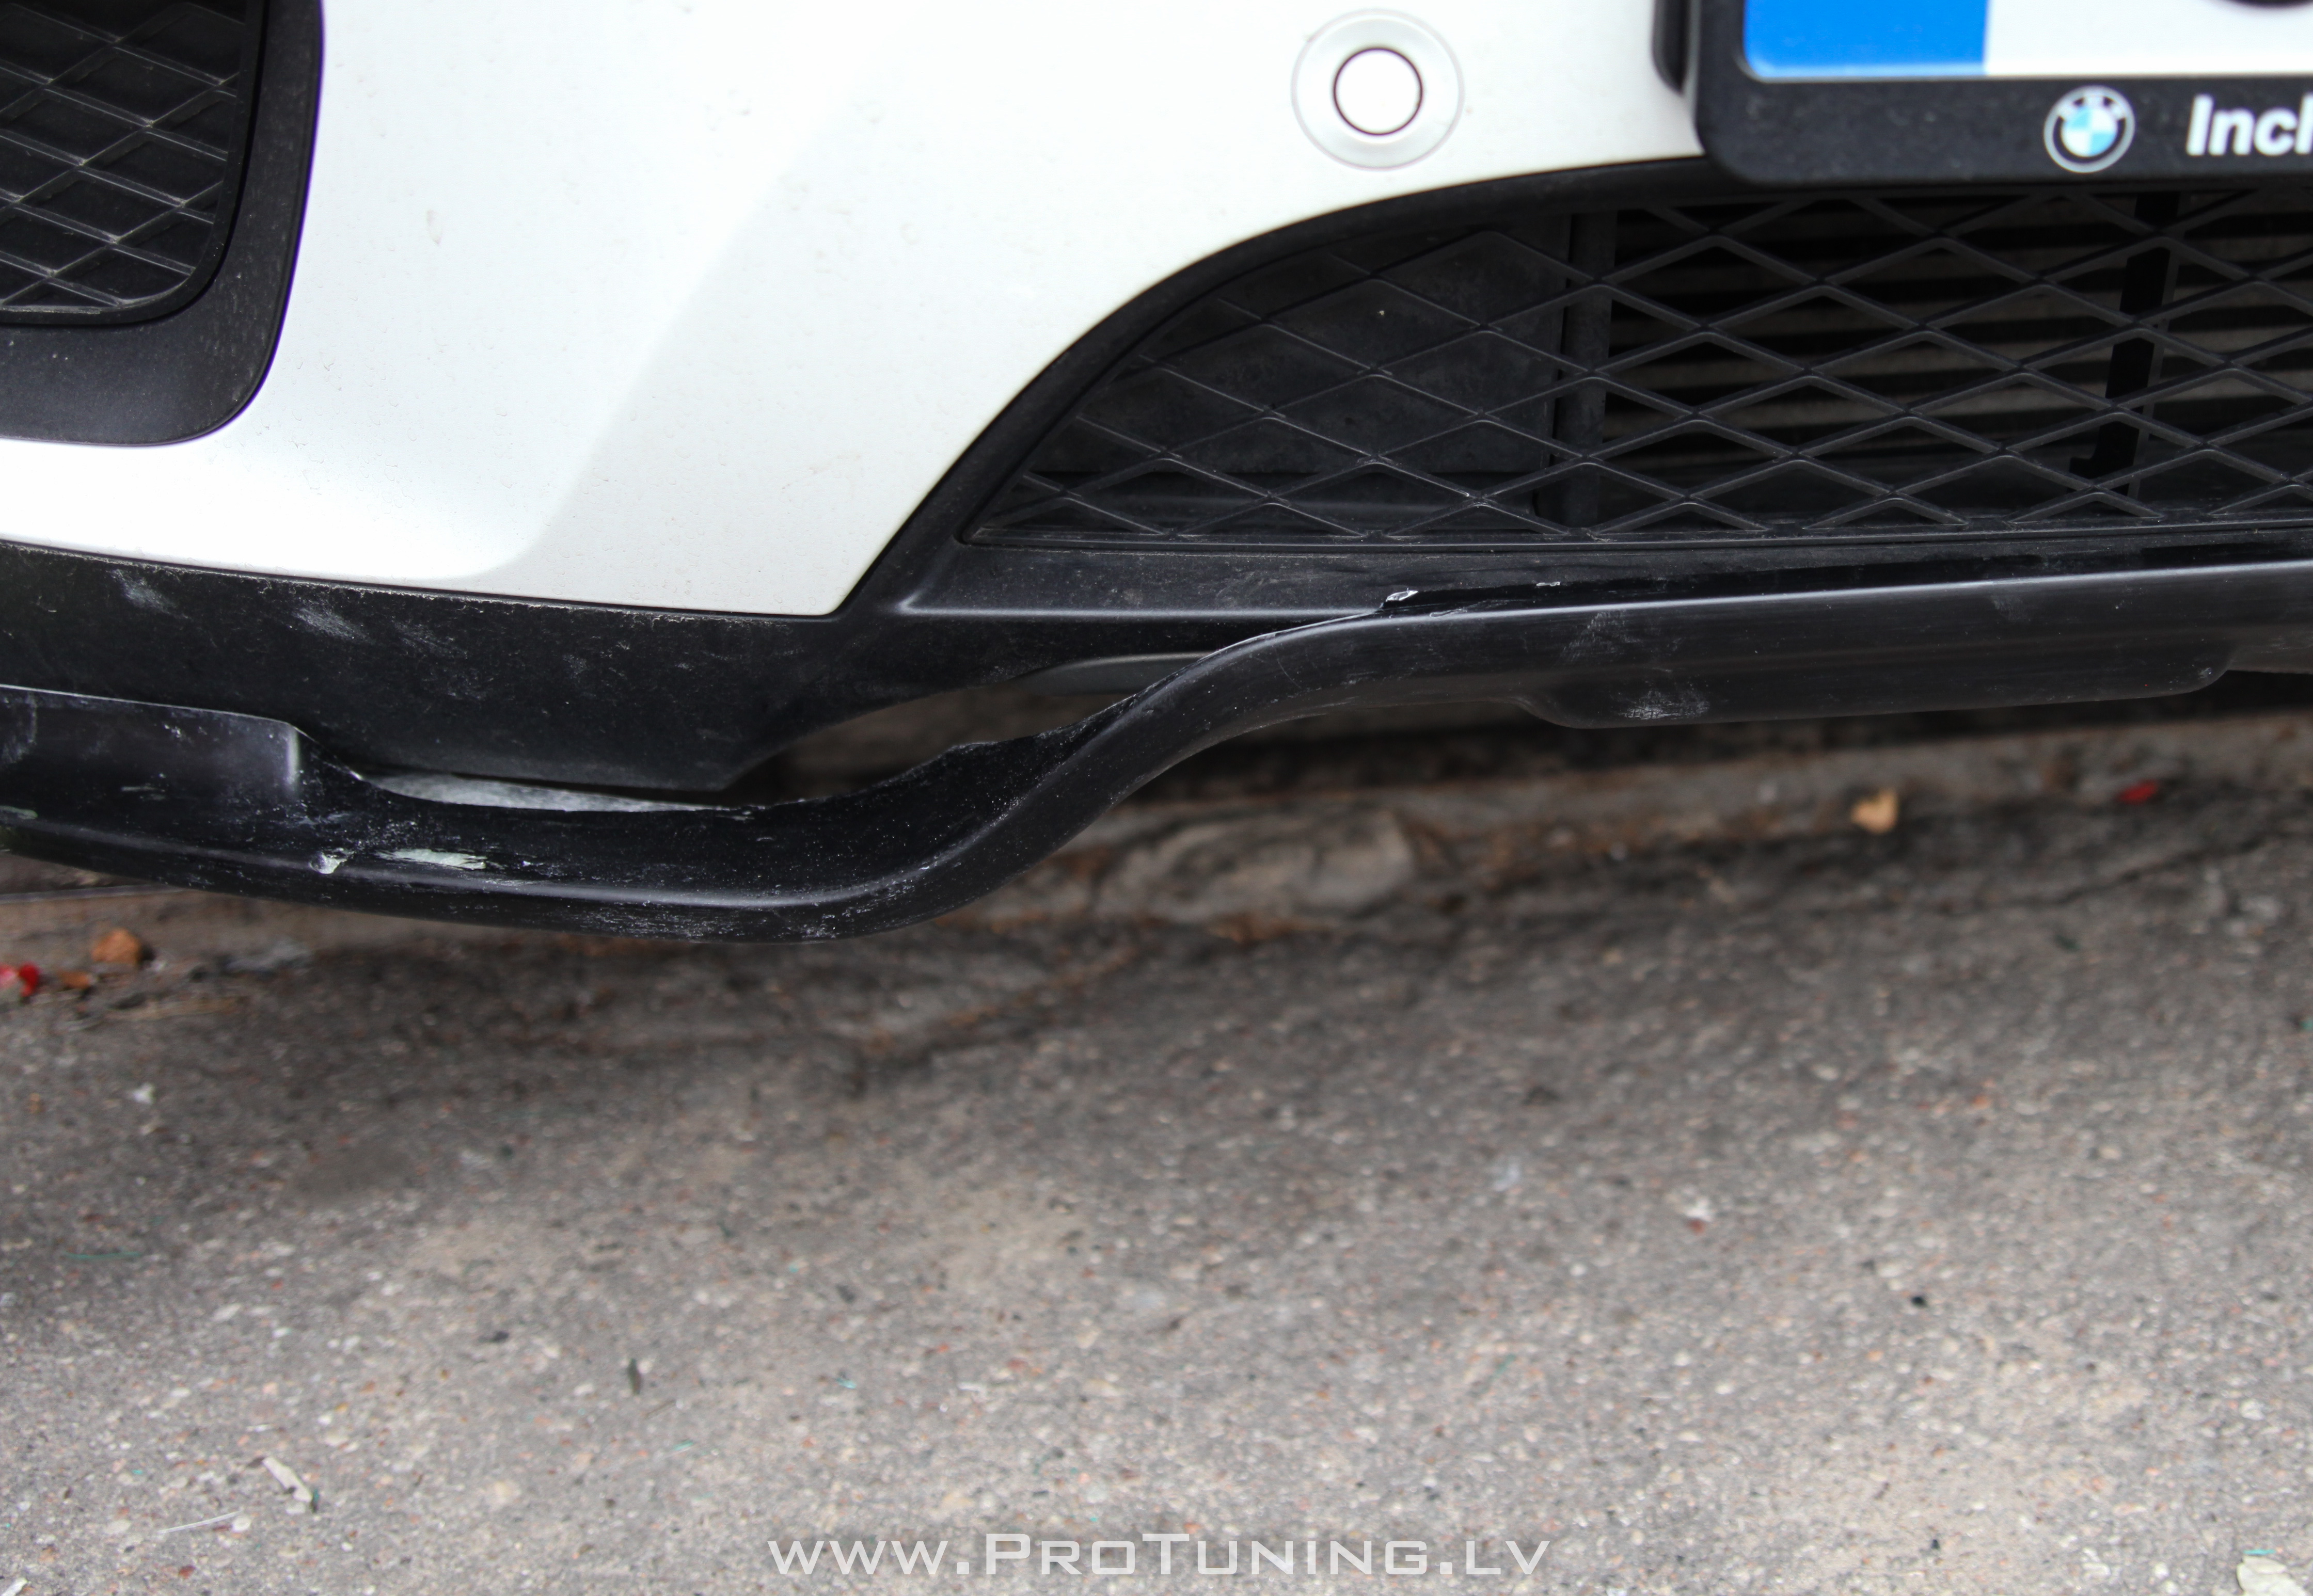
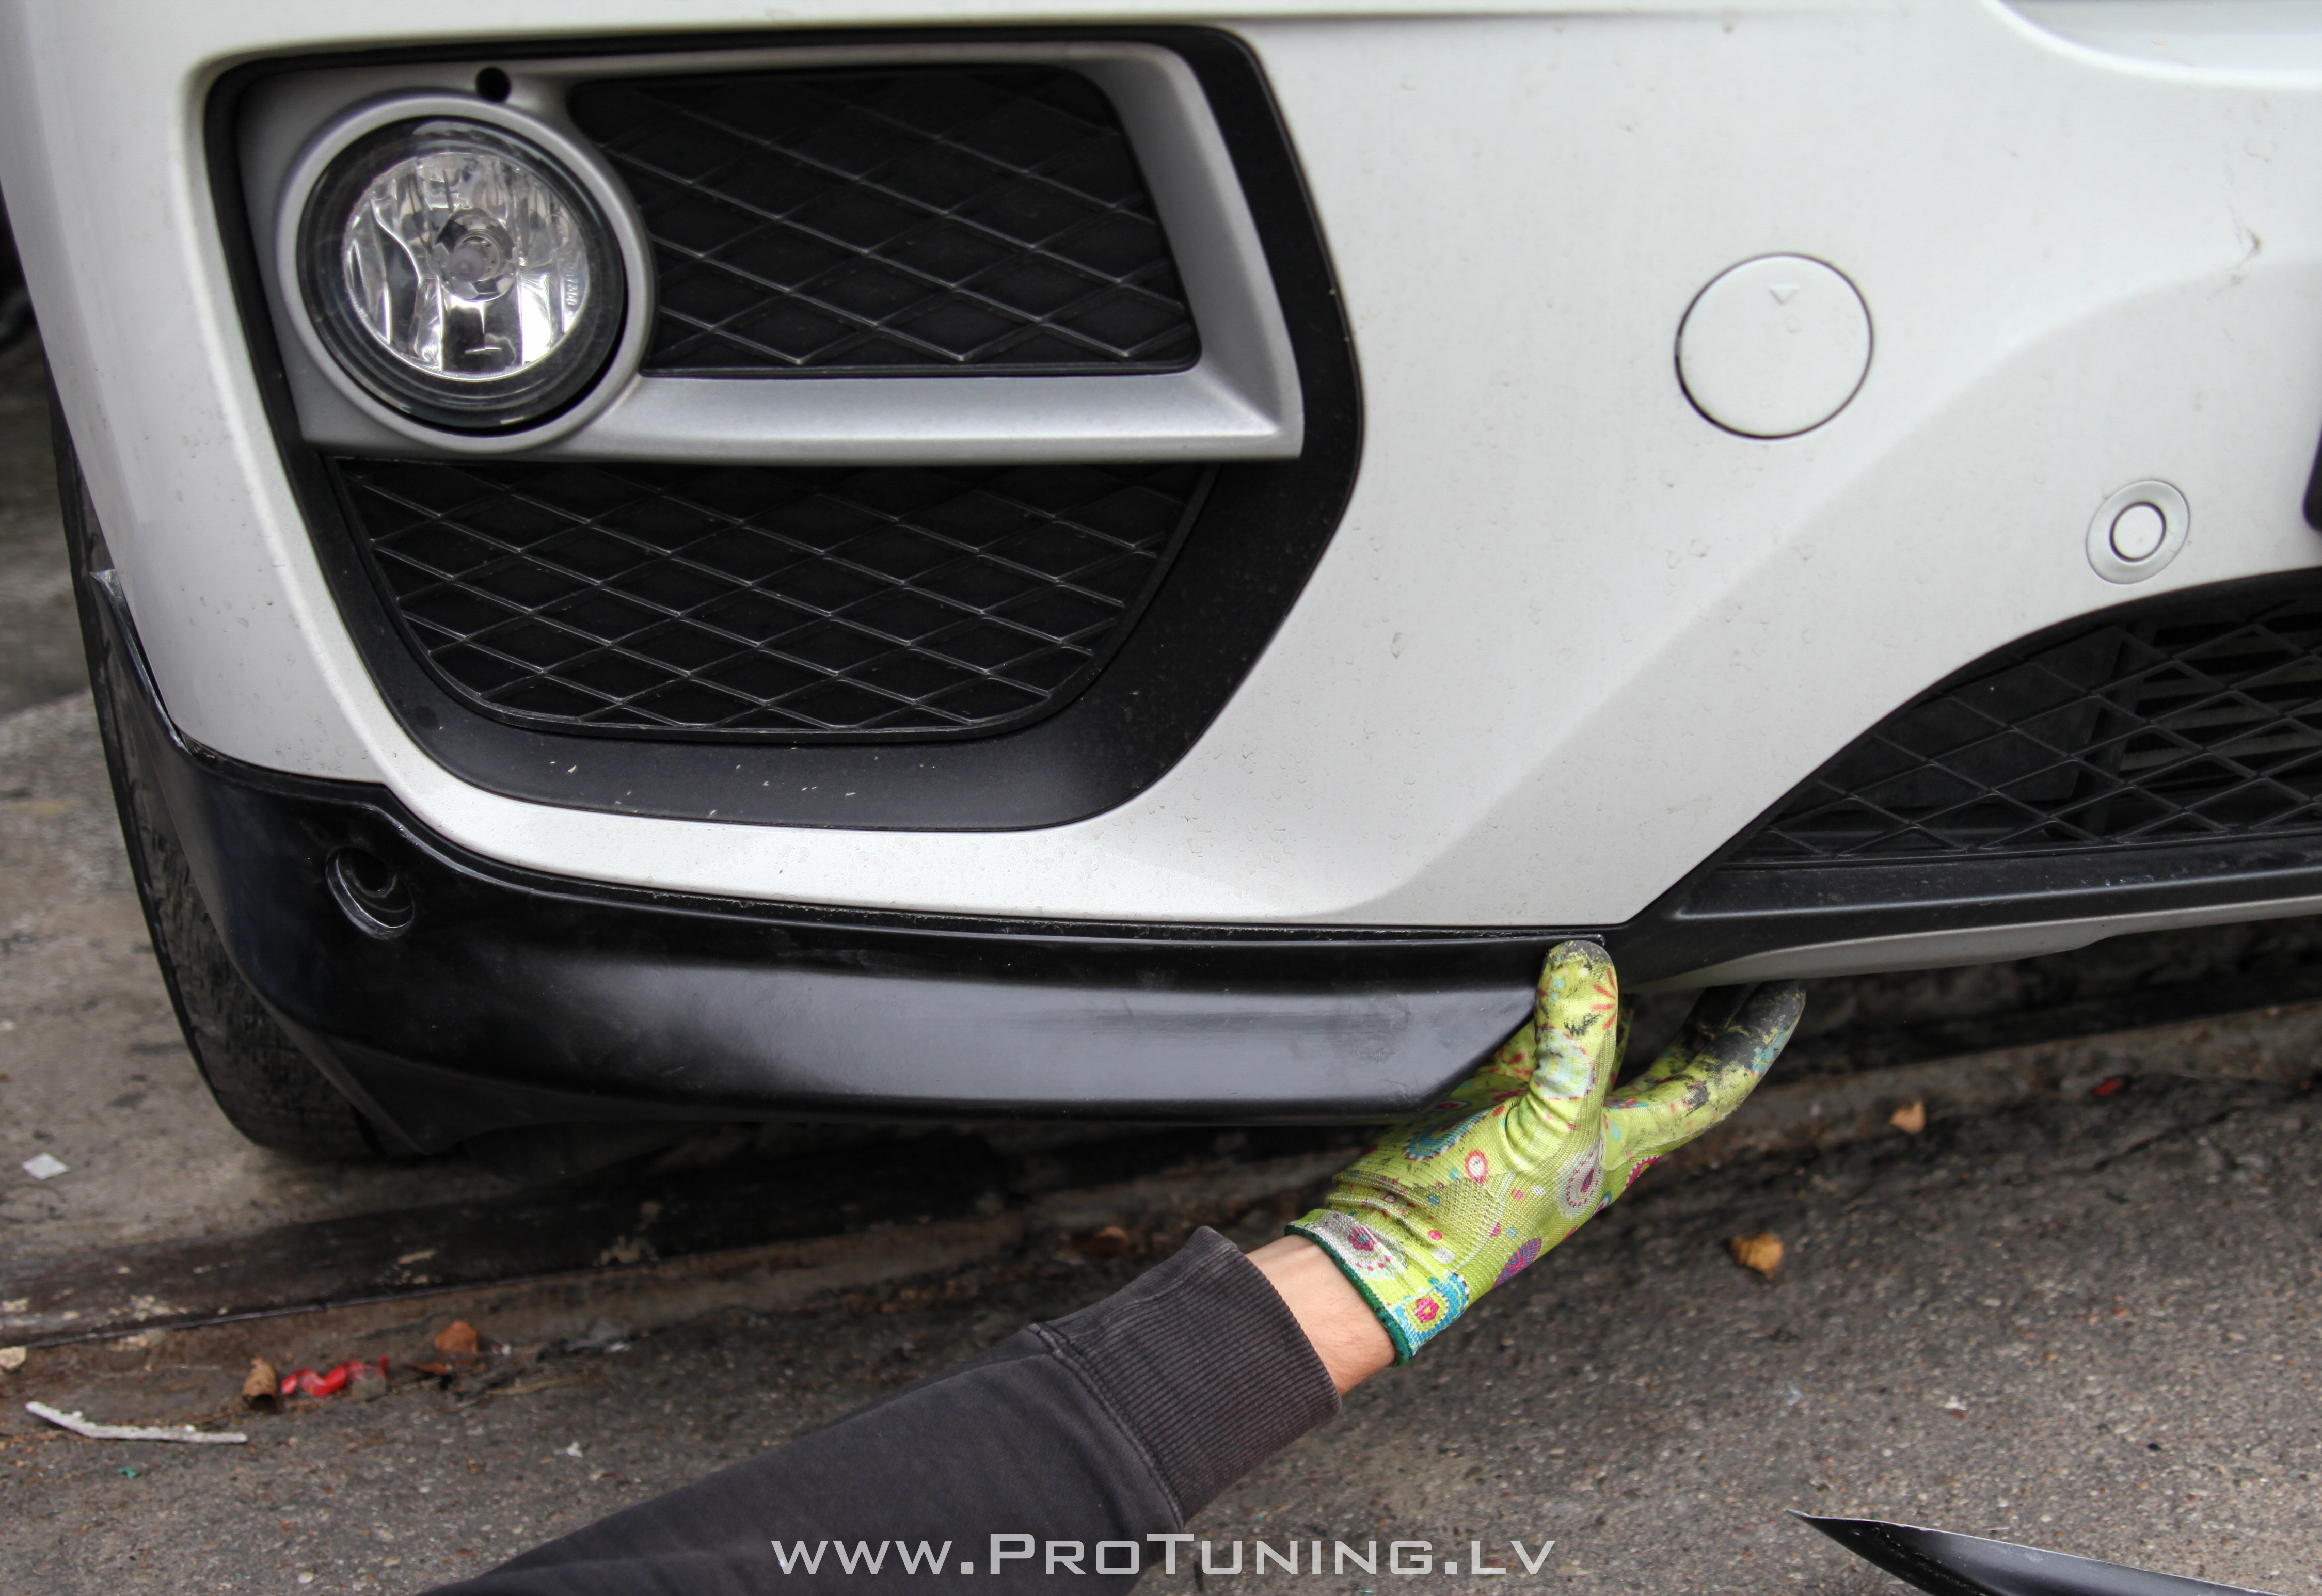
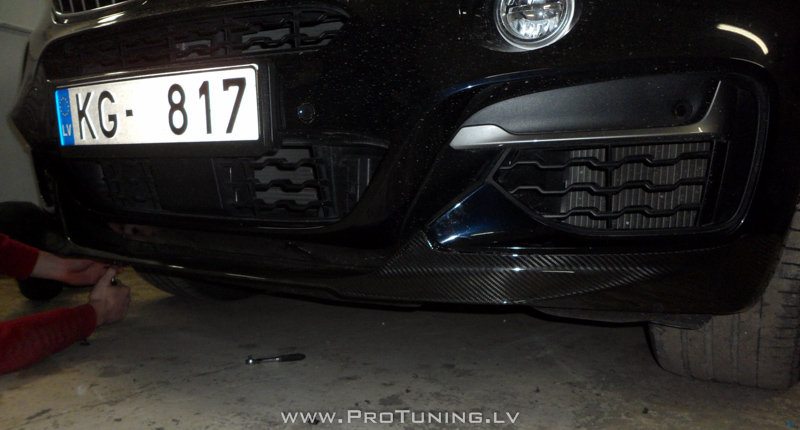
Front lip installation process
Required : 2) 3) 4) 5)
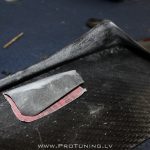
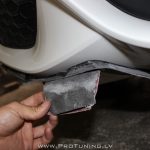
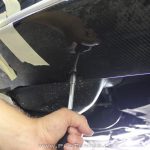
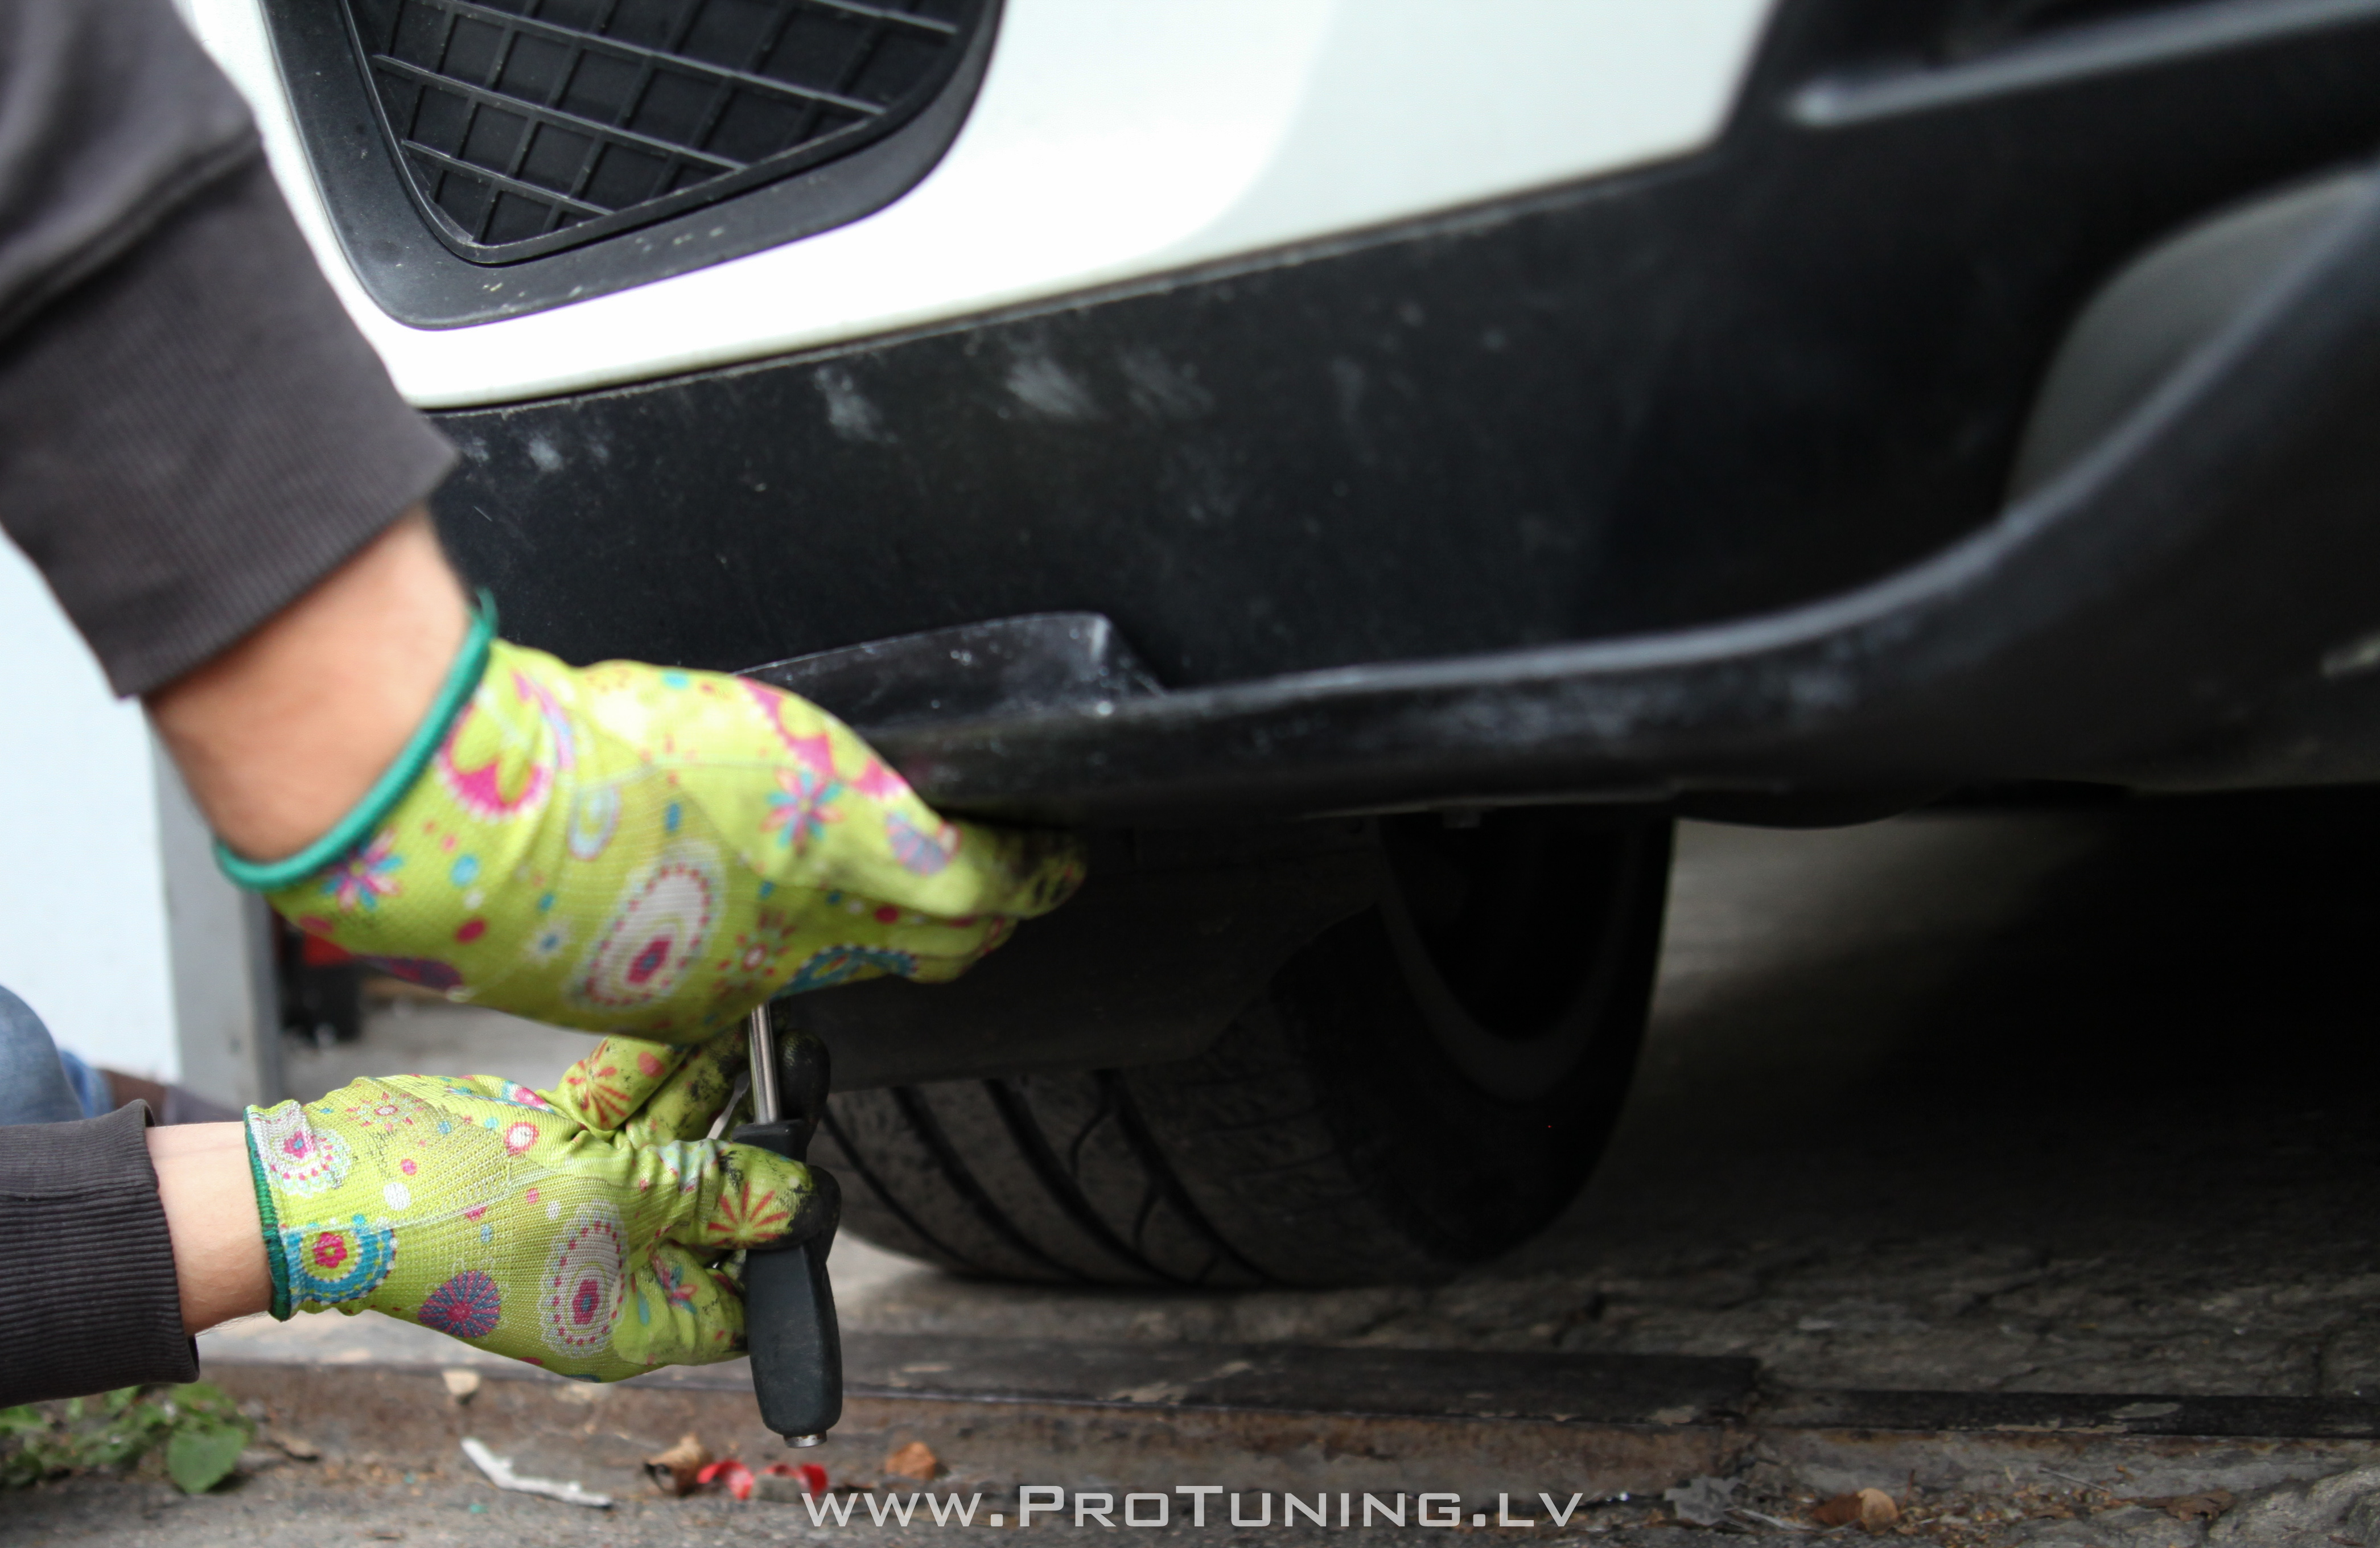
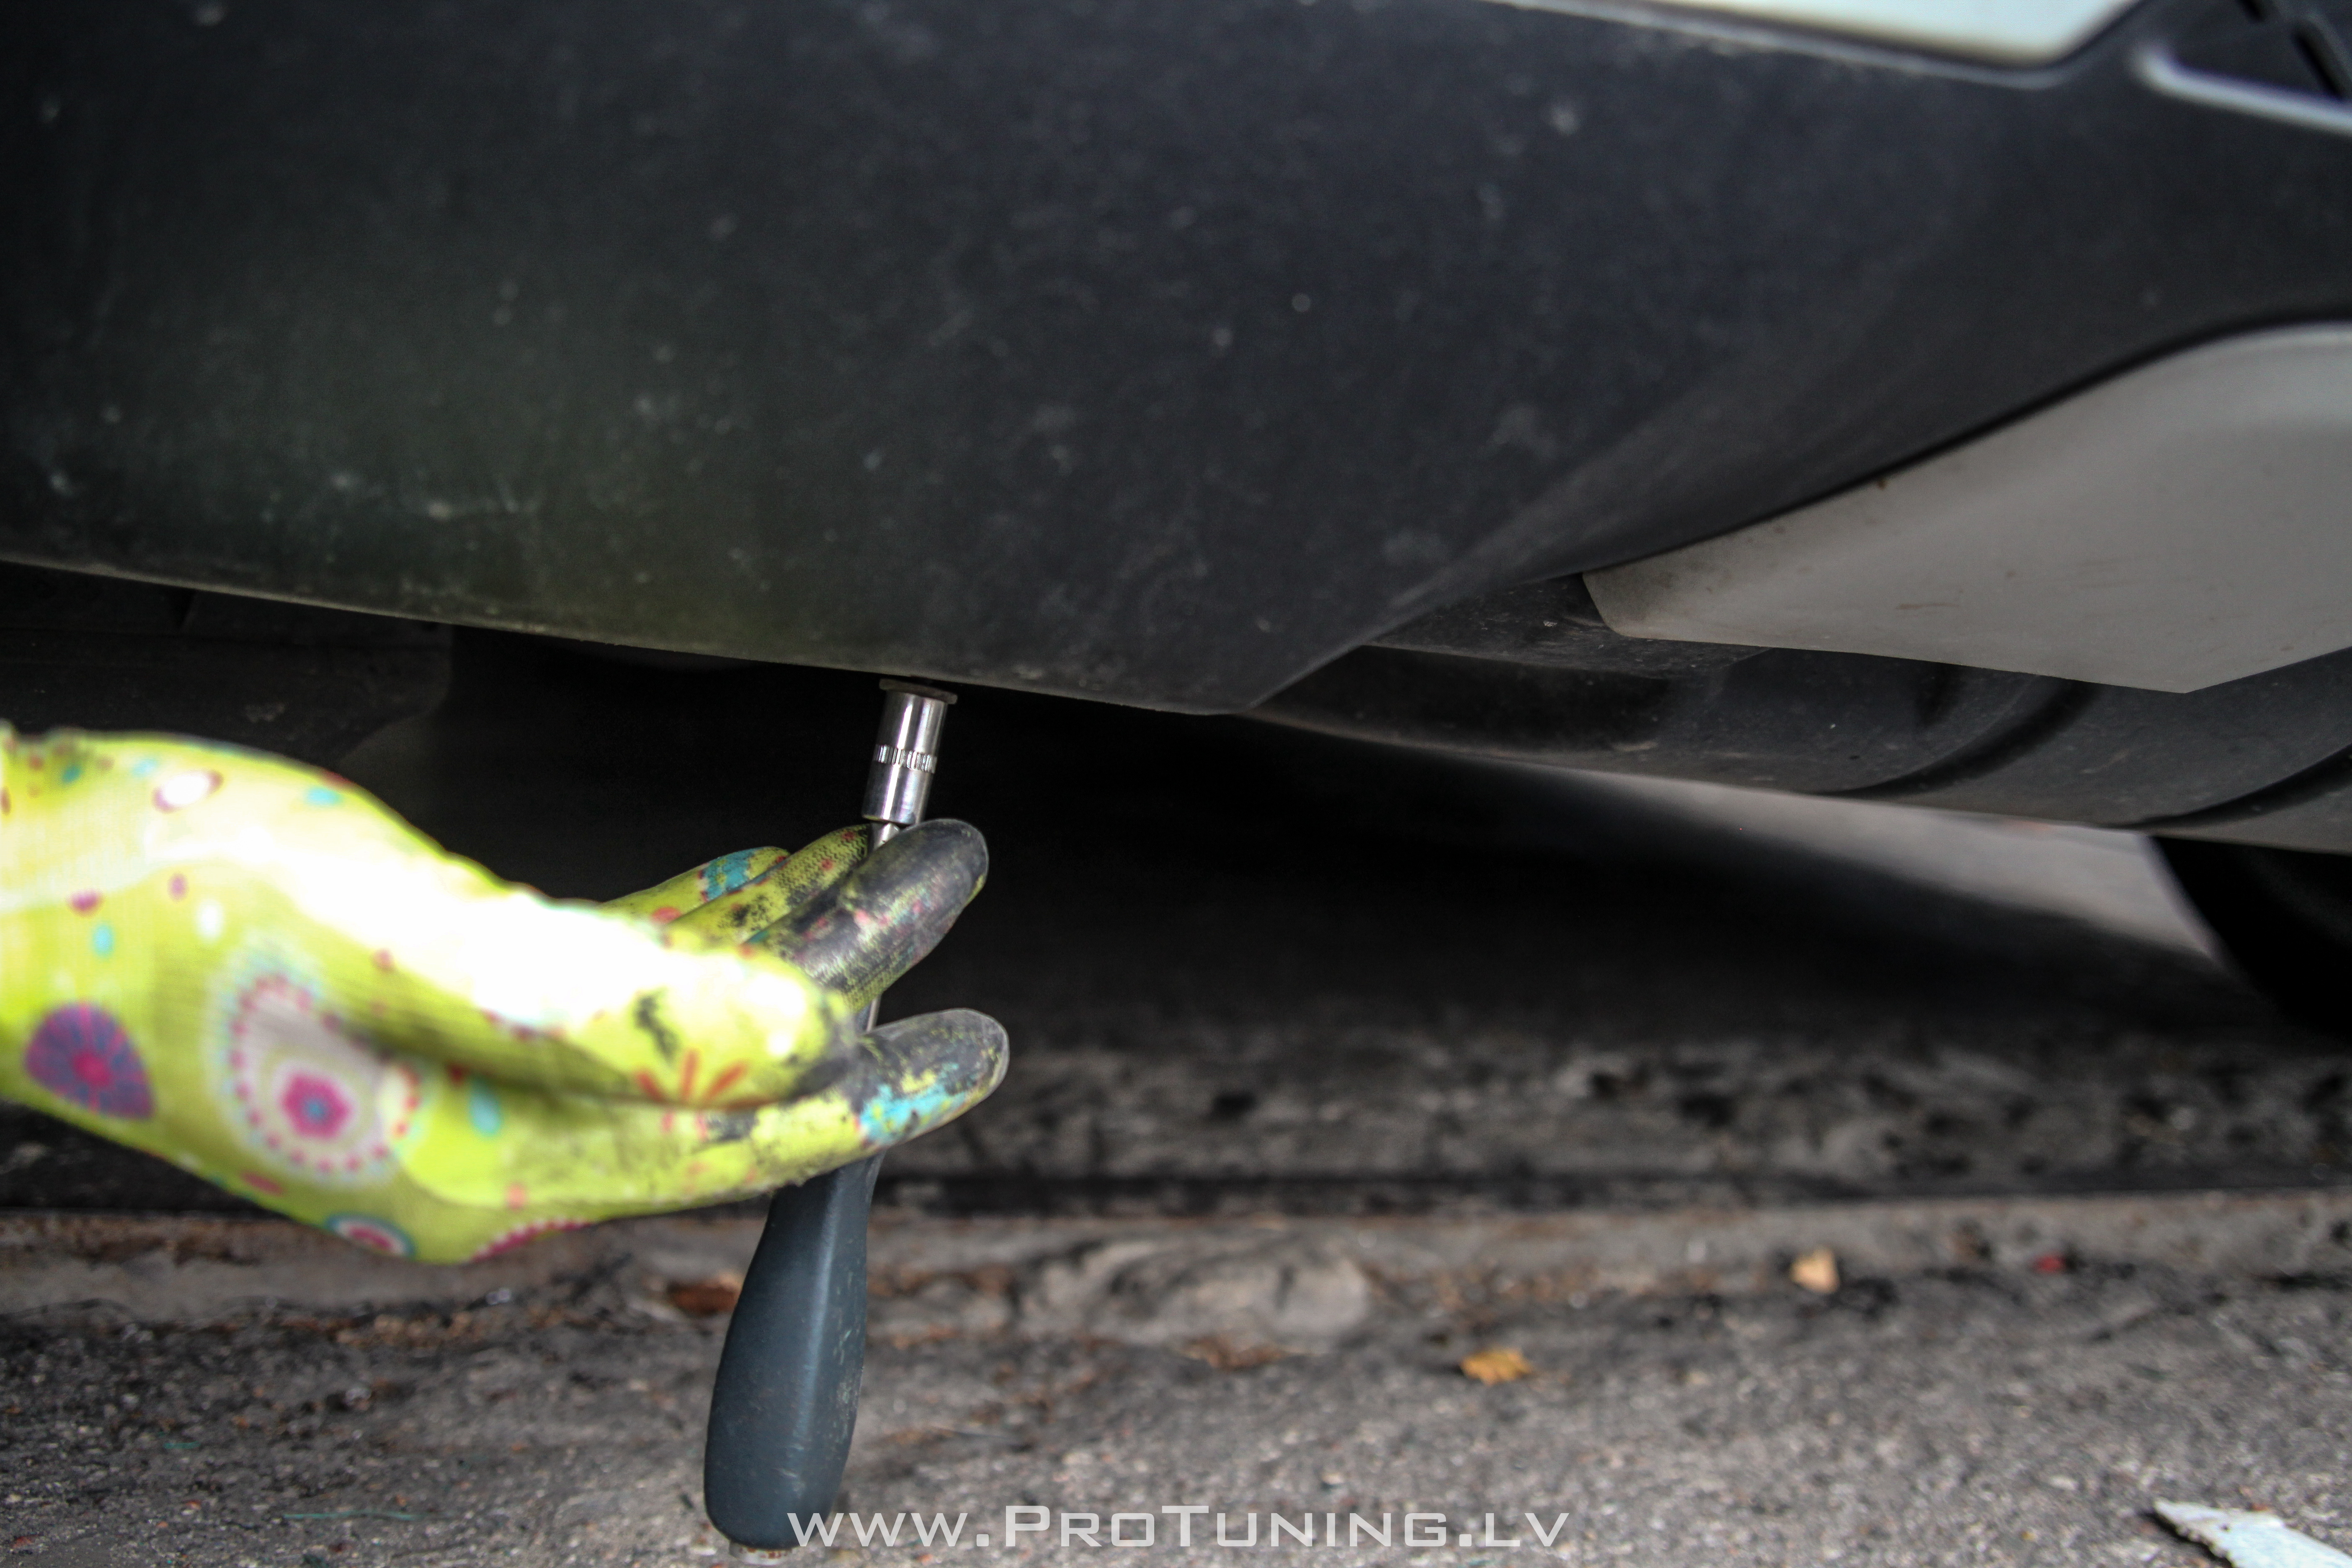
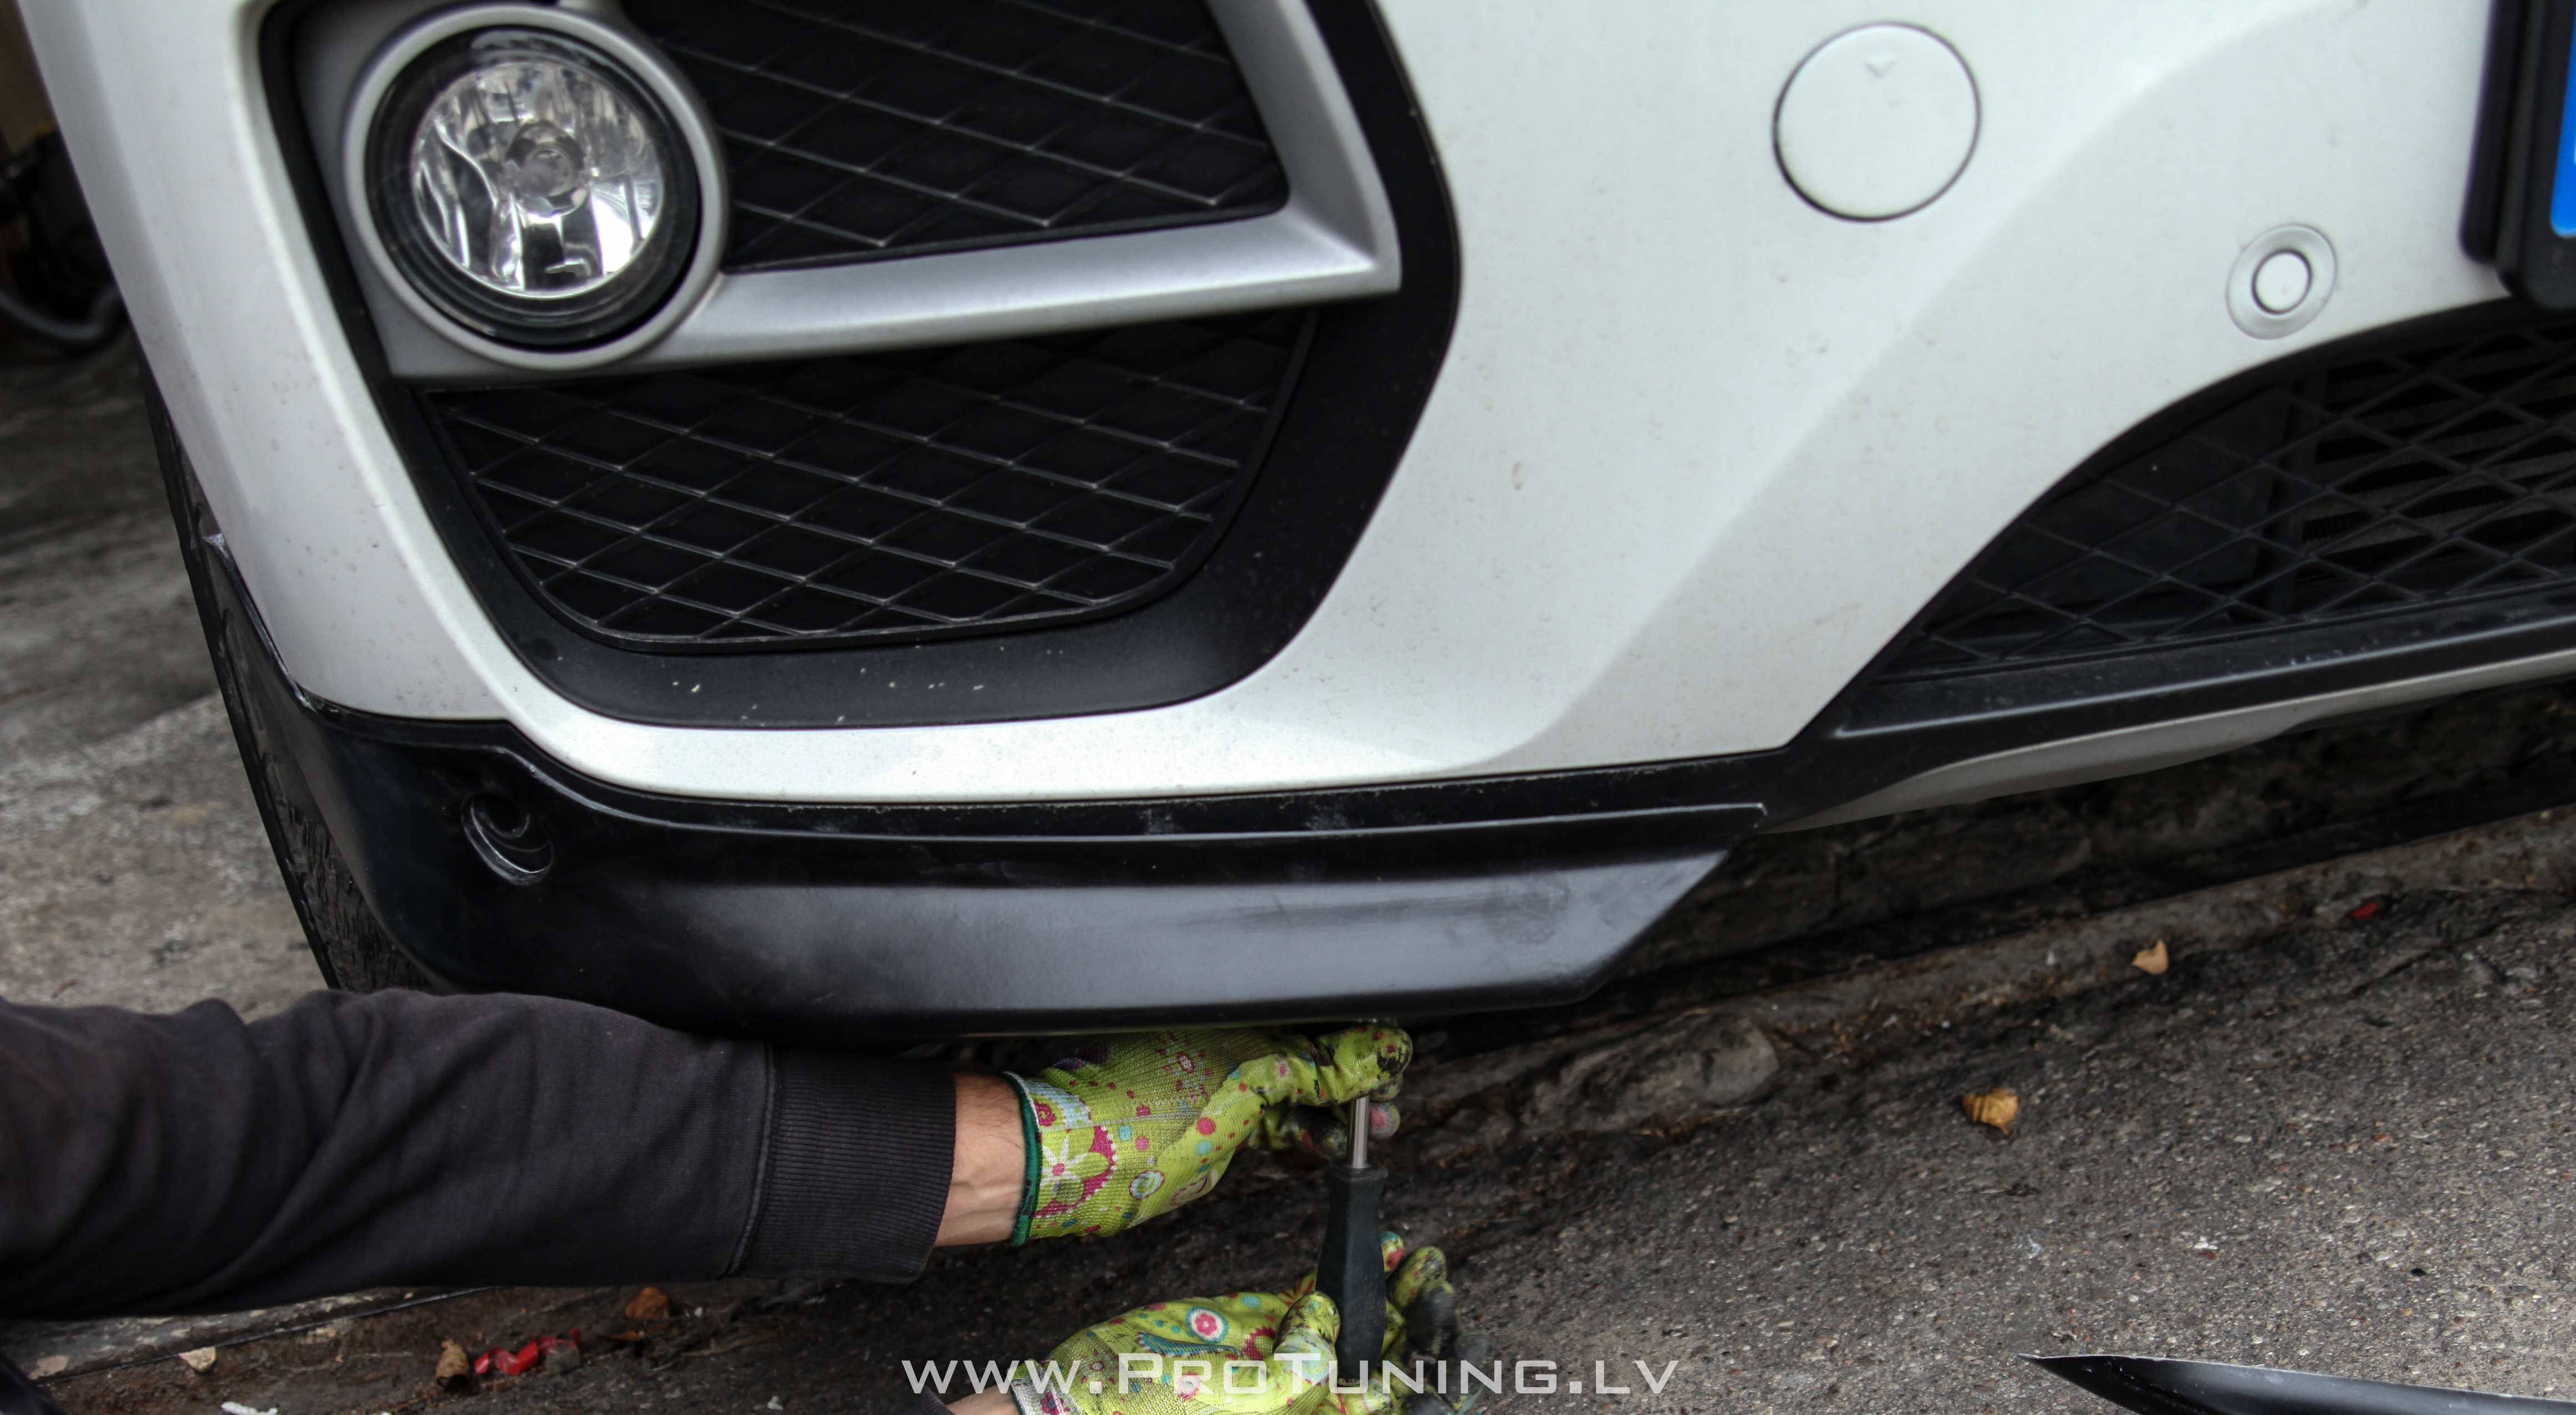
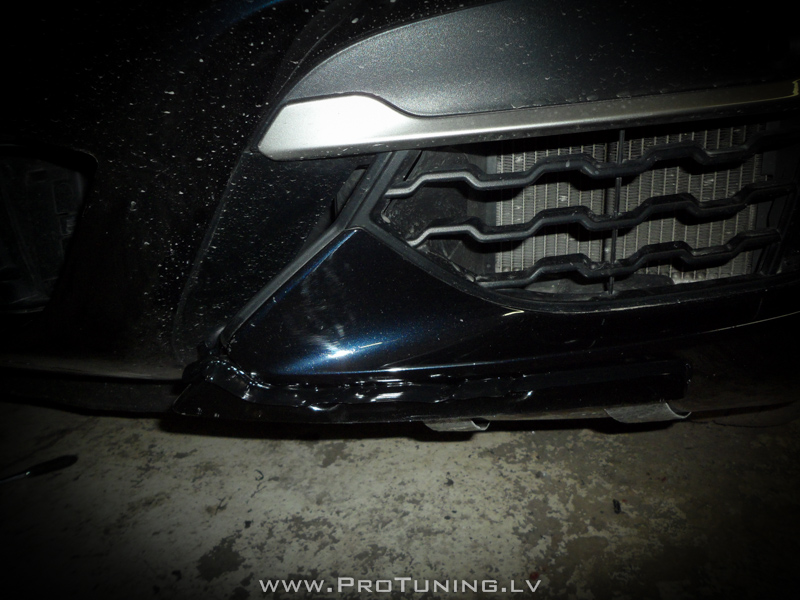
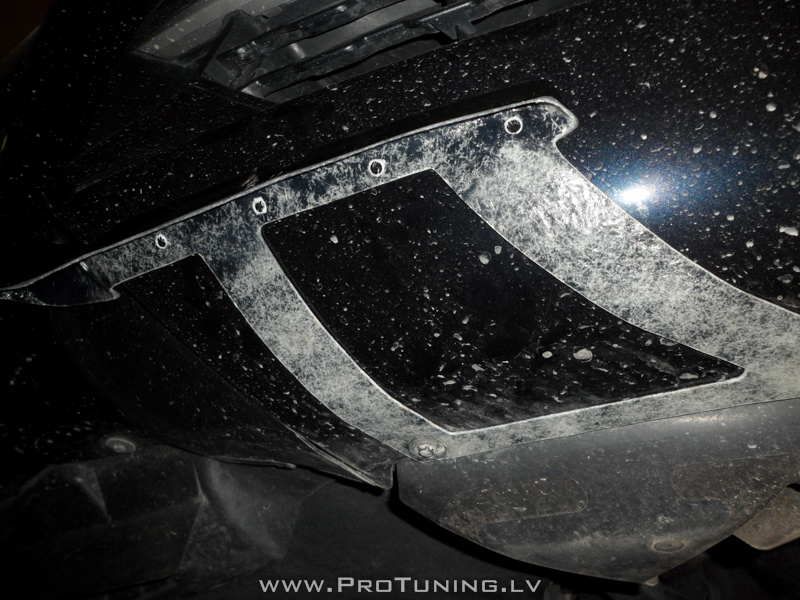
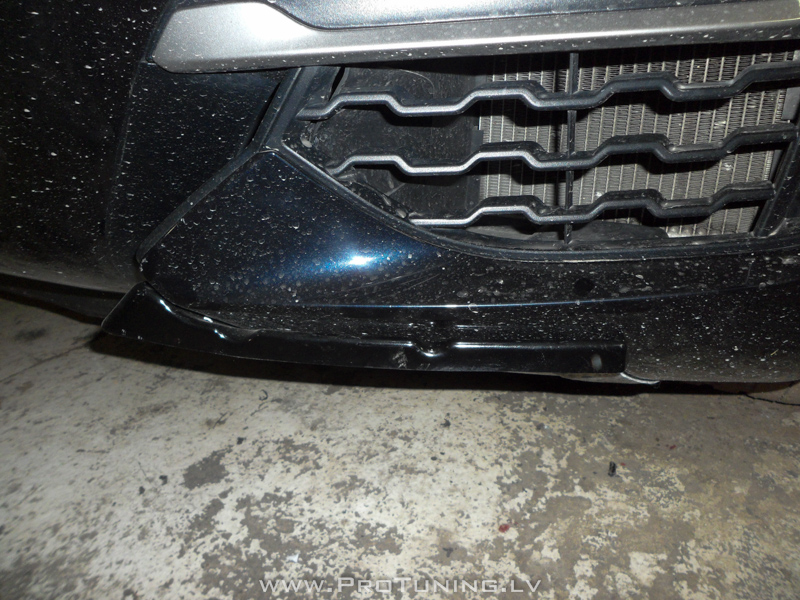
Do a test fit to find out how the lip must be installed to a front bumper. Please use brackets ( supplied with carbon fiber bodykit ONLY ) – you need to drill holes and fasten brackets to the lower part of the front bumper. Brackets are required to hold the front lip. Lower lip must be attached/fastened to a lower part of the bumper using existing bolts
 Apply adhesive to a bracket – it will hold/adhesive front lip to the bumper/brackets !
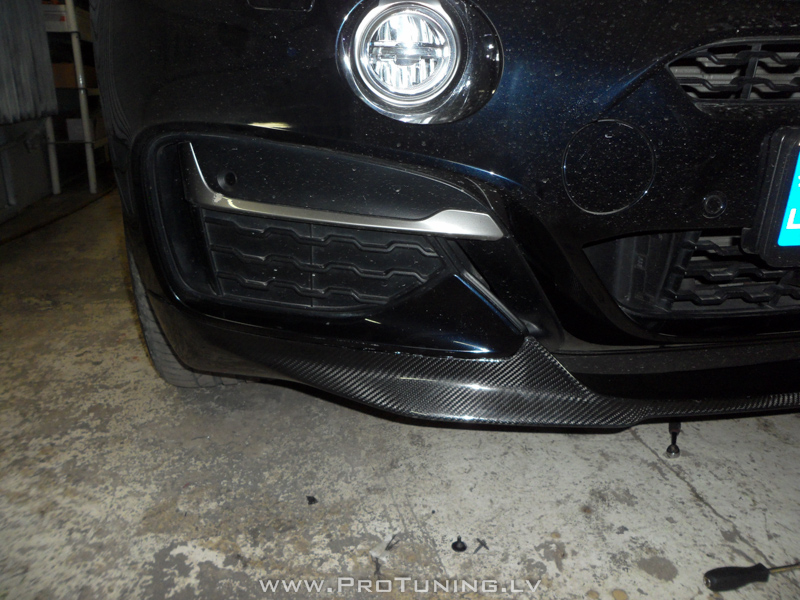
If the holes is not predrilled in the front lip – please drill it and right after install the front lip : upper part must match the brackets and lower part must be screwed/fastened to a bumper
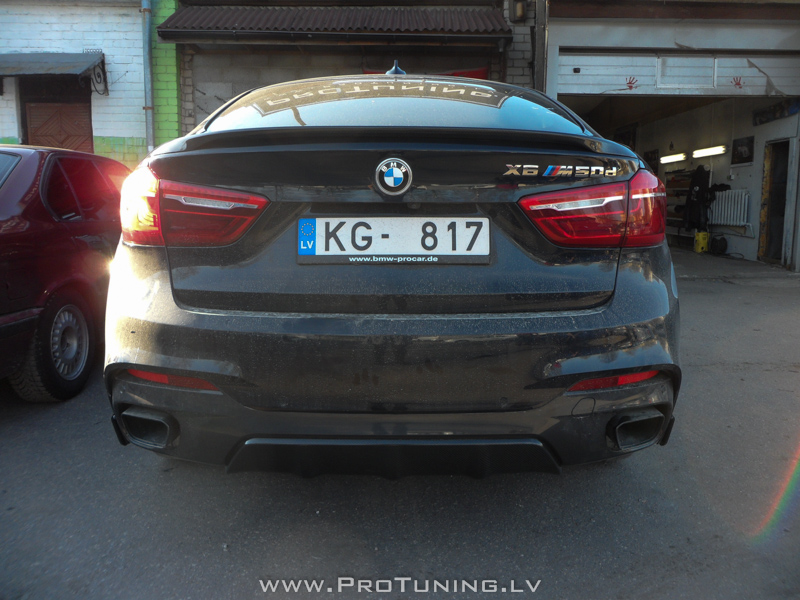
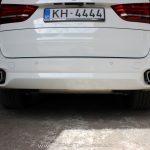
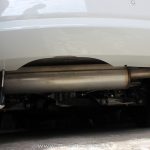
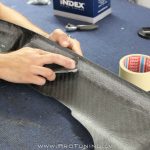
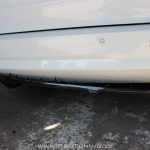
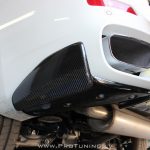
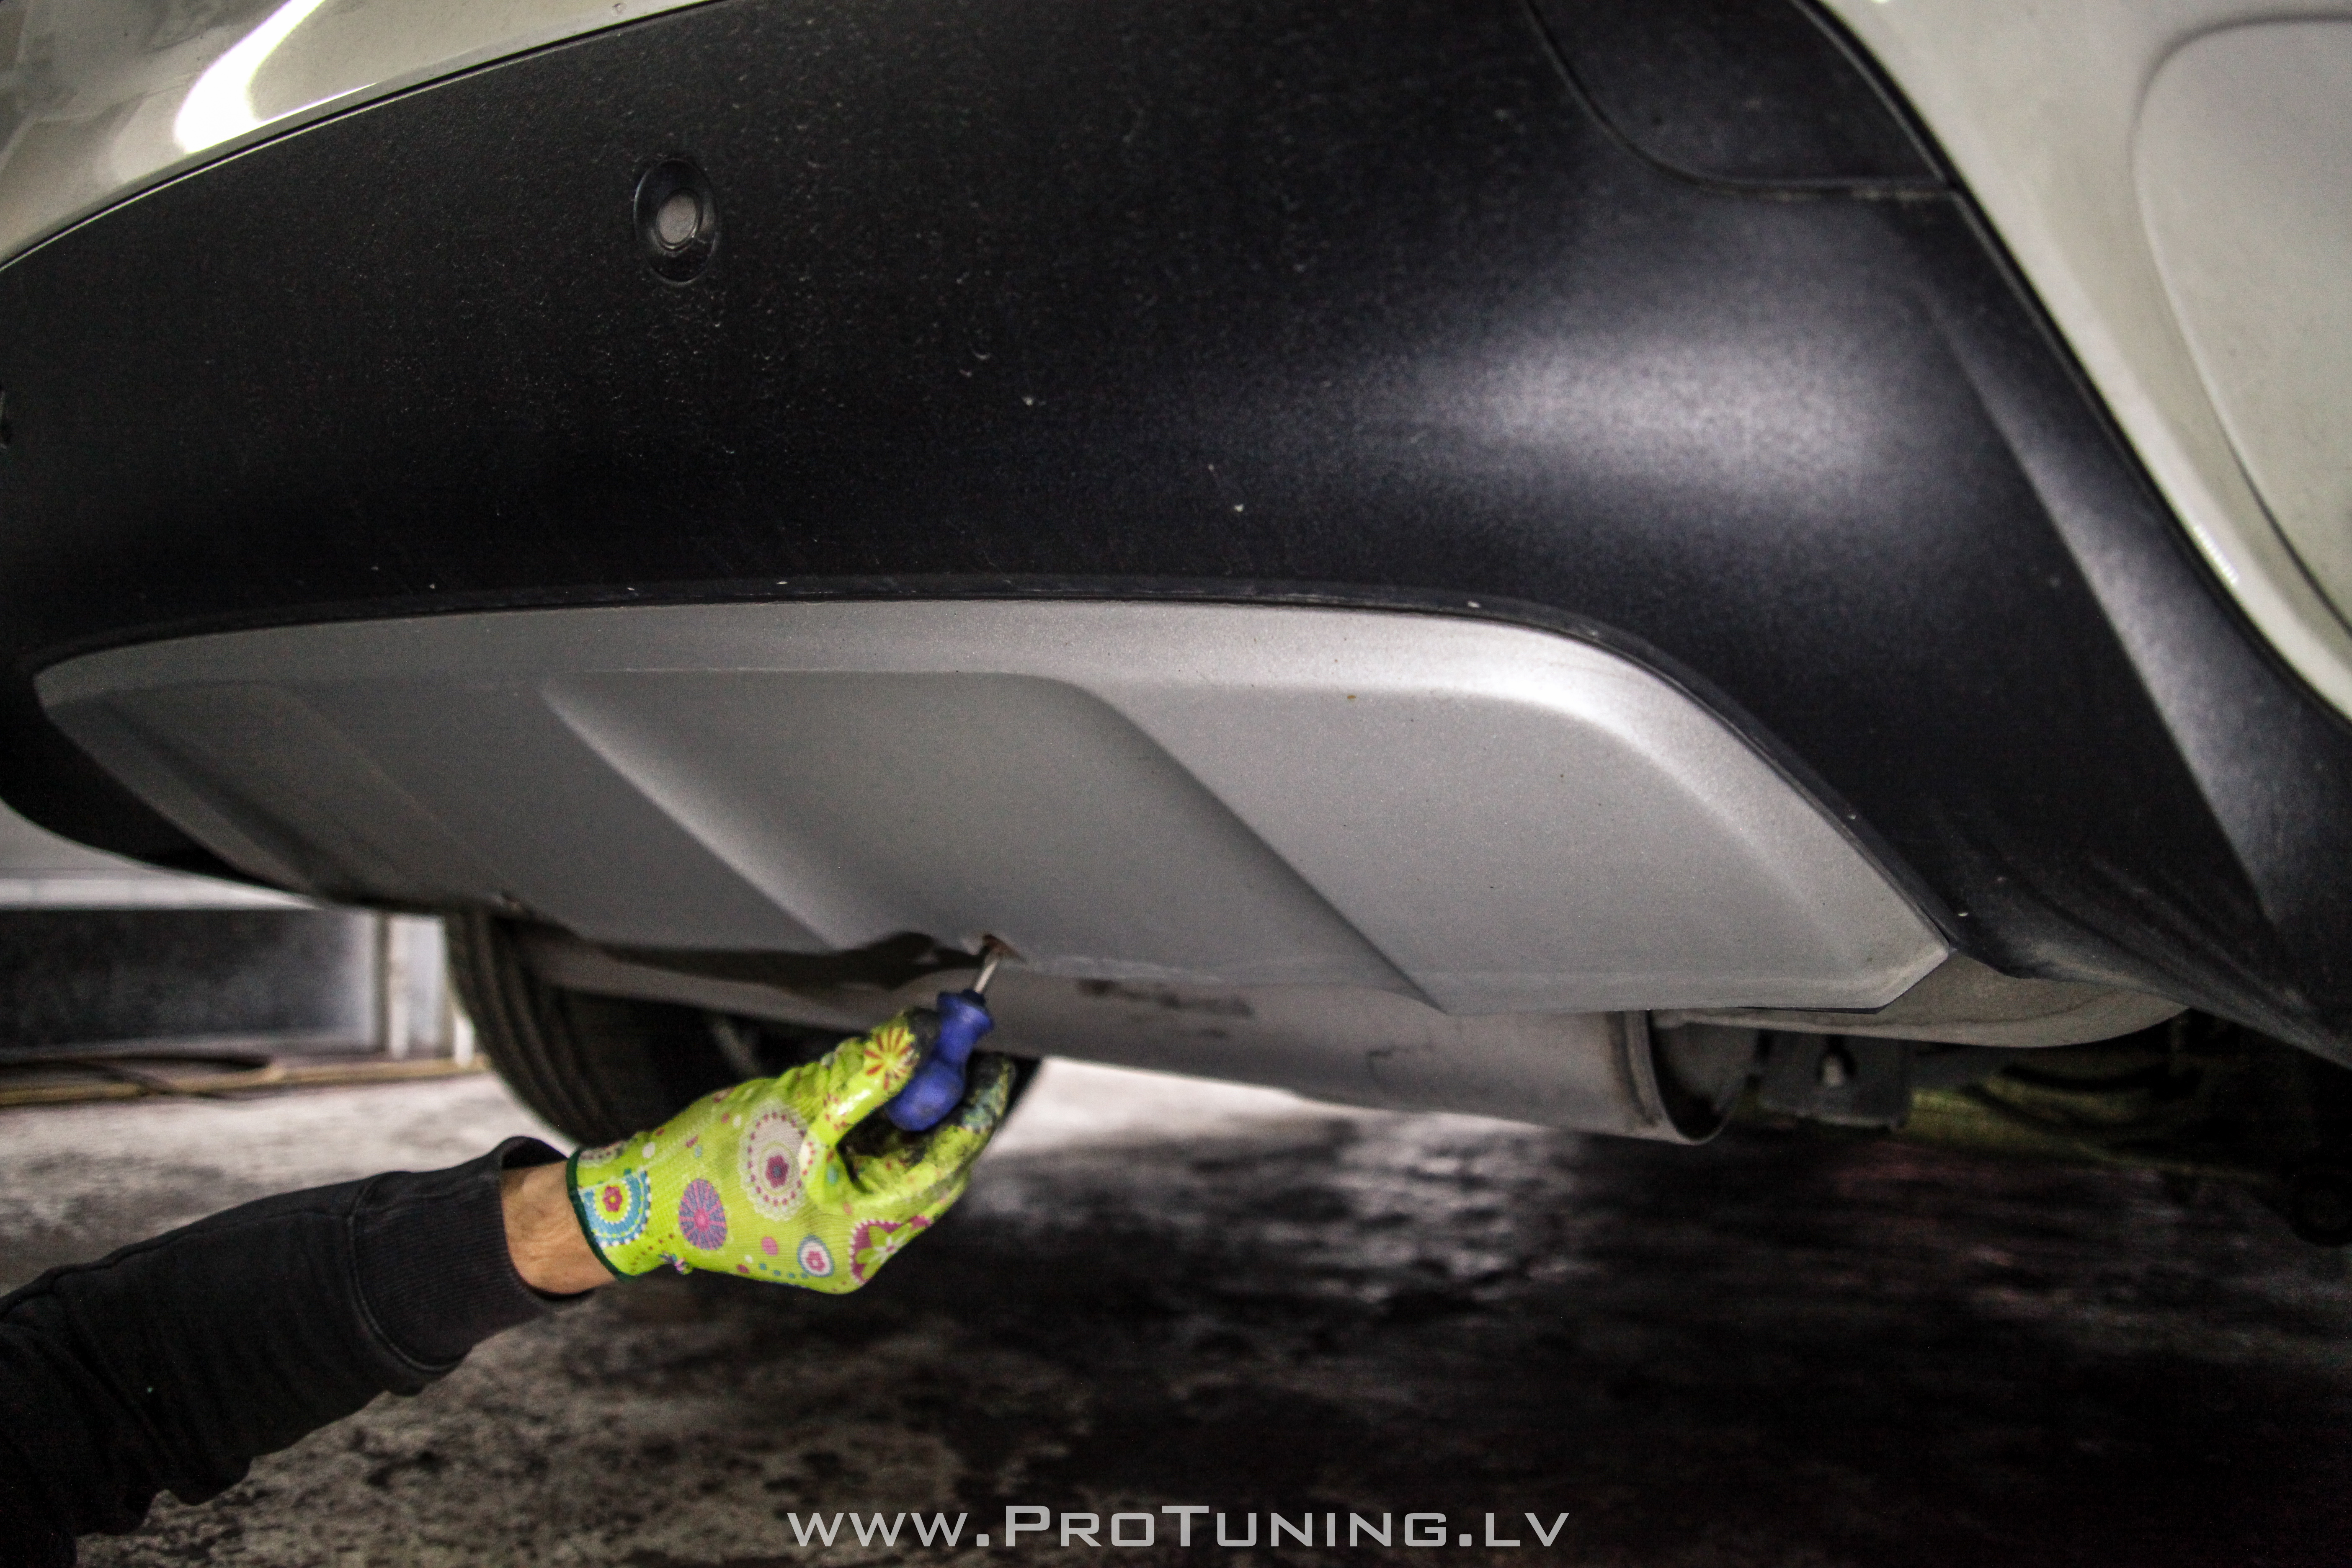
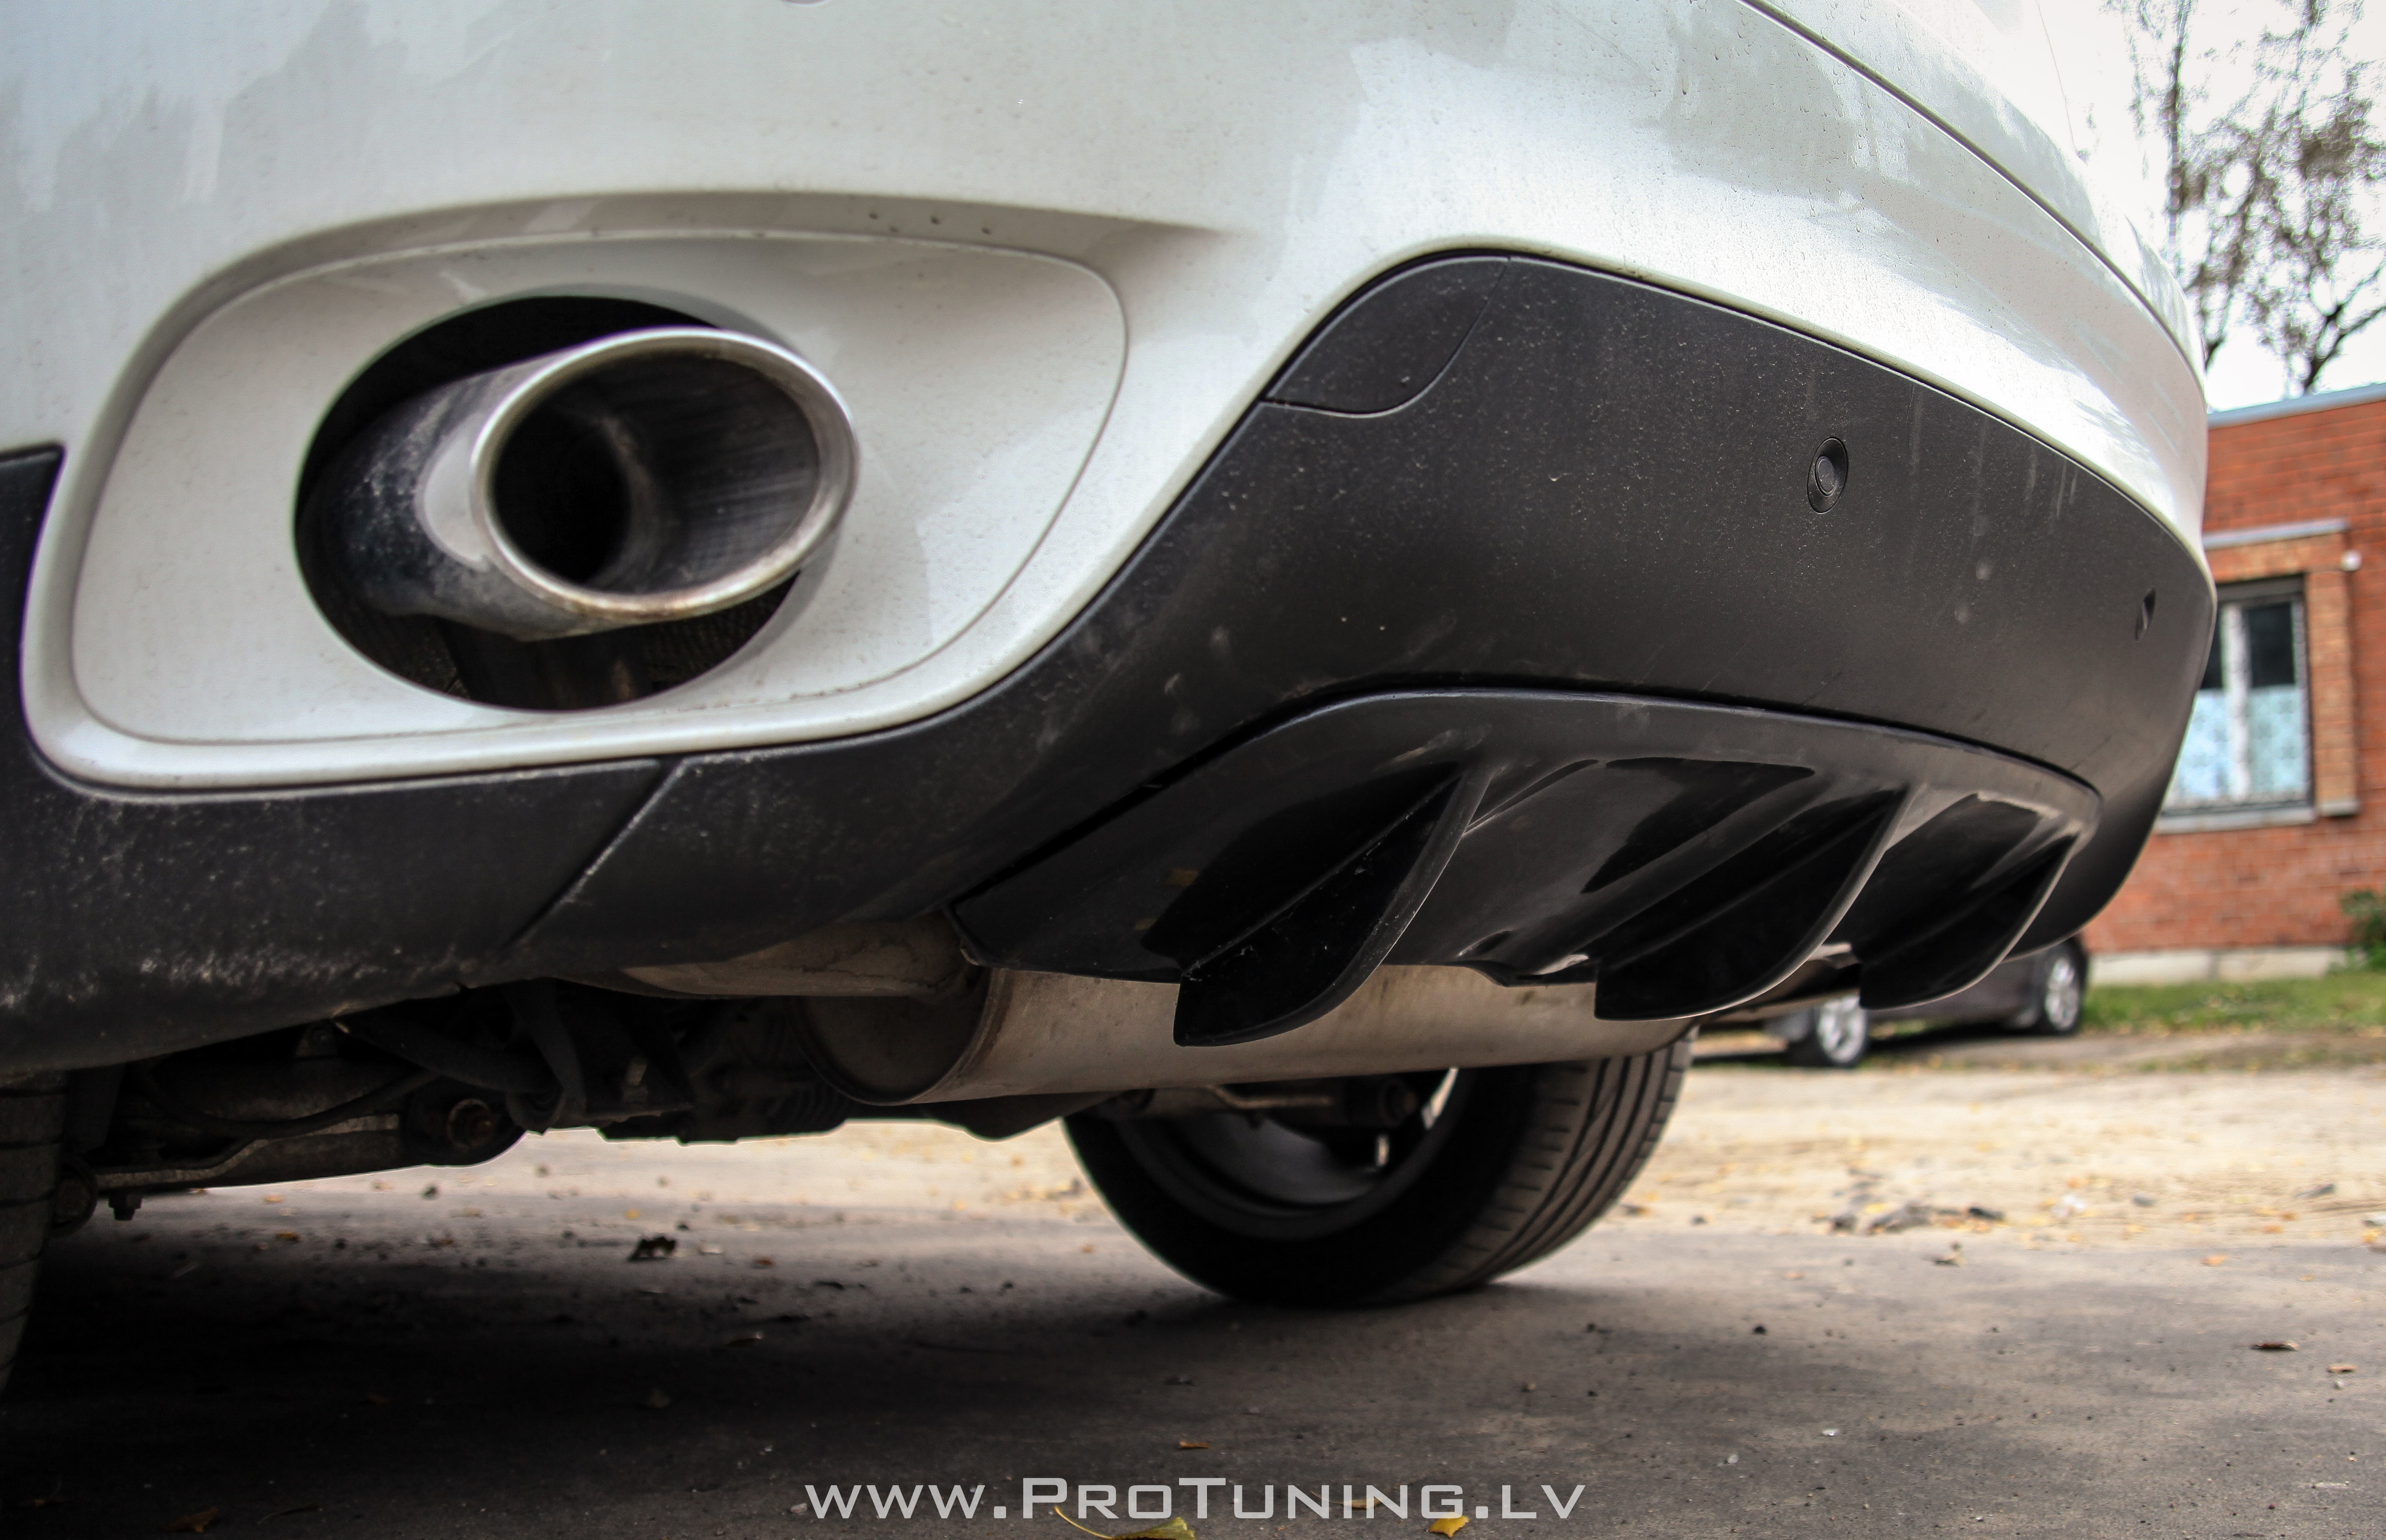
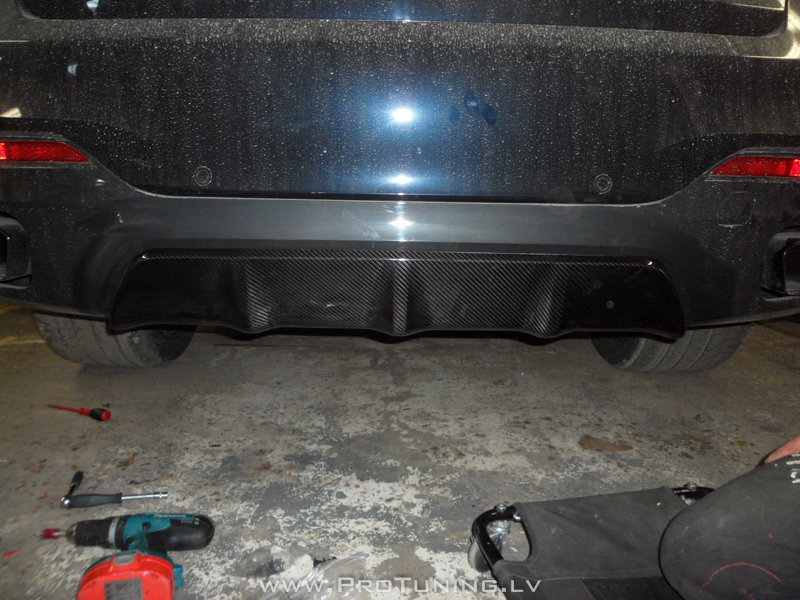
Rear diffuser/lip and side flaps installation
Required2) 3) 4) 5)
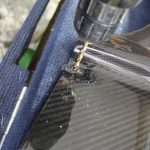
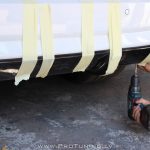
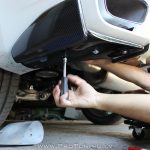
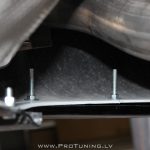
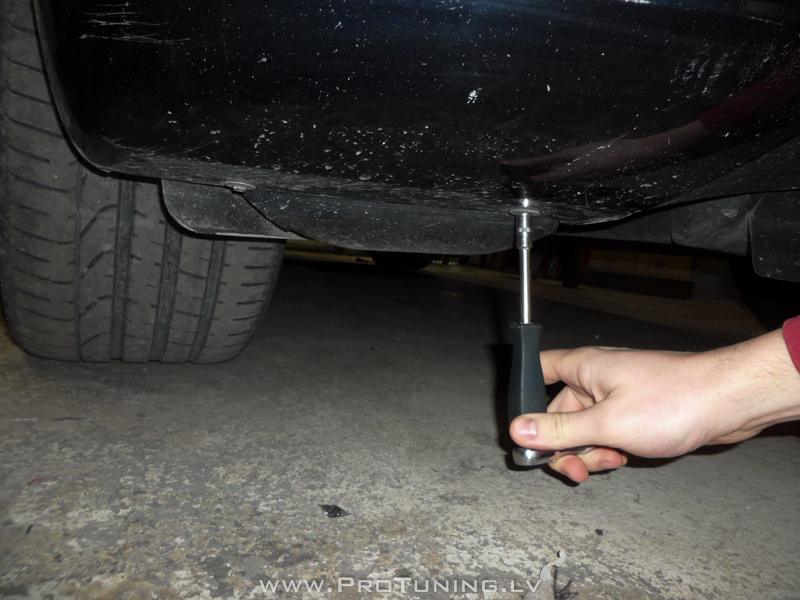
Do a test fit on both sides there are places for rivets/screws – drill it and install rivets ( install rivets only AFTER the lip is prepared for installation using adhesive)
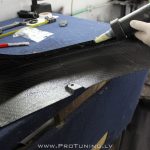
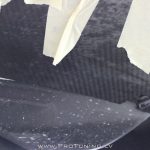
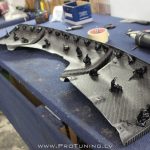
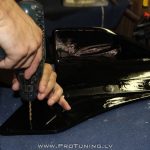
Prepare the diffuser in accordance to method provided by adhesive manufacturer
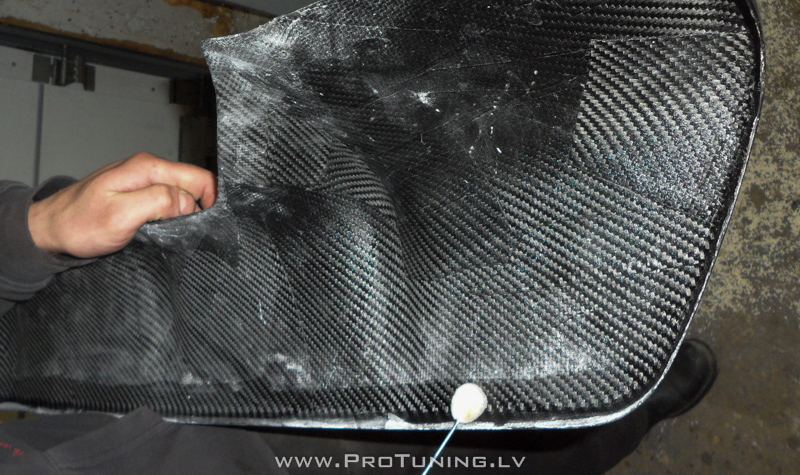
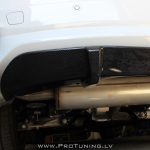
For a better fixation apply adhesive all around the inner perimeter

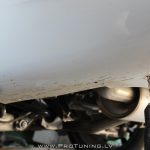
Istall the diffuser and fasten in underneath the car using screws/bolts
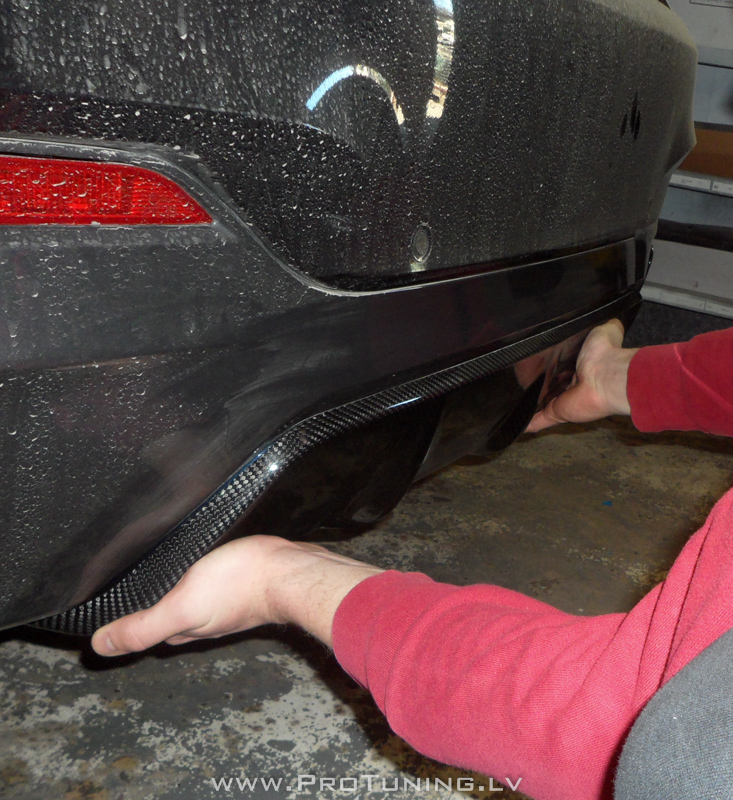
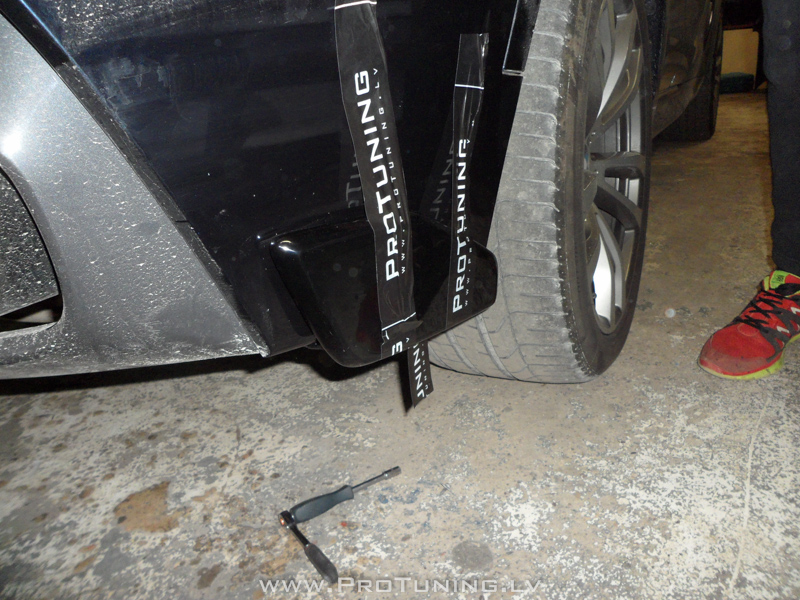
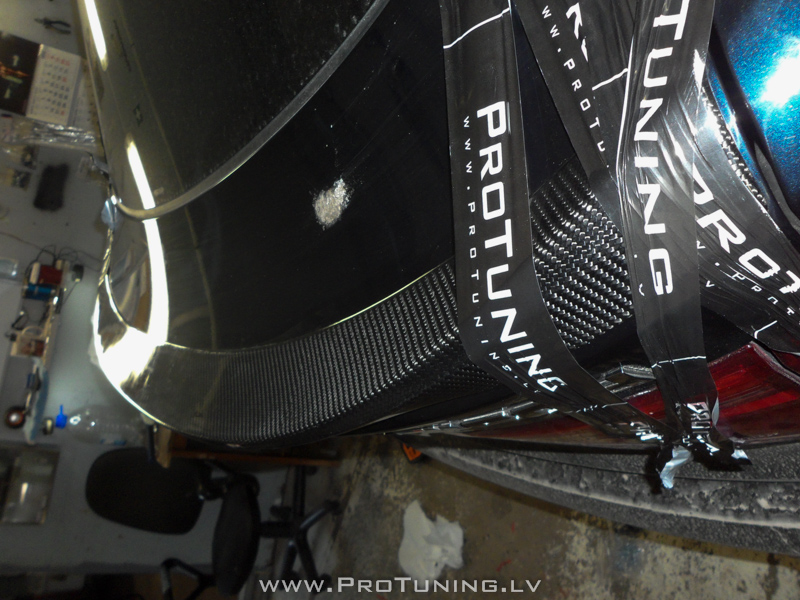
“Ears” or side flaps – must be installed using adhesive and existing bolts
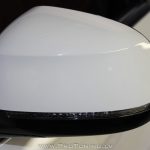
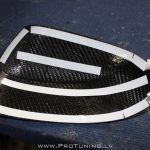
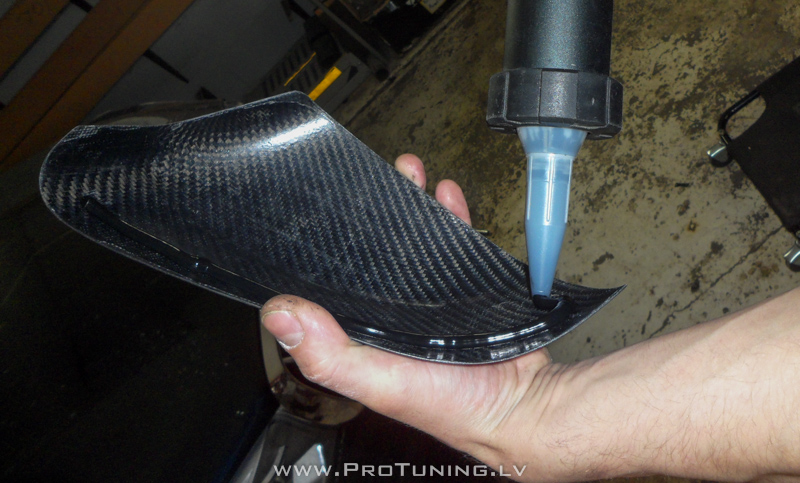
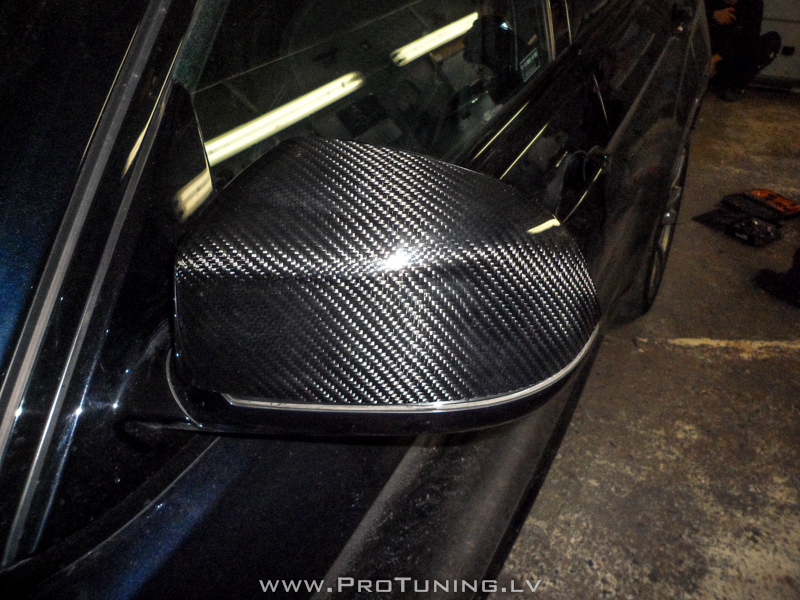
Rear spoiler and mirror covers installation
Required 2) 3) 4) 5)
Apply adhesive all around the inner perimeter, install the spoiler/mirror covers and fasten it with scotch tape for a 24h
Spoiler :
Mirro covers :
ENJOY